FAQ: Will it Hone? | Why Some Straight Razors Can Be Honed to Shaving Sharp and Some Cannot

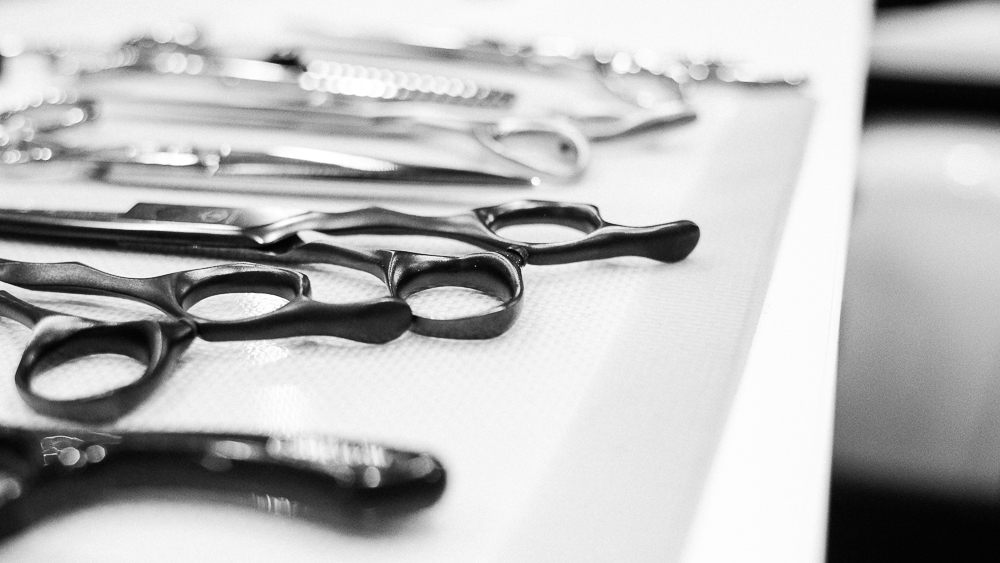
"Can you hone this razor? I found it in xyz and I don’t know if it’s worth the trouble…” We’ve honed thousands of razors and want to offer up some guidance on the subject. You might be surprised to learn just how far-gone a straight razor can appear on the outside while still being a good candidate for use as a daily shaver! Often a straight razor just needs a little TLC - one of many reasons why straight razors are the ultimate shaving solution! In this post we explain what we look for in evaluating the quality and condition of a straight razor prior to honing and provide some photo samples of what can or cannot be honed.

What we look for in a straight razor

The primary considerations we assess when determining “honeability” are the maker/manufacturer of the razor, materials used, and wear and tear. Other factors which affect the quality of the razor include the workmanship, how it was heat treated, and how it was handled after heat treatment during finish grinding.

Maker/Manufacturer

If the maker or manufacturer is known and the razor isn’t rusted through or burned away by a grinder, it can likely be honed to shaving sharp. Cheap, re-branded razors made in China & Pakistan are an exception. These are widely available online and marketed as “shaving sharp” when few actually keep an edge. We call these things “razor shaped objects” and are easily identifiable by their… shall we say ‘inconsistent’(?) workmanship, mystery metals, and luxury materials (Damascus steel, buffalo horn, brass-lined scales, etc) at insanely low prices. One such manufacturer even stole our process photos in an effort to appear more legitimate! This is a classic instance of “you get what you pay for” and while some of these razors retain a pretty good edge, just know that it’s a gamble as to whether or not a razor matching this description is honeable. If the price seems too good to be true, it probably is.

By contrast, a vintage razor which is not rusted through is practically a sure bet (we aspire to have the same said of our straight razors in 100 years!). By virtue of its survival, we can tell that it was made by skilled workers using quality materials. In the case of a vintage razor, the main thing to look for is rust. Light surface rust or patina (discoloration of the steel over time) isn’t much of a problem, but if rust--usually red--has penetrated from one side of the blade to the other, it is unlikely to produce a perfect edge.

IMG_1147.JPG

Diagnosis: it will not hone!

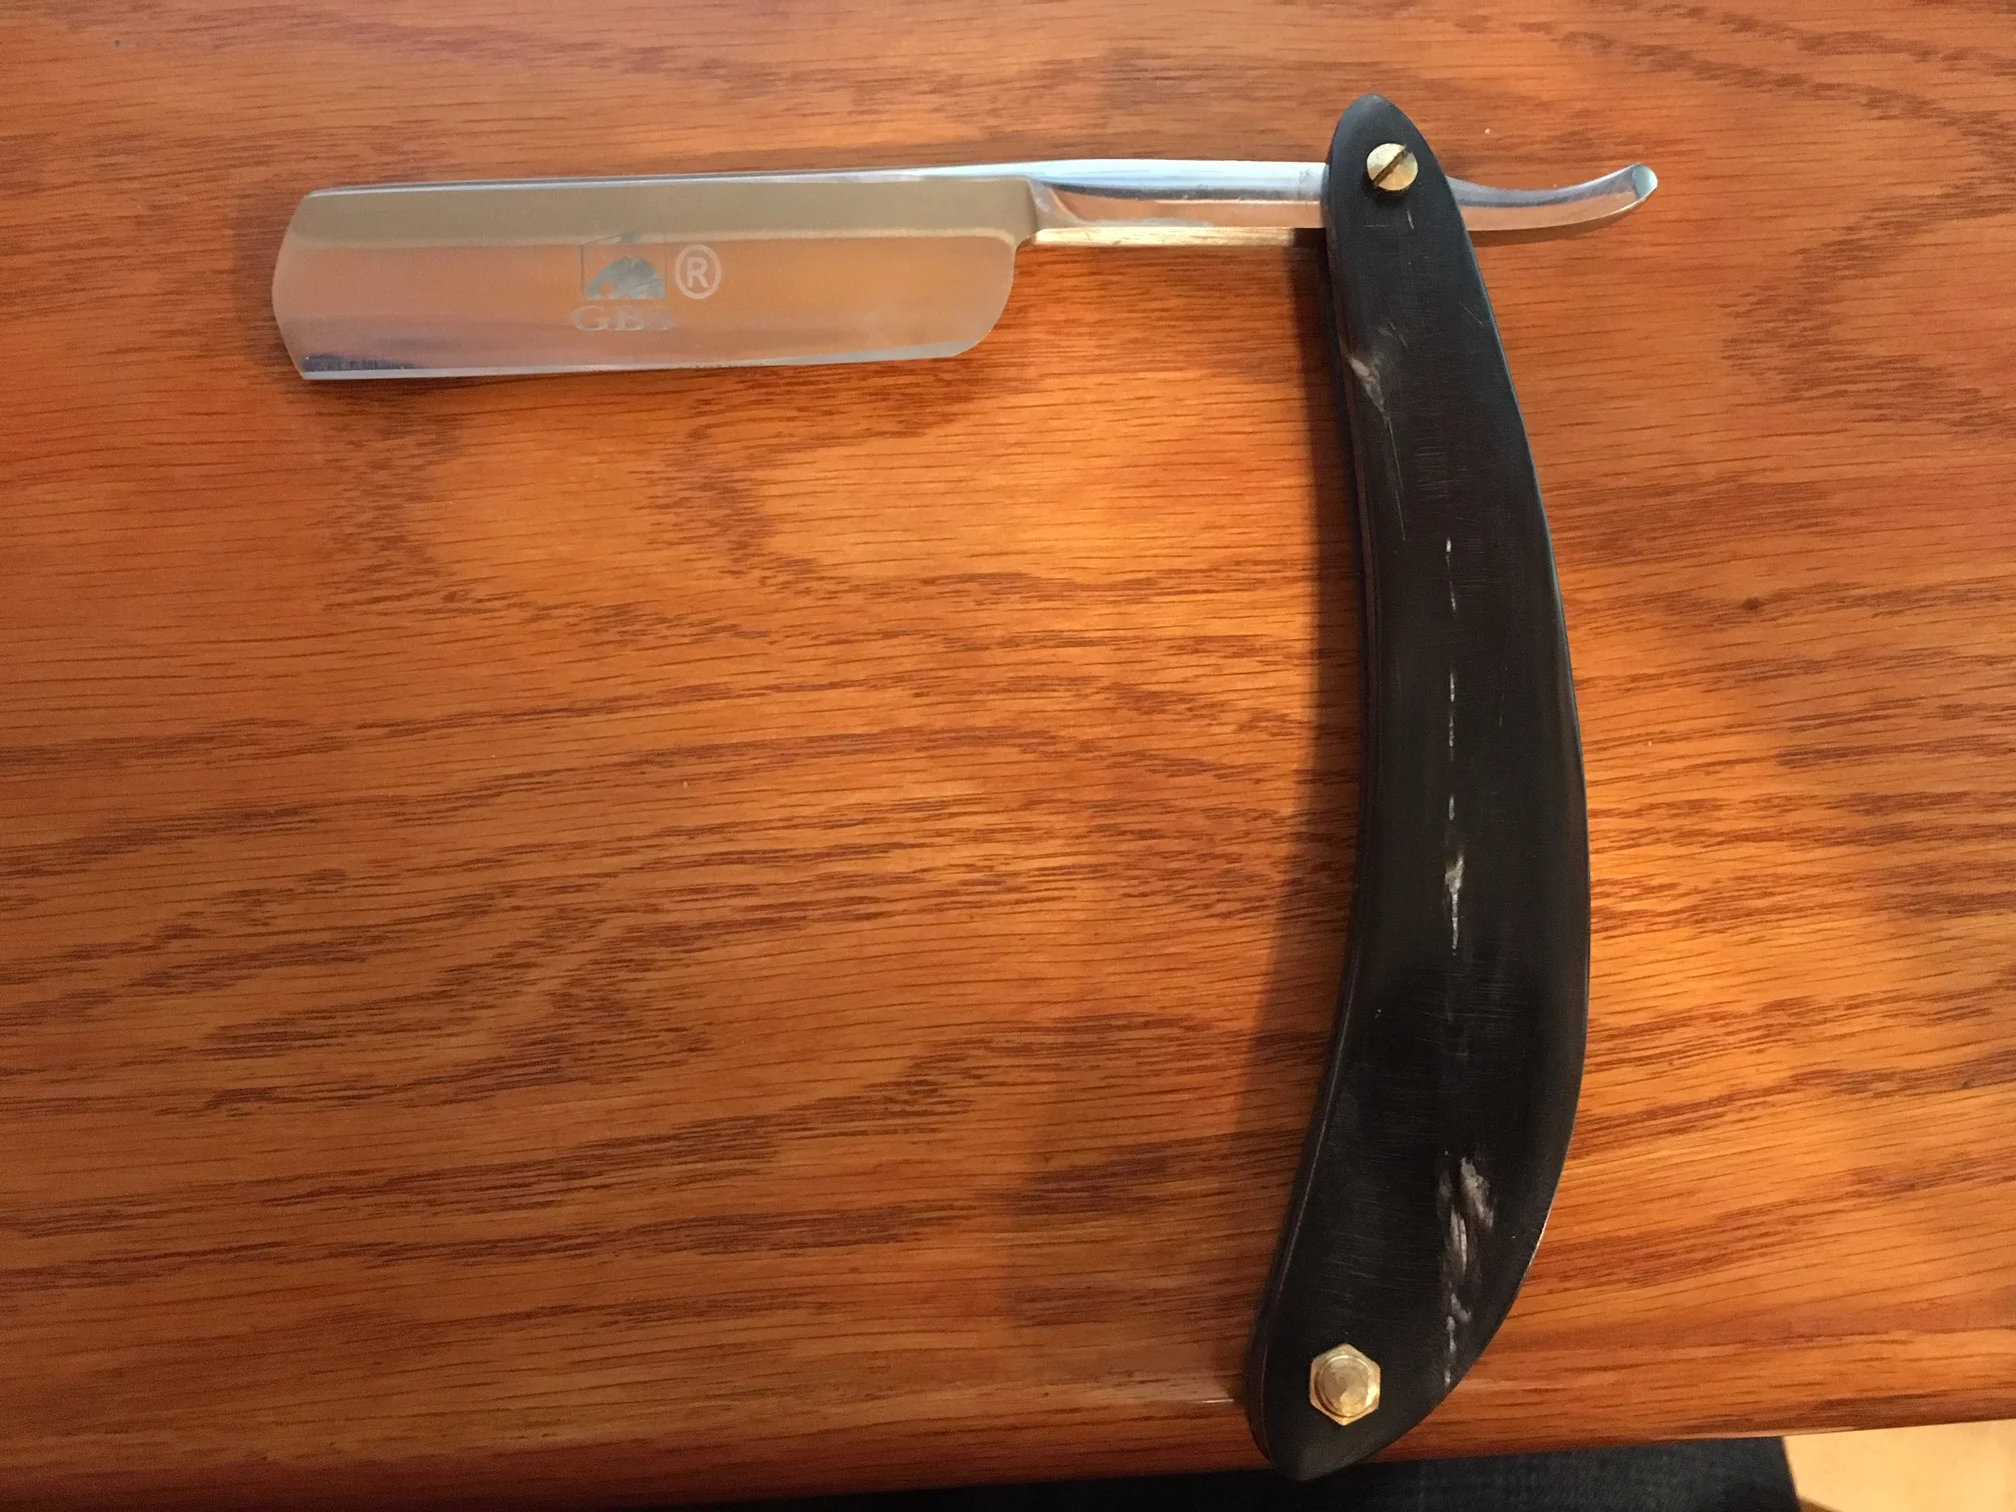
This modern razor is of unknown make and clearly white labeled/re-branded with a laser on the blade’s face. It has a few telltale signs of poor quality:
- uneven grind
- a cheap flathead screw at the pivot instead of pins and washers or a countersunk high quality screw
- chunky box-like scales
- a mirror polish which is very difficult to achieve on a properly heat treated razor with high hardness. The low cost of this razor was disclosed to us and it was a red flag that this razor was most likely not heat-treated properly as a way to save costs on the labor a mirror-finish requires.

IMG_4873.JPG

Diagnosis: it will hone…?

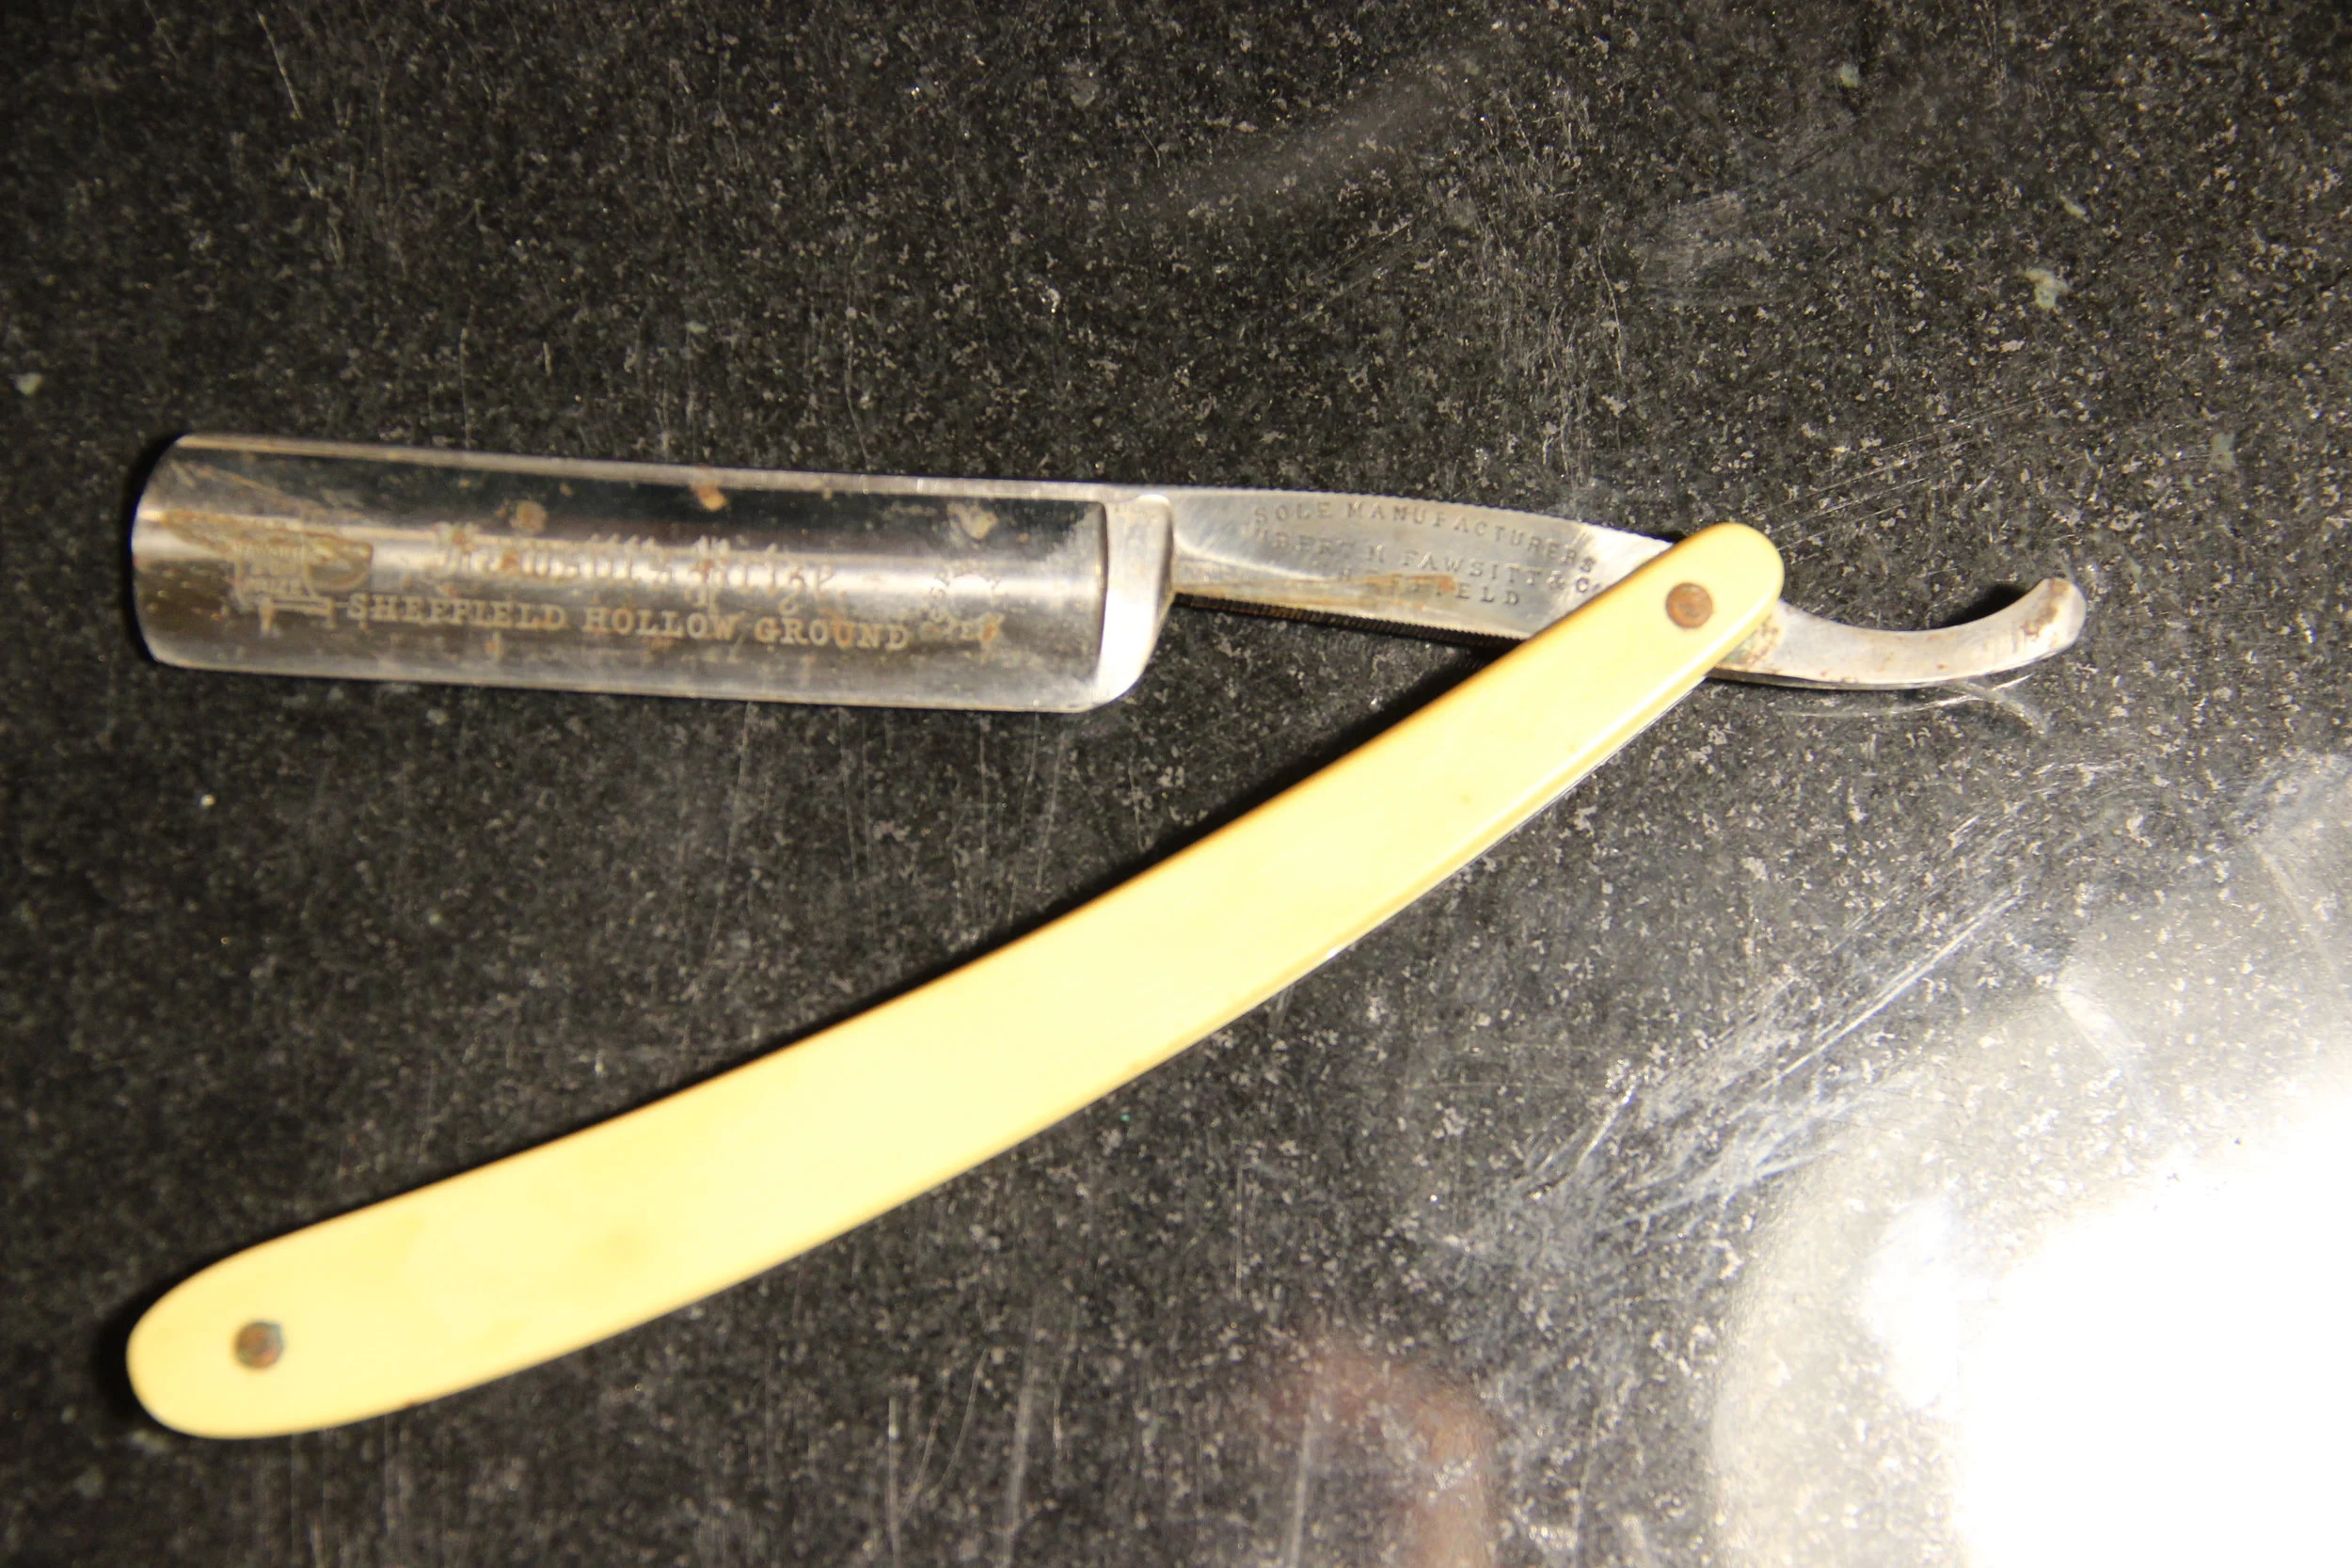
This vintage Sheffield blade shows some signs of neglect. The red rust needs careful polishing/removal before we can determine how deep it goes, but the edge looks relatively clear of rust! Because the edge is rust free, we’ll have this razor sent in so we may determine if the rust does not penetrate through the blade. If the rust has compromised the blade, we will refund the honing service fee.

Materials

Vintage razors are almost universally made with high-carbon steels. Some will have brand names like “blue steel” or “silver steel,” but all are of relatively high quality if they have survived a few decades or twenty. High carbon steel is relatively easy to work and heat treat, resulting in harder, sharper blades. The heat treatment is, in reality, the most important invisible step in making any blade. It’s also the easiest corner to cut during manufacturing, since softer metals are easier to grind and errors only become apparent during sharpening. Steel which is improperly heat treated will be softer, more flexible, and unstable in the microscopic dimensions required for a razor’s edge.

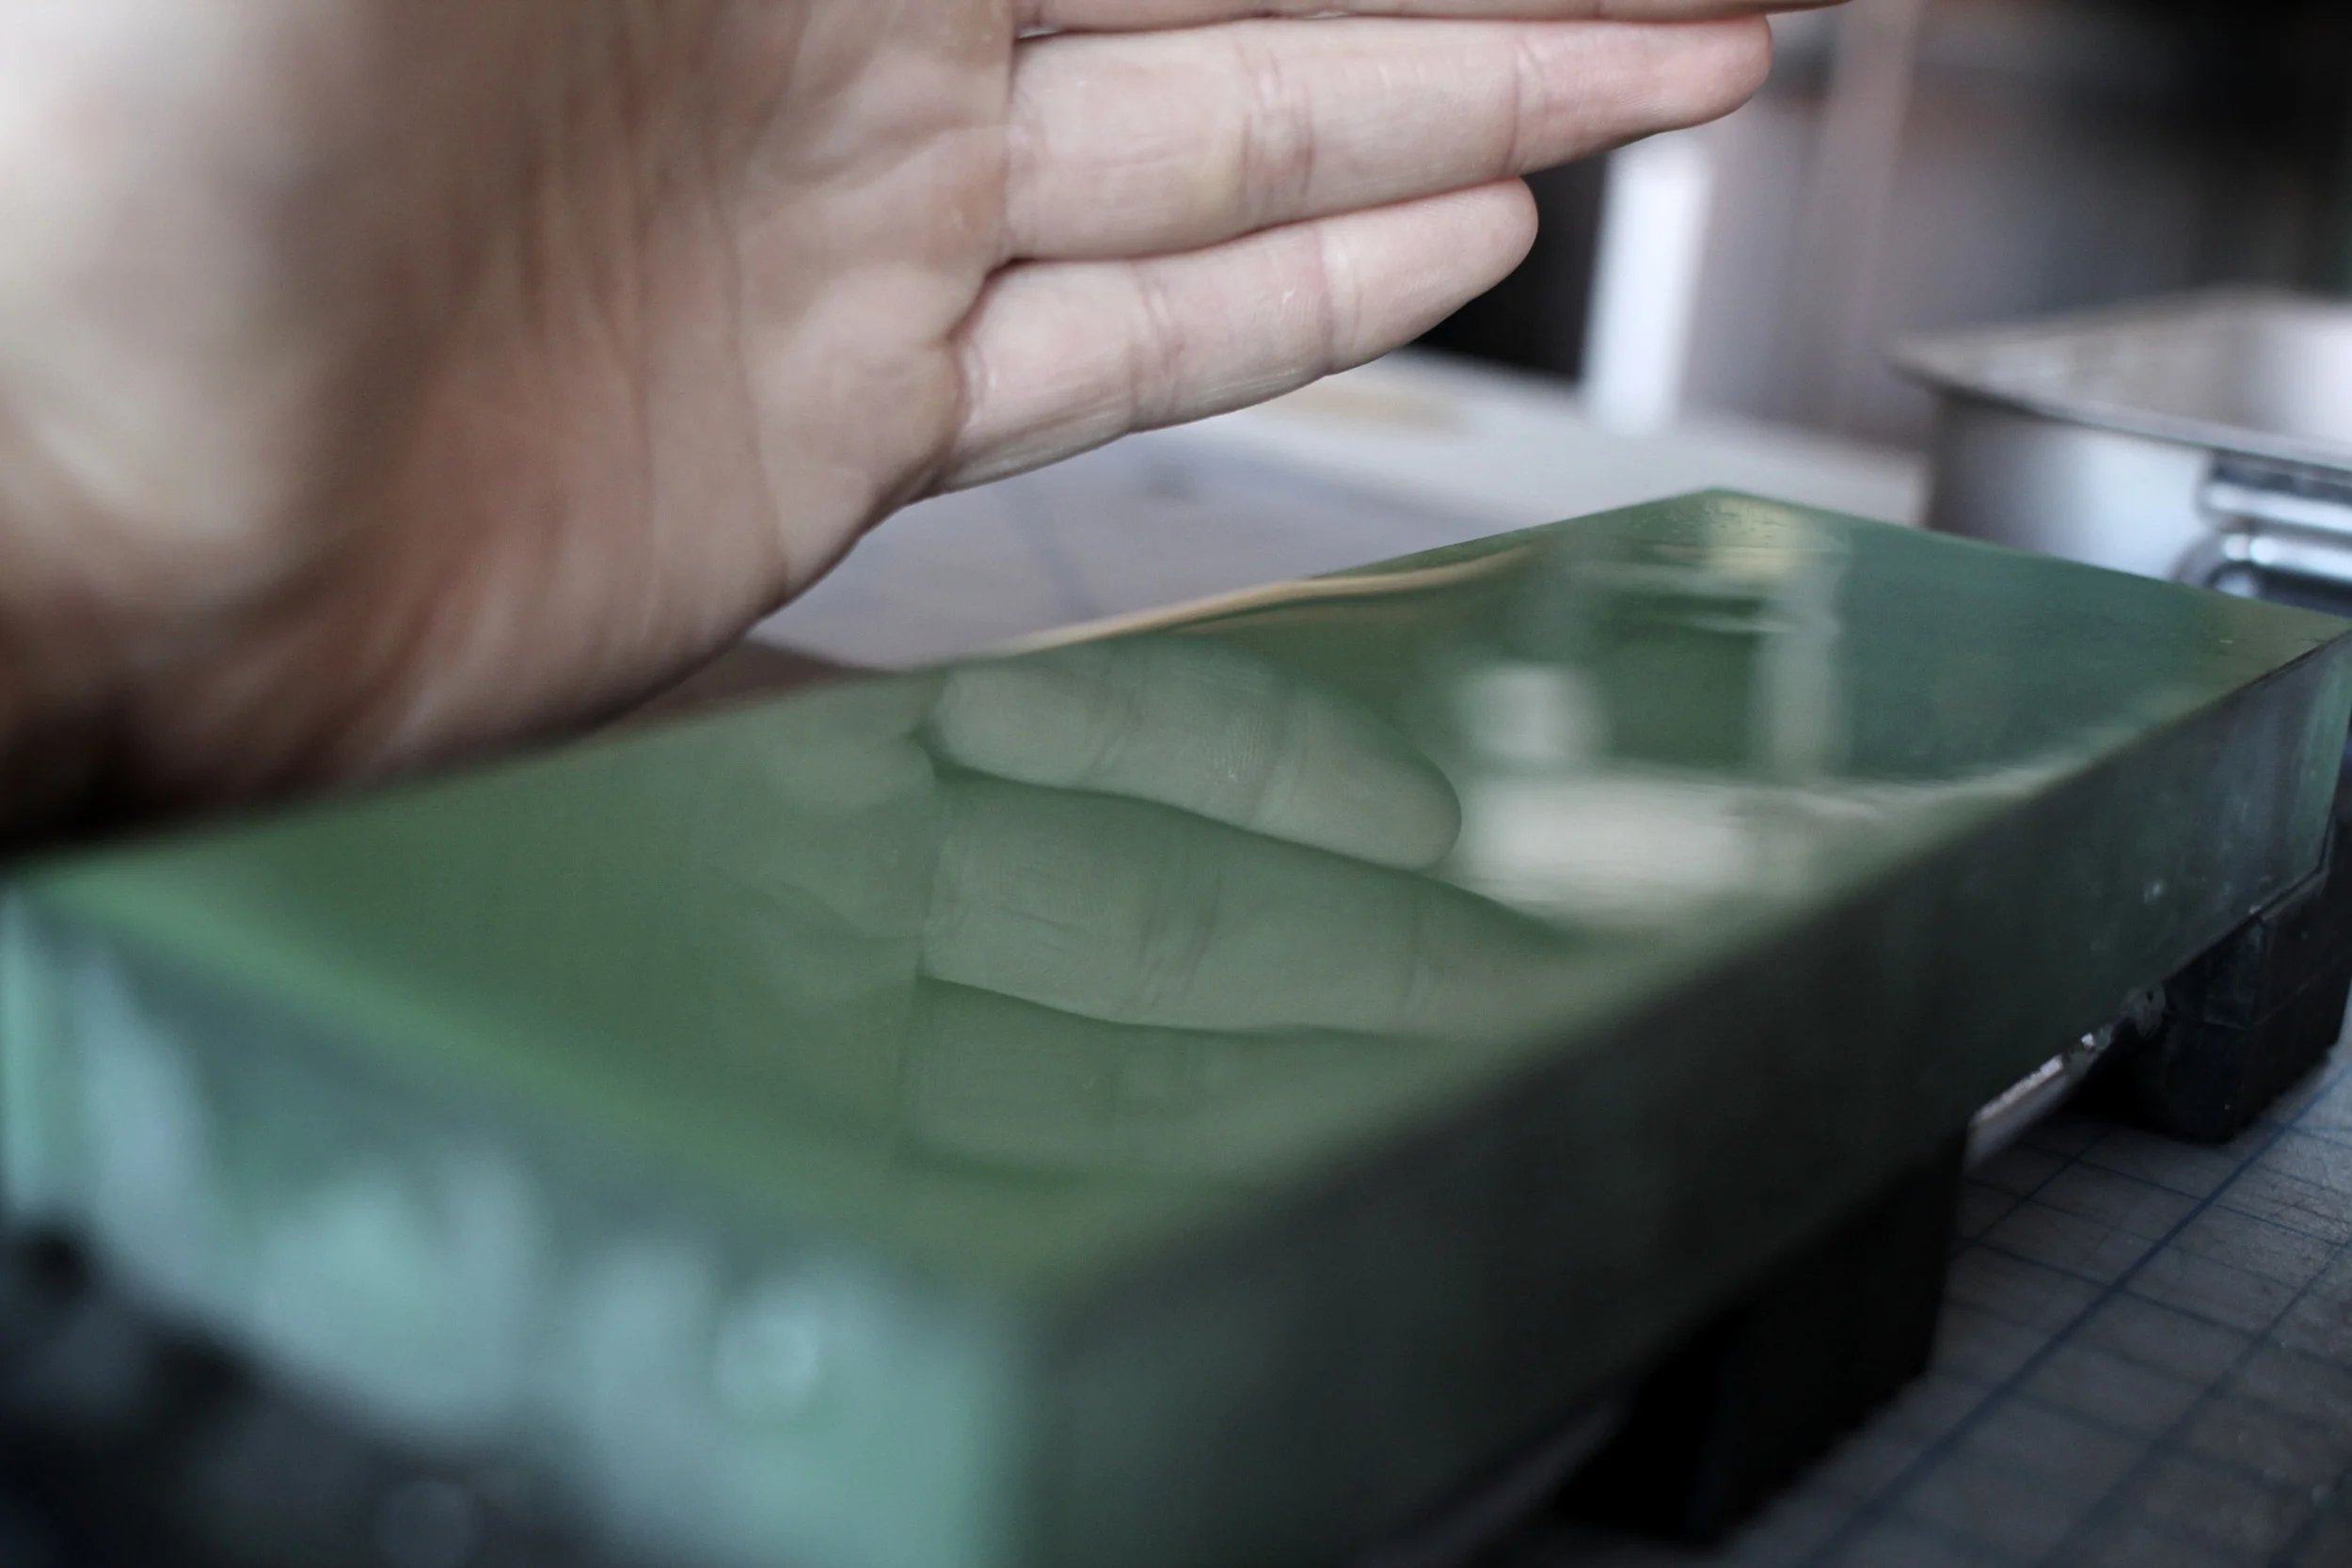
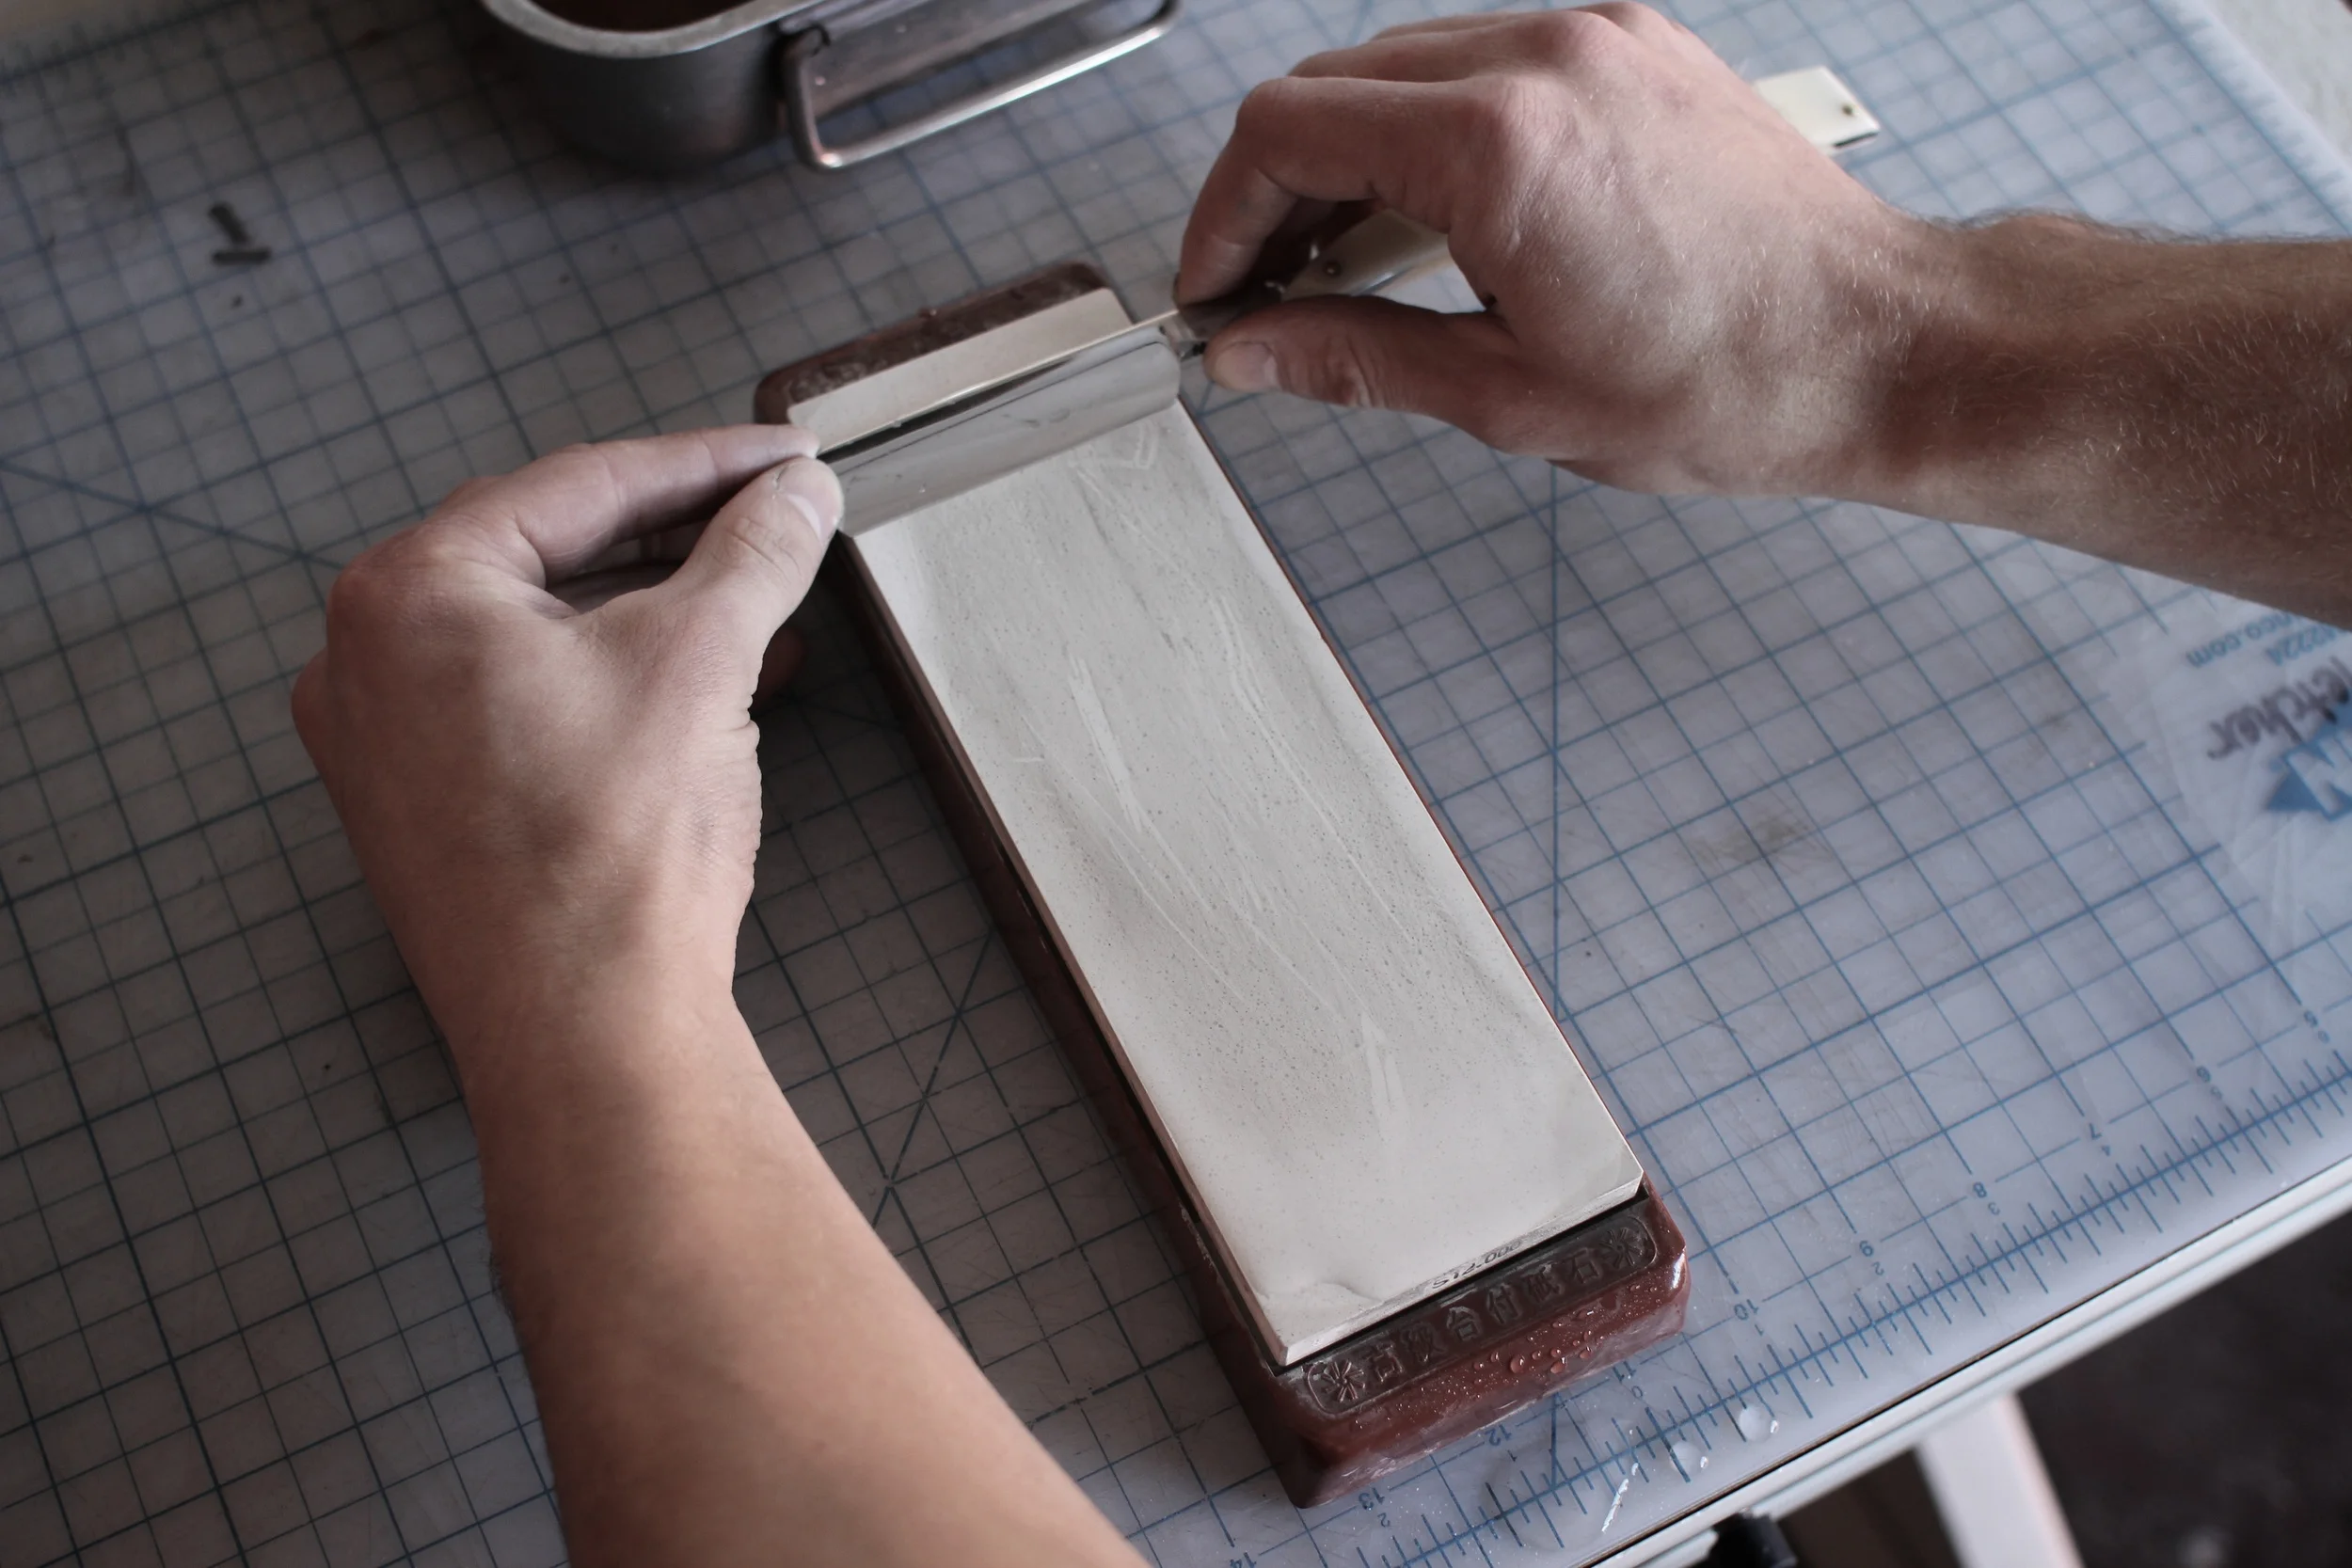
There are many stainless blade steels available, many of which can make a fine razor steel. We are very proud of our stainless razors and take great care in owning our heat treating process. Even 440C stainless does the job well… if heat treated properly. To retain their stainless properties, they must be heated in an anoxic (oxygen-free) environment. This adds time and complexity to the process, something large manufacturers prefer to avoid. Then, as in any bladesmithing process, they must be ground slowly to final thickness to avoid overheating the blade after heat treatment. Heating the paper-thin blade beyond the tempering heat of the blade ruins the steel by making it soft and unable to take an edge. This is why razors should never be sharpened on grinders: the heat from that much friction is enough to render it useless.

IMG_0896.JPG

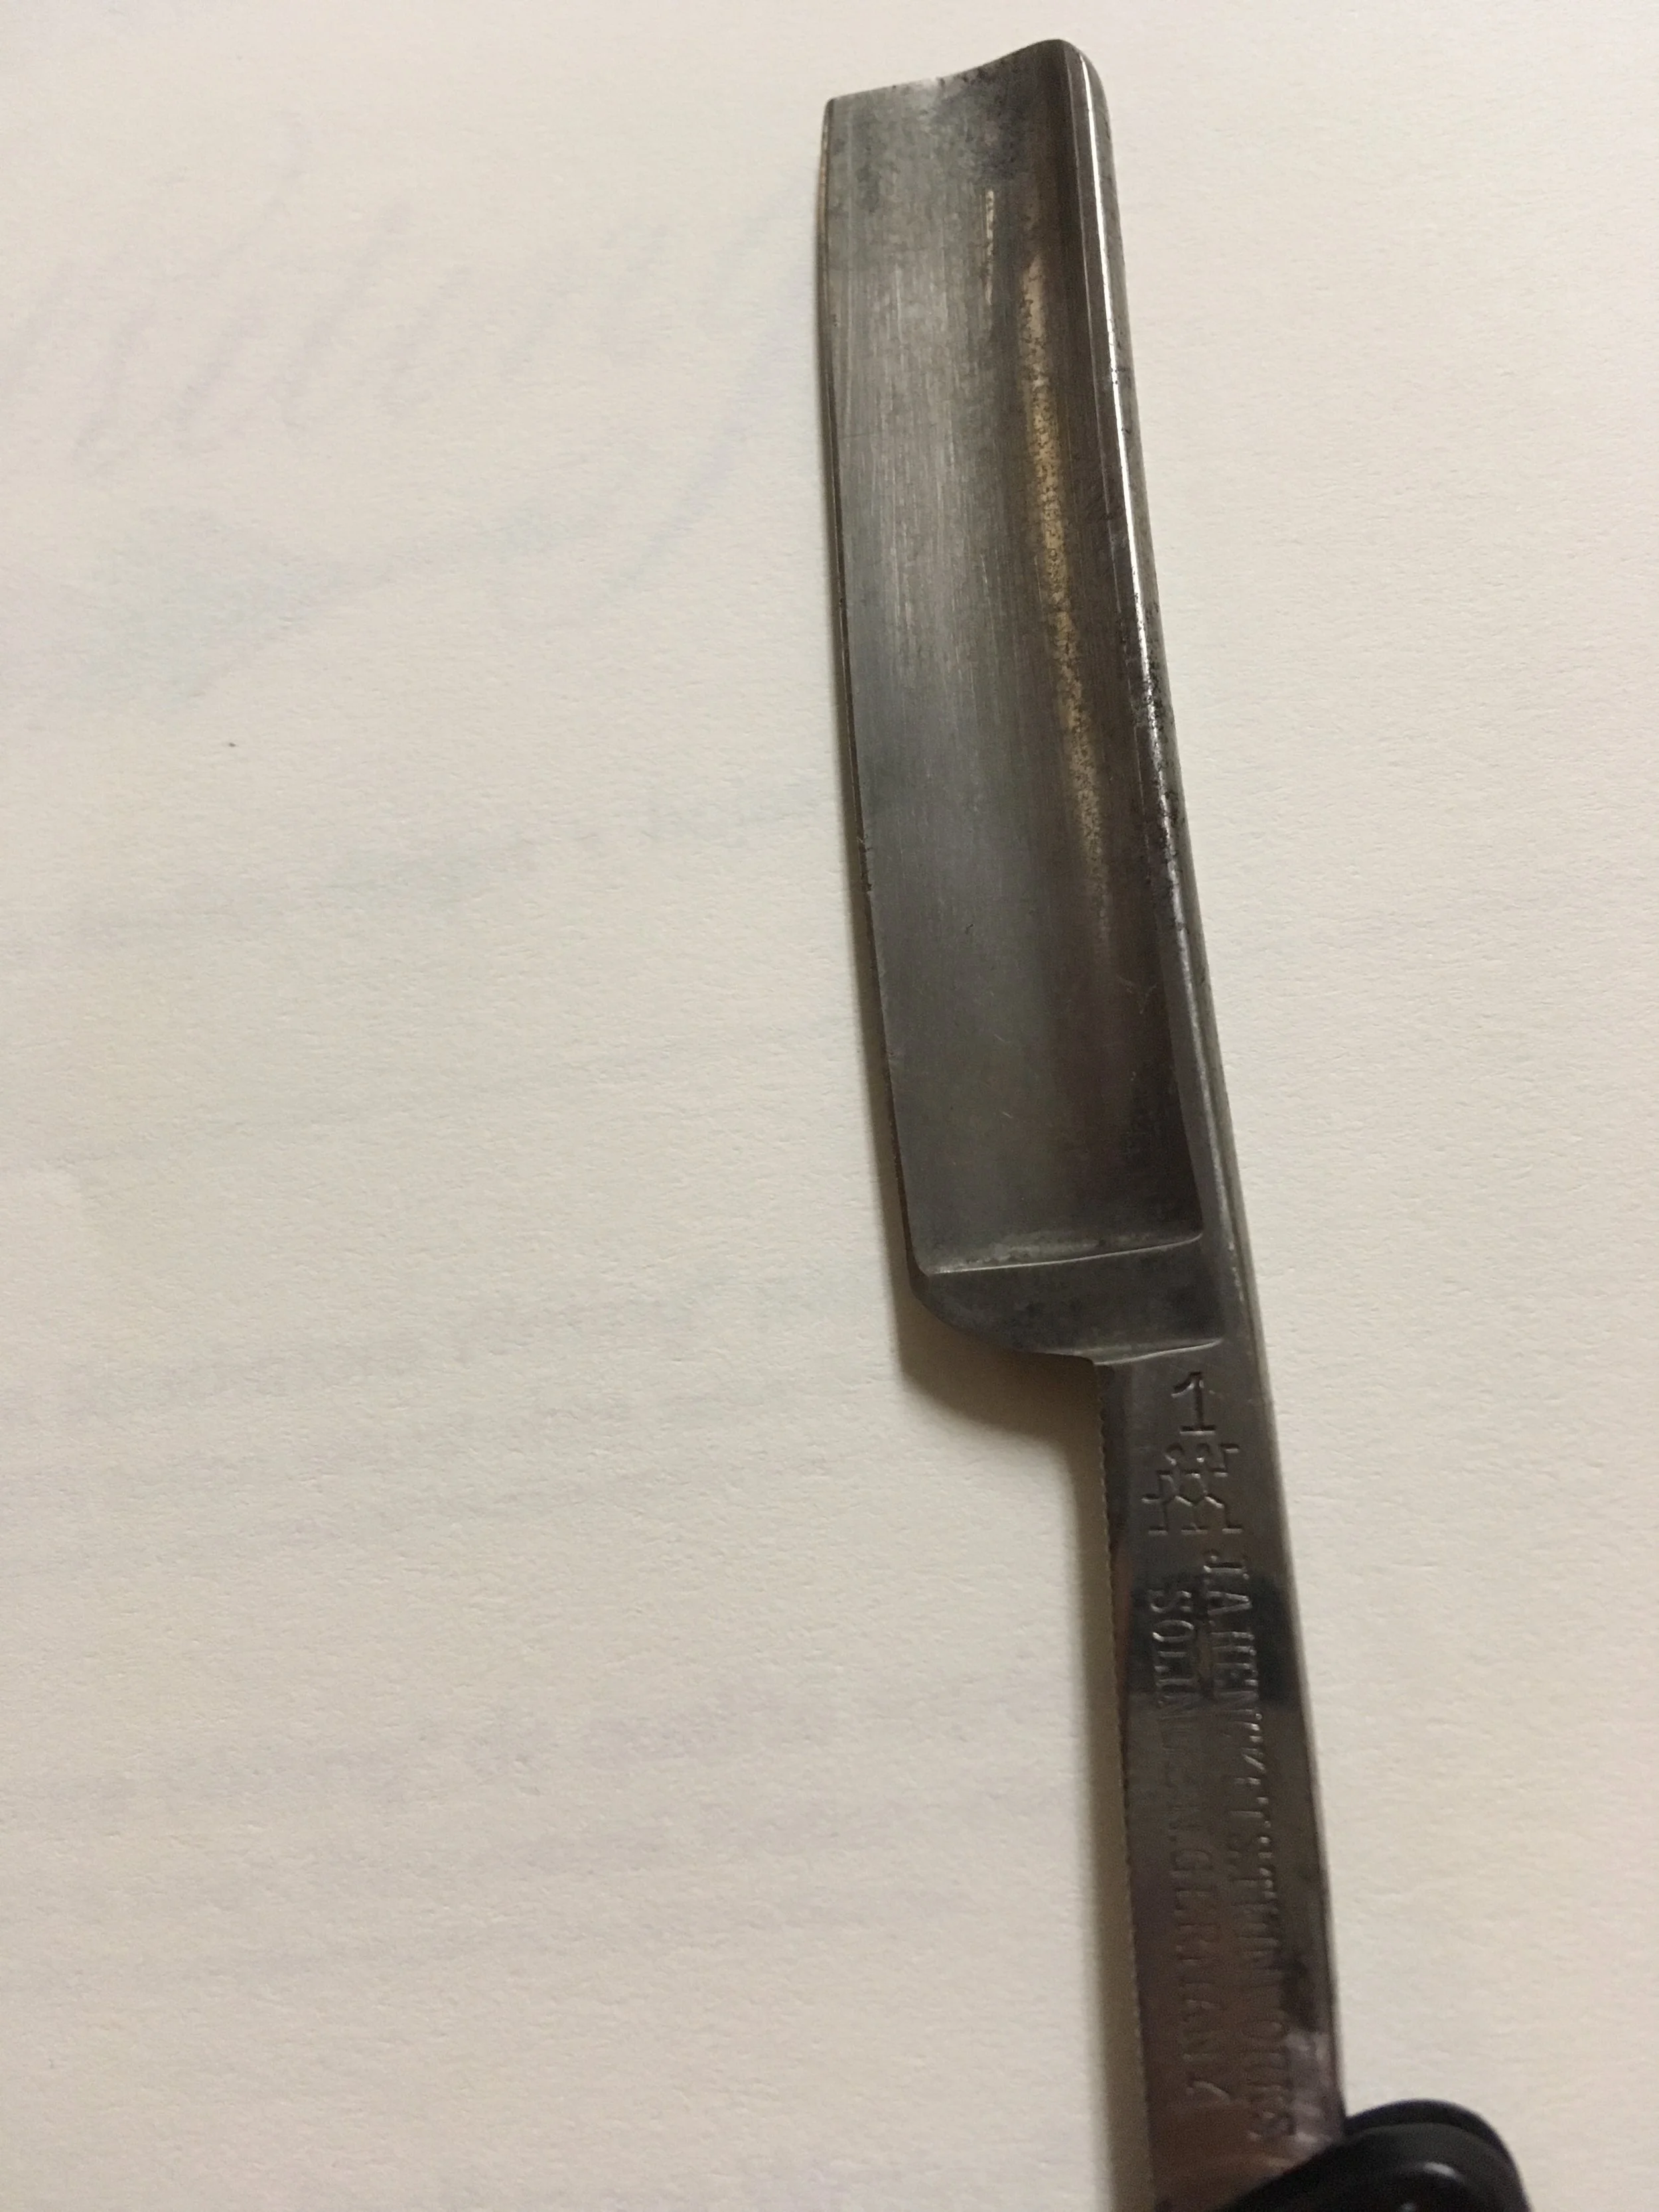
Diagnosis: It will hone!

This vintage cutthroat by J.A. Henckels has an especially dark patina and some pitting, but no red rust which penetrates through the blade. We’ll maintain the gentle blade curve so that very little metal is removed in the honing process. Our belief is “the less material removed the better” as it extends the life of the razor and we are all about waste reduction around here!

IMG_0850.JPG

Diagnosis: it will hone!

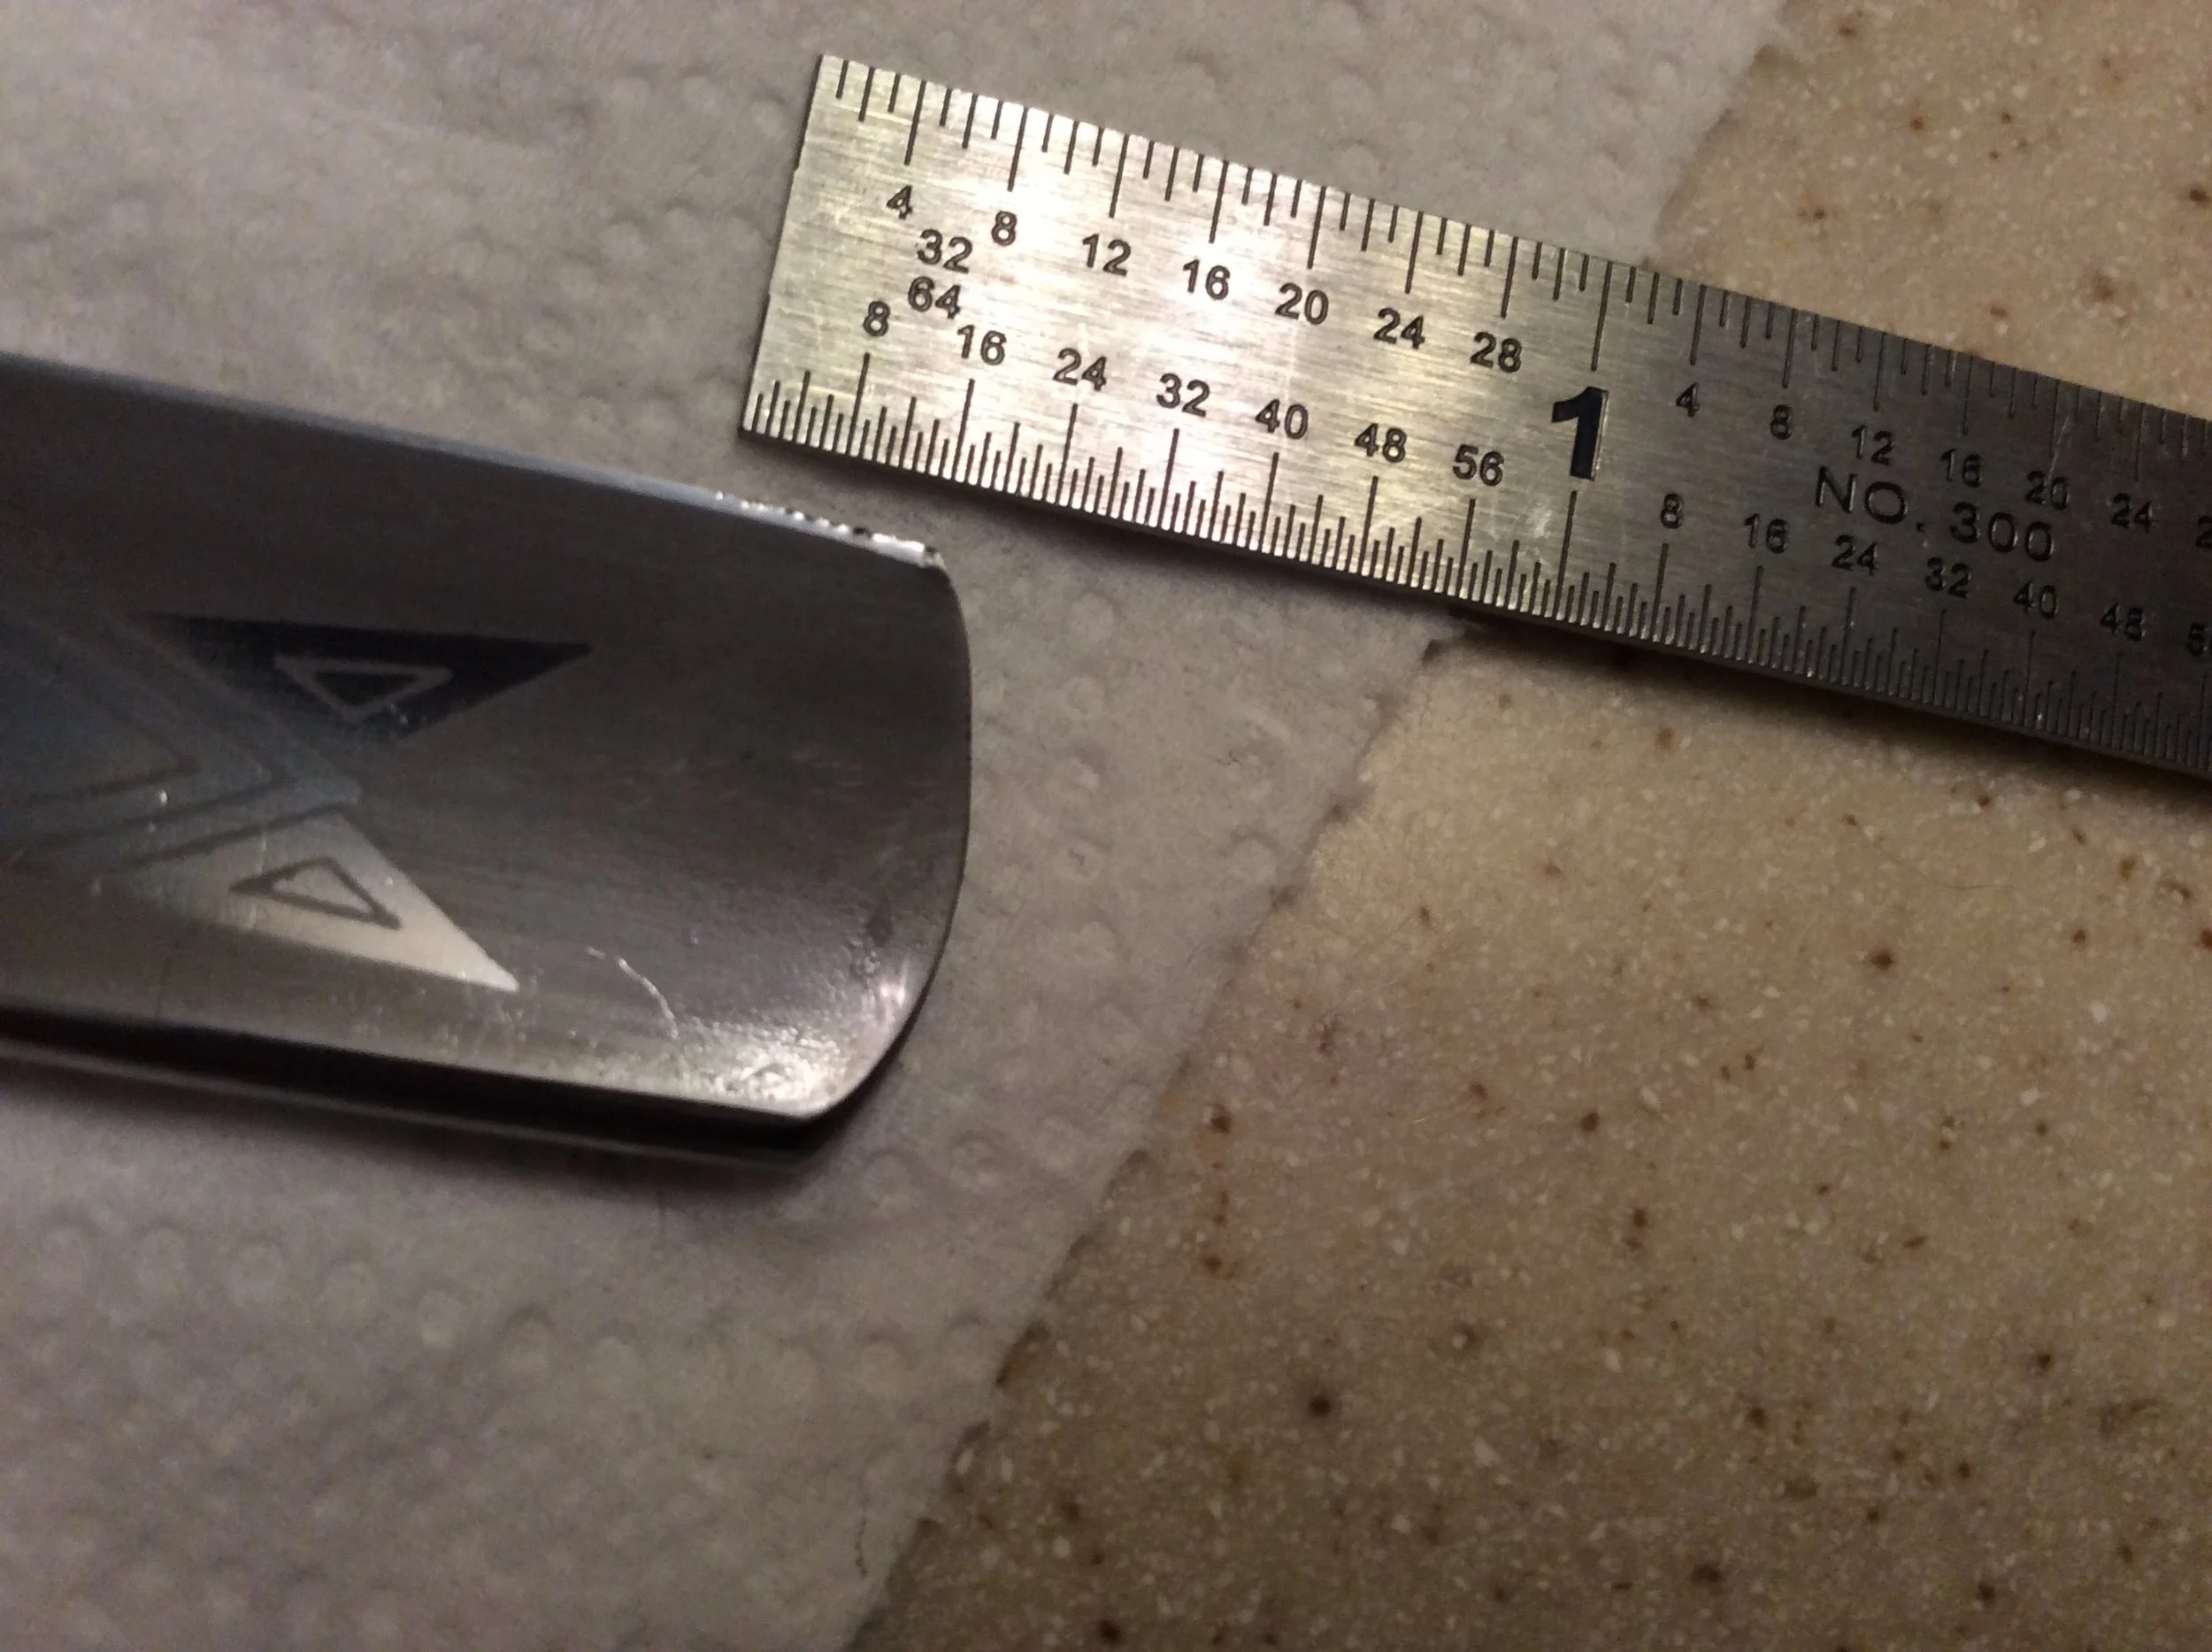
This vintage straight razor shows signs of wear near the toe. This can easily be resolved in a normal honing session.

Wear & Tear

In most cases, a quality straight razor can be restored after minor damage or neglect. On the other hand: grinders, salt water, and improper honing can wreak havoc on otherwise perfectly good razors.

As mentioned above, grinders can easily create enough heat from friction to affect the heat treatment of a razor, effectively ruining it. Grinders remove material in a heartbeat, shortening the razor’s lifespan and causing irregularities in the razor’s edge geometry. At best, this will complicate any attempts at restoration. At worst: bye bye razor.

Salt water is especially problematic for carbon steels. Tap water is bad enough, but salt spray will cause rust at an accelerated rate. If you plan on taking your razor with you for an island getaway, don’t forget to keep your razor dried and oiled between uses!

Improper honing isn’t always catastrophic, though it’s much harder to put material back on than to remove it. Hone wear induced over years and years may produce wide bevels and irregular geometries, but these are more a nuisance than a fatal flaw. Most times, material was simply removed unevenly, affecting the final edge geometry. This can be compensated for by removing material in the right places or by adding it artificially, i.e. with tape on the spine to make it thicker during honing.

One thing that is often forgotten is the condition of the razor’s scales. The scales are an important safety feature, protecting you from the razor and the razor from you when not in use. For this reason, broken or missing scales need to be addressed before sharpening the razor.

scales crack.jpg

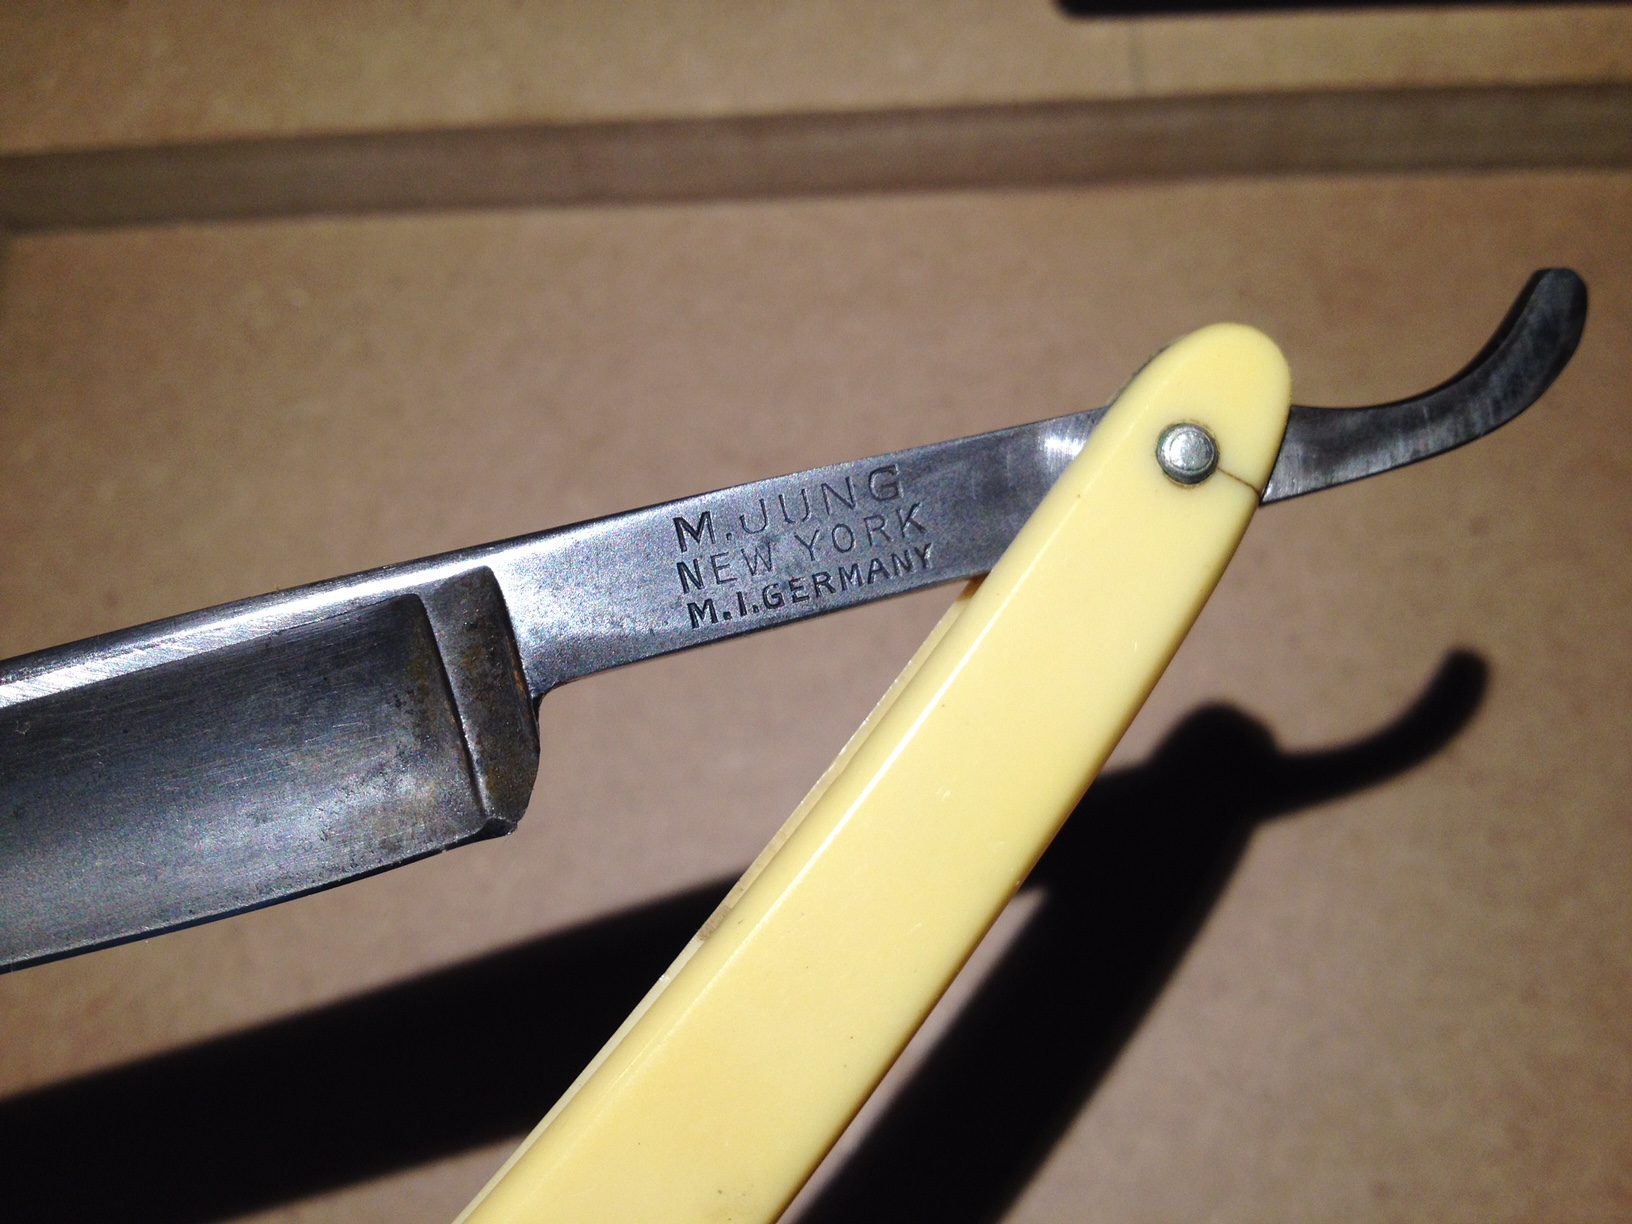
Diagnosis: needs scales, but It will Hone!

Cracks at the pivot are common, especially in vintage razors like this one. It seems to be holding, but the scales should be replaced if this is to become a daily shaver. Scales are an important safety feature, keeping you and the blade safe when not in use. We can take care of re-scaling and honing this razor will be ready to shave on!
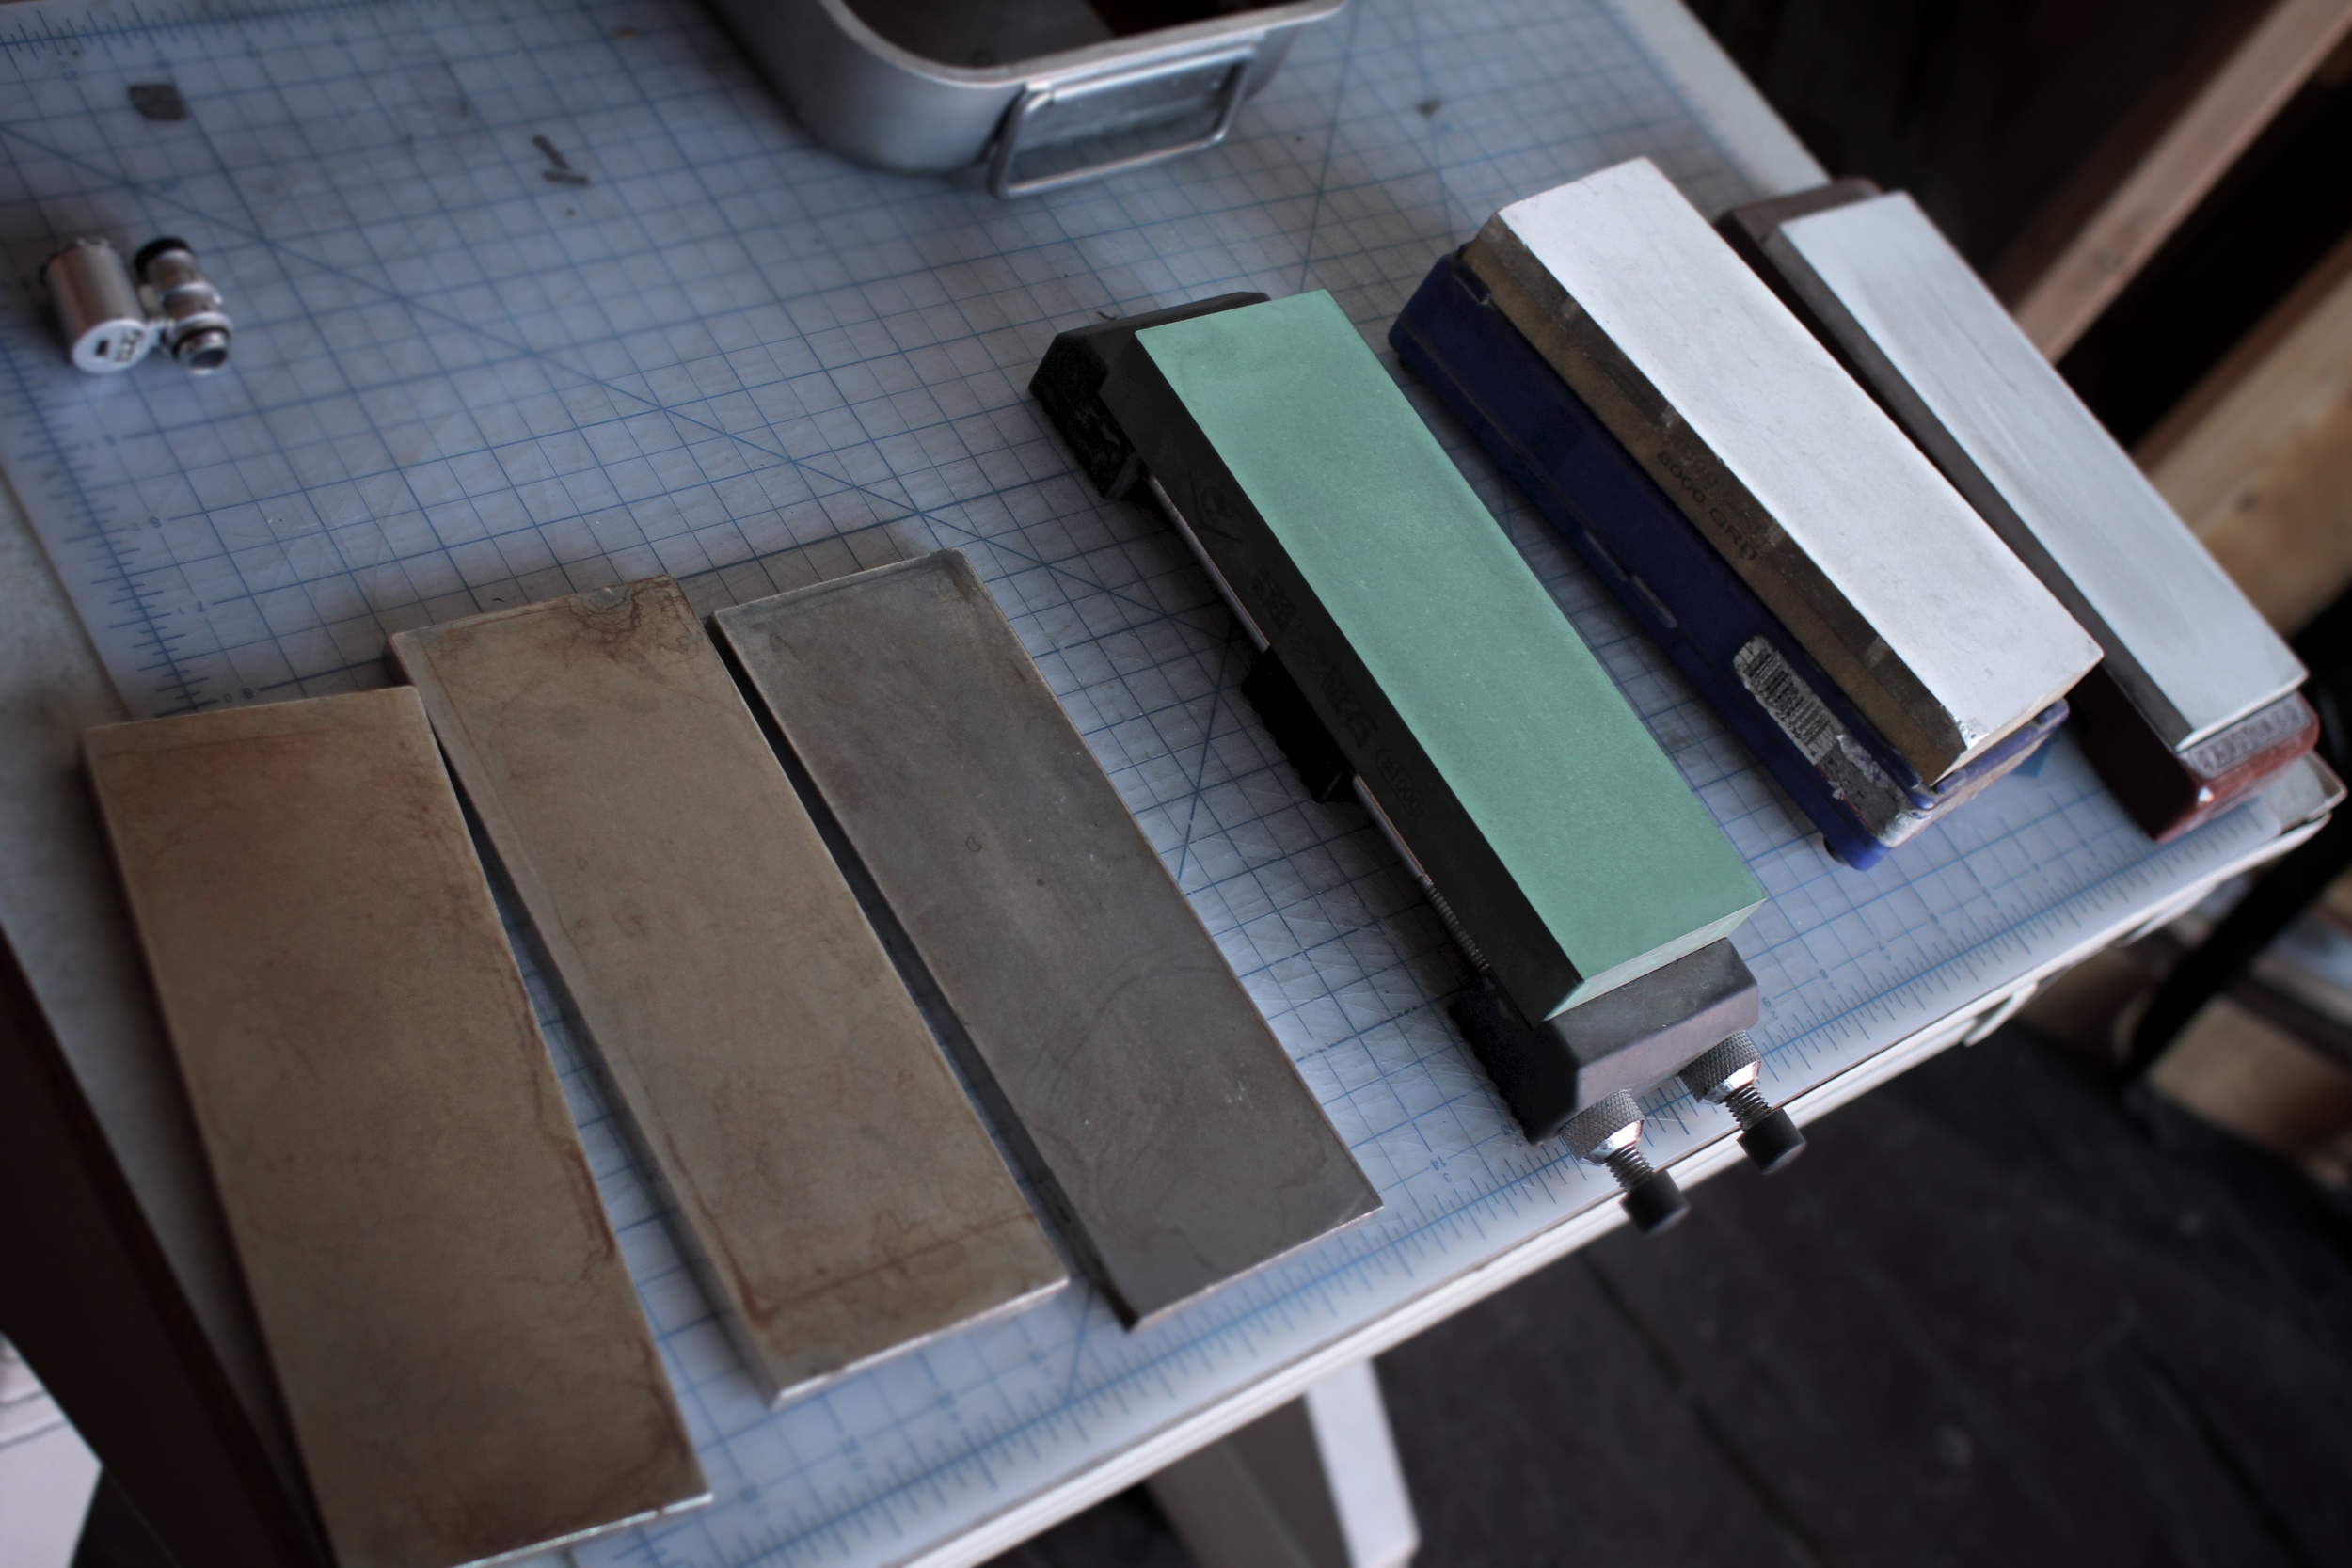
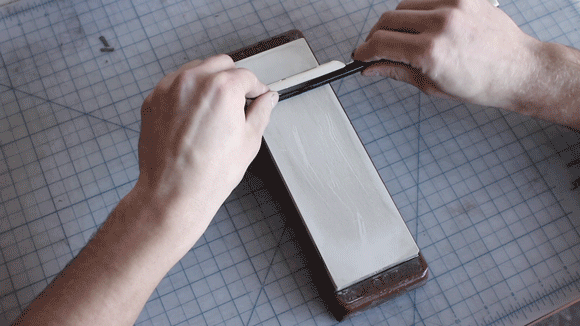
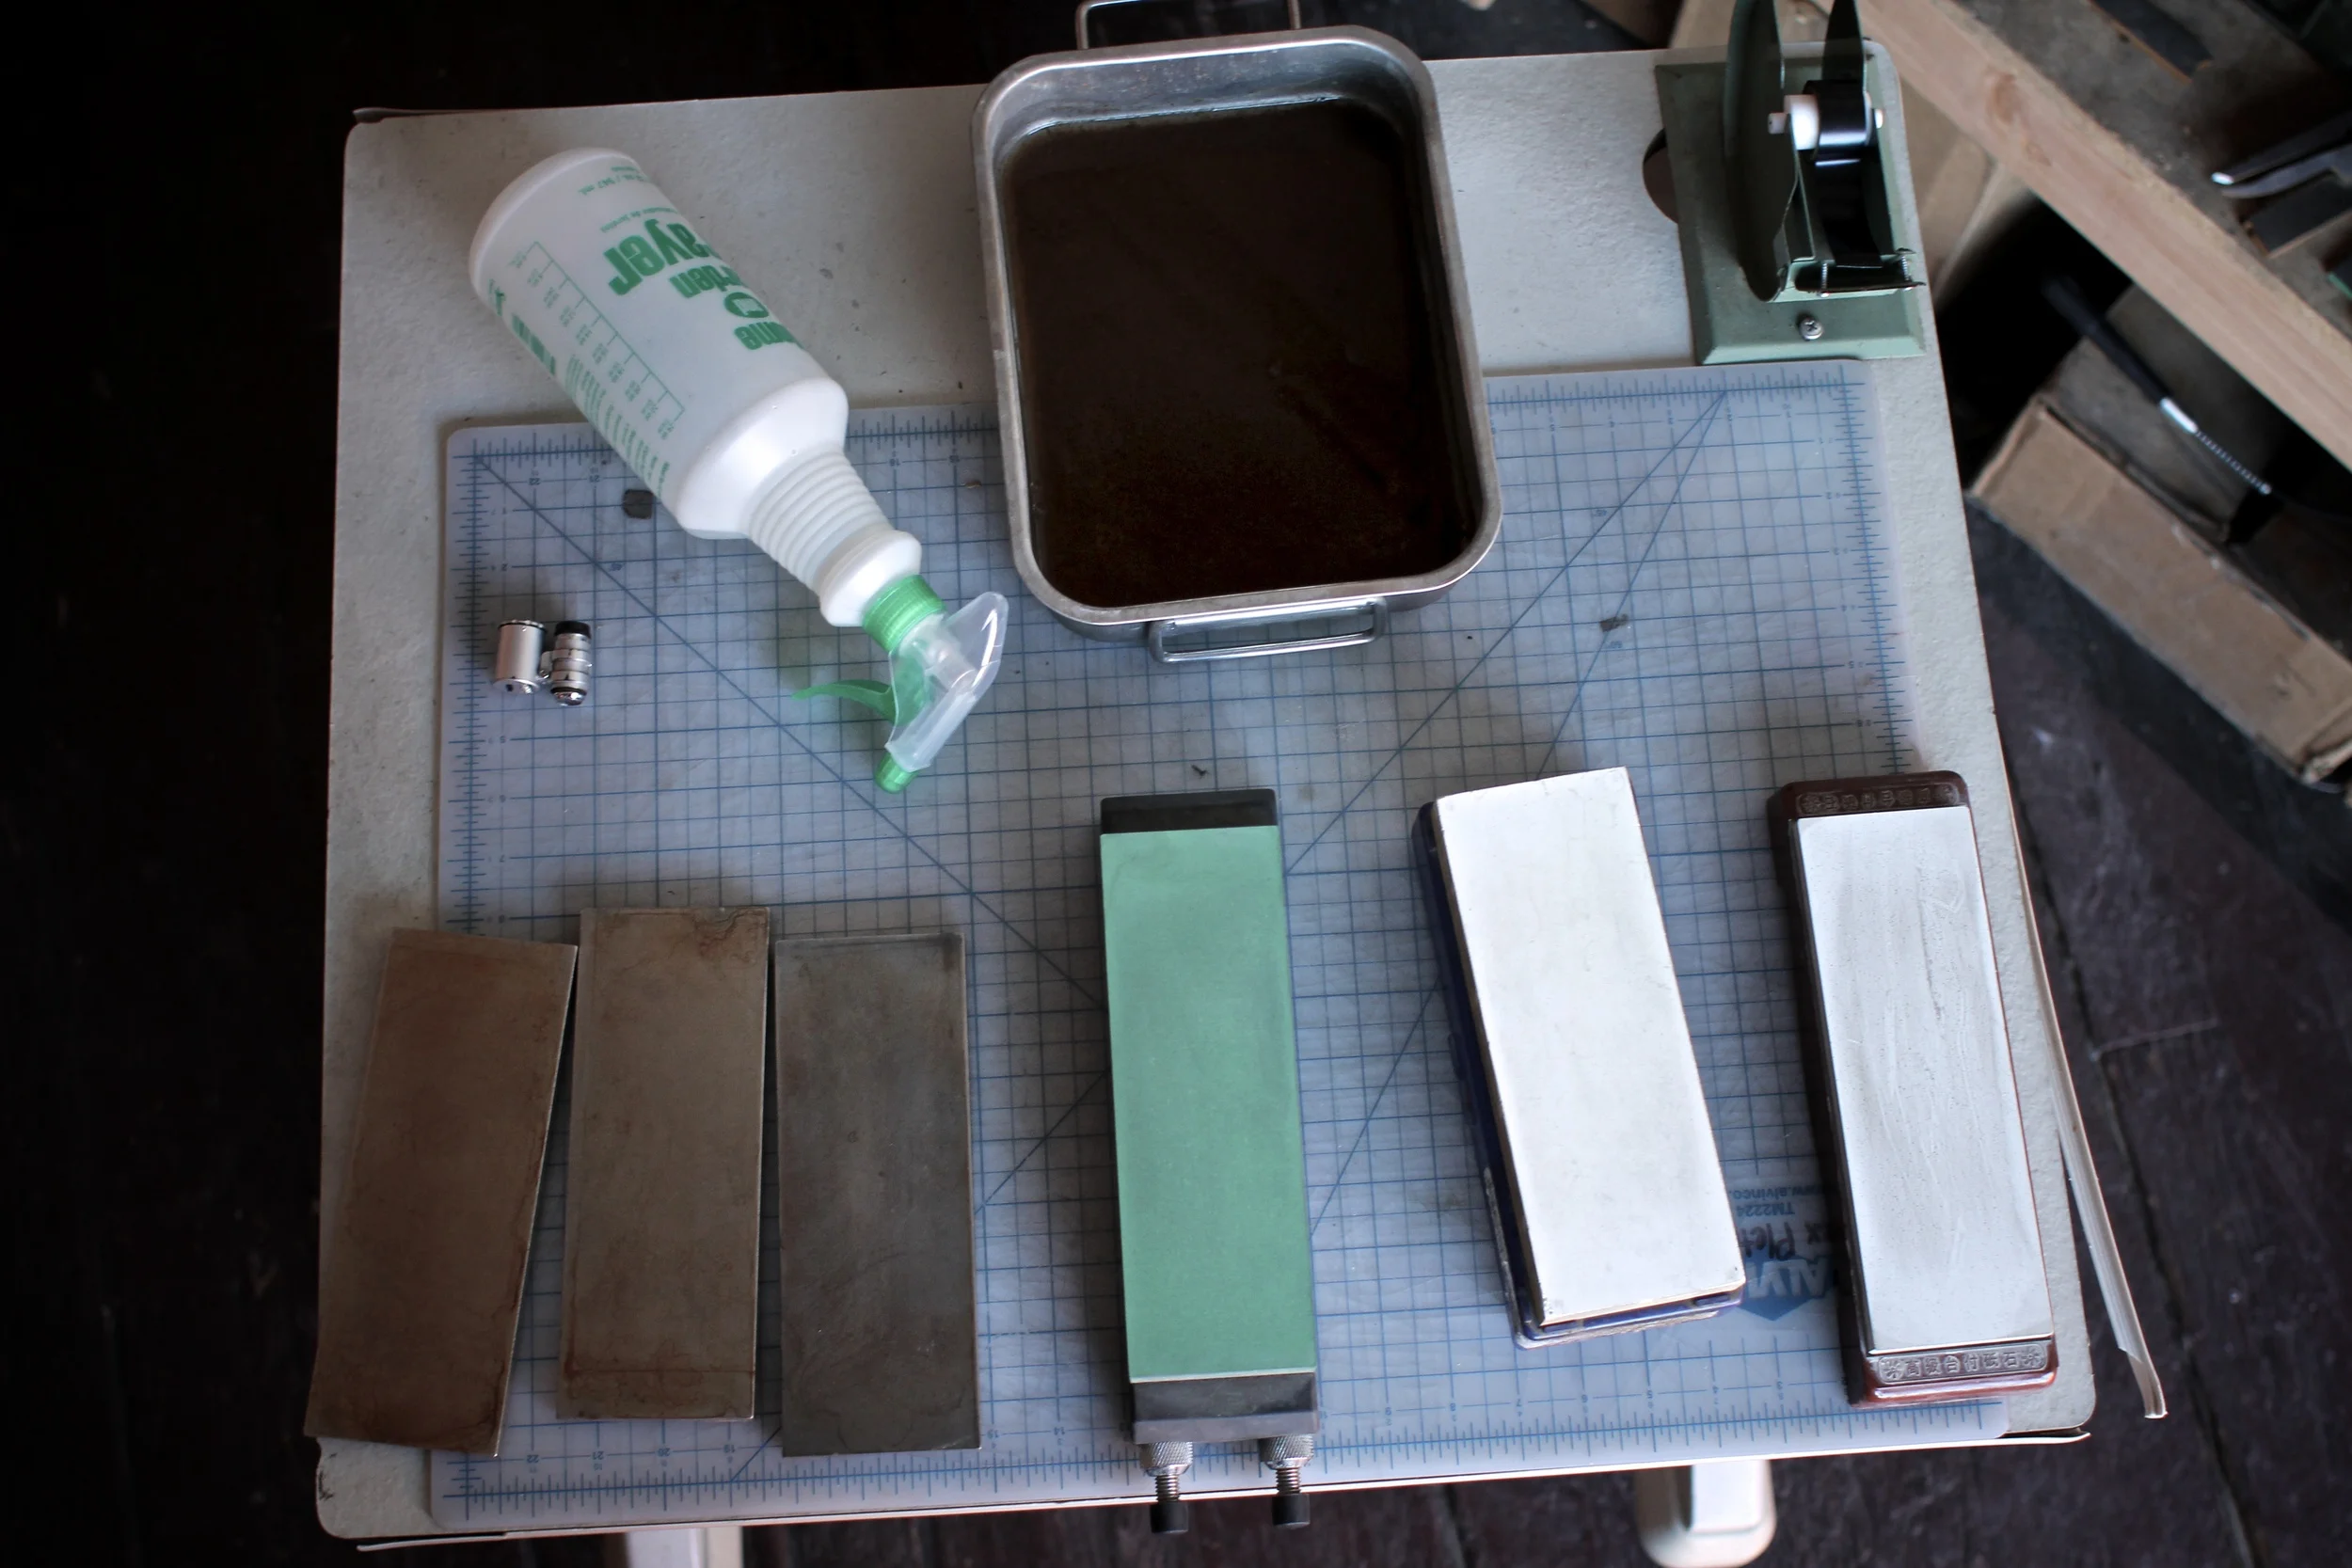
Our honing service

Ultimately, a honemeister can only decide once the razor is in-hand and on the hones for sharpening, as some flaws and damage are invisible until sharpening begins. It isn’t terribly common, but it has happened on occasion that invisible flaws and cracks emerge or propagate once the razor has pressure applied to it on the hones. In these situations, it is our policy to refund the honing service fee and return the razor to you.

Do you have a razor that needs honing? In doubt as to whether it is worth saving? If you still have questions or think you might have a unique issue, we invite you to shoot us an email to info(at)portlandrazorco.com with photos of your razor in question and we will assess it for honeability!

Shear and Clipper Sharpening Services

The day-to-day reality of tool maintenance is not glamorous, but we believe it is necessary and something to take pride in. At Portland Razor Co. we work hard to keep grinders lubricated, laser lenses clean, and saw blades sharp! By lapping our hones between sharpenings, we guarantee that each blade will be as sharp as the one before it. Our work would be impossible without these tools, and we honor them and the work they perform by committing time to caring for them.

Just as our tools are essential to crafting a quality razor, so are a barber’s in crafting a quality haircut, shave, or beard trim. Sharp tools work effortlessly, allowing you to focus on the important things: creating a work of art and building relationships with the person in the chair before you.

In an effort to better support our professional clients, we now offer scissor (aka beauty shear) and clipper sharpening services in addition to our very popular straight razor honing service. You can bring your tools to Portland Shave Shop to be sharpened while you wait, or you can mail them in to us, similar to our razor honing service. Barbershops and Salons in the Portland, OR area may also schedule mobile sharpening services to be performed by a Portland Razor Co. bladesmith at your shop!

shear sharpening at portland razor co-5814.JPG

Tools We Hone

Straight razors
Japanese-style convex edge scissors
German-style beveled scissors
Texturizing scissors
Clipper blades

All tools in good condition and made by a reputable manufacturer can be sharpened. If it cannot be sharpened for any reason, we will not charge for the service.

How We Hone

All honing services are performed by hand on traditional Japanese waterstones. This process results in the finest possible edge with the least amount of wear and tear on your blades, meaning your tools are safer to use, more functional, and longer-lasting than if they were sharpened with mechanized sharpeners.

We do our best to research and match the honing practices of the original manufacturer. Please be familiar with your manufacturer's warranty and repairs policy before honing with us.

House Calls

We know barbers and stylists carry full schedules. If you are a barber or stylist in the Portland Area who would like to avoid the hassle associated with mailing or dropping off your tools for sharpening, we’ll come to you! To schedule a House Call at your barber shop or salon, call us or email us with your location and availability. We are usually available Wed-Fri afternoons for House Calls. There is no minimum to schedule a House Call and no added fee. We look forward to helping you soon!

Honing at Portland Razor Co. Part III

WARNING: RAZORS ARE EXTREMELY SHARP. MISUSE CAN CAUSE SERIOUS INJURY! SHOULD YOU ATTEMPT ANY OF THE TASKS DESCRIBED IN THIS ARTICLE, YOU DO SO AT YOUR OWN RISK. 

Any informed discussion about honing has to begin by saying: there isn't just one way to make a razor sharp. The ultimate test of any honing method is the act of shaving, and judging how well the blade removes hair and feels against the skin. If it cuts hair and doesn't ruin your face, then it works. How well it works depends on an infinite number of factors that may have nothing or everything to do with honing, from the quality of the steel to whether or not you drank coffee with or without sugar this morning.

Part III of this series covers how we hone a razor at Portland Razor Co., from setting a bevel on a virgin blade to final polishing and stropping...

Everyone has different priorities, and choosing a honing method is no exception. When we founded Portland Razor Co., we decided that a razor would never leave our shop less than shave-ready. It had to be functional, durable, and affordable. Honing became part of that equation, and we needed a reliable, repeatable method for getting shave-ready edges on hardened O1 tool steel that didn't take forever, and also didn't cost thousands of dollars. What follows is the best solution we found to meet our needs.

(Left to Right) DMT Diamond stones, Naniwa Chosera/Professional 1k, Norton 4k/8k, Naniwa 12K "Superstone"

(Left to Right) DMT Diamond stones, Naniwa Chosera/Professional 1k, Norton 4k/8k, Naniwa 12K "Superstone"

Our Straight Razor Sharpening Hone Progression: updated 8/21/2019

  1. DMT Dia-Sharp Extra Coarse diamond stone - lapping plate for 400 & 1000 grit hones

  2. DMT Dia-Sharp Course diamond stone - lapping plate for 4K+ hones

  3. Naniwa Professional 400 - bevel setting

  4. Naniwa Chosera/Professional 1K - bevel setting and honing

  5. Norton 4k

  6. Norton 8k

  7. Naniwa 12k

  8. Chromium Oxide pasted poly strop

  9. Poly strop

  10. Hanging Hair Test

Setup

We don't mind getting our table tops wet and covered in metal dust, so our setup utilizes individual stone holders and a spray bottle UPDATE: We now have a dedicated honing station with running water.

Bevel Angle

The angle of the bevel is determined by the height difference from spine to the edge on the razor. A little geometry is required to illustrate this: by changing either the thickness of the spine or the width of the blade, you can manipulate the angle of the cutting bevel as it sits on the hone. A thicker spine in relation to blade width will result in a steeper, more open bevel angle. A wider blade in relation to the spine will create a more acute, or closed bevel. 

Putting this geometry into practice is quite simple: just set the razor flat on its side on top of the stone. We use 7/32" thick steel stock for 6/8 blades to achieve the proper bevel angle. We apply one layer of Super 88 electrical tape to the razor's spine for the factory hone, as this sets the ideal starting angle for the bevel and protects the spine (we don't feel the razor should arrive from the factory with visible hone marks). UPDATE 10/23/2017: due to production changes, we now hone all of our production razors without tape. 

1. Bevel Setting. Setting the initial bevel on a straight razor lays the foundation for all the following steps by establishing the cutting bevel's angle. At this step, we are grinding either side of the blade down evenly until they meet in the middle, creating a continuous cutting surface the length of the blade. The goal is to remove a lot of material quickly, but evenly. Starting on the Extra Coarse DMT stone (now the Naniwa 400), we do this by alternating between small circle strokes with the spine elevated OFF the hone, and longer circle strokes with the spine ON the hone. It's useful to think of the edge as several different parts: ultimately, we want to be removing material from the very edge (front of the razor as it travels across the hone), but any material we remove from the edge must also be removed behind it (the flat surface of the bevel). In bevel setting, we find it best to knock down material at the front first by elevating the spine and to follow up with longer circle strokes with the spine on the hone to flatten the face of the bevel. 

2. Bevel Setting cont'd. We transition to the Coarse DMT (now Naniwa 1K) when we can still see a hair-thin reflection along the edge using a flashlight--we call this the "Shine Test". The bevel is almost set, and so we don't elevate the spine off the stone during circle strokes much, if at all.  We continue until there is no reflection along the entire edge of the razor, passing the Shine Test. The razor can pop hairs at this point, but the bevel is very rough and needs to be smoothed and polished with increasingly finer stones.

3, 4, 5. Honing. After the initial bevel angle has been established, honing can begin. We start on the Naniwa 1K, and move up to the next stone once all the hone lines from the previous stone have been smoothed on the bevel and it has an even shine. If we are honing a razor that has been in use for some time, we can usually start on the Norton 4K stone. However, razors with visible nicks on the edge will start on the Naniwa 1K, or even the DMT coarse if wear is extensive enough.

We use deliberate X-pattern honing strokes (push away, flip over the spine, pull back, with the blade travelling diagonally across the stone drawing an "X"). Some stones are narrower than the length of the blade, and so the diagonal path of the stroke ensures that the whole blade passes evenly over the stone. However, this means that the heel will come off the stone, and we have to be especially careful not to apply pressure to the heel as it passes off the stone, as this will cause a problematic groove on the bevel. 

We sometimes vary our stroke, using 3-4 strokes of each and assessing how the blade is behaving. For example:

  • Apply pressure heel-to-toe as it passes across the hone. This is especially handy on smiling blades, but also helps sharpen the toe and heel of the razor more quickly. We make sure to pass evenly and seamlessly from heel to toe during the stroke, applying pressure as a wave that rolls from one hand to the other.

  • J-stroke. Draw a "J" as the razor passes down the hone. We combine this with heel-to-toe for added variance.

  • (Almost) elevate the spine. Apply rotational torque so the spine aaaaalmost comes off the hone, but doesn't. Here, we can feel pressure transition on to the very cutting edge of the blade, much like bevel setting. We are essentially trying to do the same thing; remove material at the front of the edge before flattening the face of the bevel behind it. We sometimes combine this with a stroke that draws straight down the hone to address the middle of the blade more directly.

6. Polishing. The Naniwa 12K Super Stone has it's own gravity. When the stone is lapped level and has the right amount of water on it, it will just grab the razor and make it perfect. We use very light pressure to move the razor across the hone, and let the stone pull the razor in and do its work. This is our finishing stone and produces the final cutting edge and polish that makes our razors truly Shave-Ready.

7. Polishing on Pasted StropSome shavers like paste, some do not. Well, we like it a lot, and will do a good 20-40 passes on it before sending a blade out the door. Chromium Oxide polishes the bevel and smooooooths that edge just the finest amount without removing much material, while also keening the edge. 

8. Stropping. How well we strop the razor can determine whether or not it will pass Hanging Hair. We strop on nylon for 100+ passes. You'll notice we do not normally strop on leather as part of our honing process. This is because we get comparable results going straight from the nylon to shaving as with leather, although stropping on leather can certainly get you an extra 10% in performance.

9. Hanging Hair Test. We test along the entire length of the razor, cutting a hair unsupported at least 1/2" out. We are looking for dull spots where the hair just slides off the edge instead of exploding... and I do mean exploding! The hair makes an audible "pop" when the blade is sharp enough. 

If you're trying this at home, step 10 is to lather up and shave with it! 

We hope you have enjoyed this series, and thank you for taking the time to learn more about our craft. If you want to learn even more about honing, email us and ask about future class offerings at our shop in Portland, OR.

Honing a straight razor with an X-pattern stroke on a Naniwa 12,000 grit stone

Honing a straight razor with an X-pattern stroke on a Naniwa 12,000 grit stone

Honing at Portland Razor Co. Part II - How to Hone

WARNING: RAZORS ARE EXTREMELY SHARP. MISUSE CAN CAUSE SERIOUS INJURY! SHOULD YOU ATTEMPT ANY OF THE TASKS DESCRIBED IN THIS ARTICLE, YOU DO SO AT YOUR OWN RISK. 

Any informed discussion about honing has to begin by saying: there isn't just one way to make a razor sharp. The ultimate test of any honing method is the act of shaving, and judging how well the blade removes hair and feels against the skin. If it cuts hair and doesn't ruin your face, then it works. How well it works depends on an infinite number of factors that may have nothing or everything to do with honing, from the quality of the steel to whether or not you drank coffee with or without sugar this morning.

Part II of this series will discuss discerning when to hone, choosing your first hone, lapping the hone, examining the razor, and setting up your honing station. Finally, we will cover the basic technique for honing a razor: the X-pattern honing stroke.

When to Hone

You've noticed lately that you don't enjoy shaving. It seems harder than it was last week, the results aren't as good, and your face is red and puffy afterwards no matter how much lotion you use. You've been diligent about practicing your stropping, even posted videos to the forums for veteran shavers to critique. Your shaves were going so well a while back, almost getting that baby-butt smoothness. But now your results are patchy, at best. Well, chances are your razor is dull or damaged and honing is already way overdue. 

A more likely scenario is that you've put your razor through its paces for a few months and the edge has been knocked down beyond what normal stropping can restore. If you really want to put off honing, you can try pasting your strop, but only if you're confident that your technique is up to snuff. Eventually the razor will need to be honed, and you can either fork out the money to have someone else do it, or you can buy yourself a good hone and invest some time in a new skill set.

Assuming you have chosen the latter option, here is what you'll need to get started:

The Hone 

Which hone should you use? A quick google search will yield a lot of suggestions, and a dive into the forums will yield even more. Belgian Blues, coticule stones, natural stones, resin stones, ceramic stones... You get the idea. One hone which is affordable, consistent, and comes highly recommended is the Norton 4k/8k waterstone. It's a great for anyone wanting the simplicity of a one-stone system: the 4k side is abrasive enough to work out minor nicks and scratches, and the 8k is fine enough to produce a shave-ready edge. We use this hone in our manufacturing process and it does a great job at refreshing razors after prolonged use. One drawback of the Norton 4k/8k is that it must be lapped before its first use, as the surface finish from the factory is too abrasive and not consistent with the rest of the stone. 

If you want to tackle a more seriously damaged razor, a more aggressive hone like the 1k Naniwa Professional (formerly Chosera), or even a coarse DMT diamond stone will likely be necessary. The advantage of the DMT stone is that the hone's base is precision-ground and guaranteed to be perfectly flat, and does double duty as a great lapping stone.

In general, you want to remove the least amount of material possible, and so you'll want to start honing with the finest stone that will yield the desired result. Starting on a coarser stone will remove material faster, but too coarse a stone will leave deep hone lines on the bevel which will have to be smoothed out on finer stones. Starting on a finer hone removes material more evenly, but one which is too fine will take much longer and wear out the hone. Better to start on too fine a hone and realize you need a more abrasive one, than to start on too coarse a stone and realize you've removed too much material. 

Lapping The Hone

Your hone should be flat and clean of debris before you start honing. This doesn't have to be done before every session, but after multiple honings the tiny pores in the stone will start to fill with swarf--fine pieces of metal and stone--which reduces the stone's abrasive quality. Lapping clears swarf and levels the stone by exposing fresh material. This does reduce the thickness of the stone over time, but this is a less pressing issue than a dull razor.

  • To lap your hone, hold it in one hand with the lapping stone facing it in the other.
  • Under running water, press the stones firmly together and rub them back and forth so that the whole surface of the hone is worked by the lapping stone. 
  • Continue until fresh material is exposed on the hone's entire surface. 
  • You may also choose to chamfer the corners of your stone.. You do this by placing the edges of the hone perpendicular to the lapping stone and rubbing them together, creating a 45 degree angle in relation to the hone's surface. This is to reduce the consequences of some common mistakes, like applying too much pressure to the heel as it passes off the stone.

Once your stone is flat and clean, it is time to address the blade itself. 

Examining the Straight Razor

  • Determine the shape of your razor.
    • Razors that are straight are the easiest to hone, and require no special considerations.
    • A "smiling" razor, one whose edge projects outwards in the middle, will have to be honed in a rocking heel-to-toe pattern, taking care not to wear out the middle of the blade.
    • A "frowning" razor whose edge is concave has been over-honed and is damaged. Honing this will require some more involved restoration for it to be effective.
    • A blade which is bent or curved to the side is quite common, especially with vintage razors with an extreme hollow grind. Steel fatigues over time and can warp, but the degree of warping will determine whether or not the blade can be honed. If the blade is bent sharply, it is likely useless. 
  • Look for any visible signs of wear on the blade. Imperfections will show up as reflections under a light. More obvious examples include chips, grooves, and scratches on the bevel's edge and flat surface, all of which cause irritation. 
  • Rust is an issue that deserves it's own article. Light oxidation can be wiped away with a clean cloth, and a little oil will help remove and prevent further rust. Rust which has penetrated the razor's surface can be a serious problem, especially once it has worked its way to the cutting edge or has rusted through the whole thickness of the blade, which can render your razor useless. 
  • Examine the width of the bevel. An even bevel is a sign of a well-ground and well-honed razor. A bevel that is wider at the toe and heel may indicate improper honing: it is quite common to apply too much pressure on either end of the razor, causing it to deflect and flatten on the stone. This can cause your blade to wear unevenly, and may eventually cause the blade to "smile," or curve. 
  • Does your razor require tape for honing? We hone our razors with one piece of Super 88 on the spine to set the proper bevel angle. Taping protects the spine from wear and elevates it off the hone to manipulate the angle. However, after honing over several years, the blade width will have narrowed and the tape should be removed. Over time, hone wear will start to affect the spine at the same rate as the cutting edge, which helps maintain the proper angle.  UPDATE 10/23/2017: due to production changes, we now hone all of our production razors without tape. 

Setup

The honing station at Portland Razor Co. HQ

The honing station at Portland Razor Co. HQ

  • You'd be amazed how hard metal dust is to get rid of. While the kitchen table may seem like a great candidate, think twice, or at least cover it with a towel.  
  • You will need a source of clean water to lubricate the hone, so a sink, pan, or spray bottle should be kept handy. 
  • Have a safe place to set the razor while you move your stones around and ensure that there's nothing to bump into while you work.
  • A clean cloth can be used to wipe the razor, but be particularly careful not to cut yourself or mar the blade's surface with metal dust in the cloth. Soft T-shirt material works well. 
  • Have a system to clean or lap your stones with running water, as metal dust will build up in a slurry (swarf) on your stones if you are setting new bevels or doing a lot of honing.

Honing

Sharpening a straight razor using X-pattern honing strokes.

Sharpening a straight razor using X-pattern honing strokes.

DO NOT:

  • Cut yourself handling the razor!
  • Cut off your fingertips because you put them on the hone!
  • Lift the spine off the stone EXCEPT while setting a new bevel.
  • Apply pressure to either end of the blade as it comes off the stone; this will create a groove in the bevel where it passes over the edge.
  • Use too much pressure; the blade can deflect and flatten onto the stone. This is especially true of razors with a half or full-hollow grind.
  • Flip over the blade edge when changing direction.  

DO:

  • Start with light pressure, increasing as you get more comfortable honing and get to know the razor you're working on.
  • Flip over the spine, even leaving it on the stone.
  • Lead with the edge of the blade as it travels across the hone, spine trailing.
  • Use the thumb and forefinger of both hands to hold either end of the blade.
  • Apply a small amount of torque so that there is greater pressure on the edge than on the spine.
  • Go slowly; the only time I have cut myself badly was while honing a razor. 
  • Be intentional. Every pass across the hone is an opportunity to learn something about the characteristics of your stone, the razor, your fingers; to learn their unique textures, sounds, and smells. 

The X-pattern Honing Stroke.. For a demonstration of the honing stroke, refer to the .GIF animation above.

Keep your hone well-lubricated with water, wetting from a pan or spray bottle.

Keep your hone well-lubricated with water, wetting from a pan or spray bottle.

  1. Lubricate the hone with water; it's surface should be reflective and glassy.
  2. Place the razor flat on the hone, spine and bevel both in contact.
  3. With the edge leading, push the blade away from you and at a slight diagonal across the hone so that the whole blade passes over the hone.
  4. Stop short of the end of the hone, flipping it over its spine and NOT the edge.
  5. Pull the blade towards you at a slight diagonal.
  6. Flip the blade over its spine.
  7. Repeat until the blade's edge is even and gives off no reflections under a flashlight and the bevel has an even finish. For a routine touch-up, this may take as few as 10 passes on each stone. Check your work frequently. 
  8. Move on to a finer hone and repeat steps 1-7.

In Part III of this series, you'll learn about one of the last steps in our manufacturing process: how we set the bevel on a new razor, including our full hone progression, with tips and tricks to help improve your own honing. 

Honing at Portland Razor Co. Part I - Overview

WARNING: Razors are extremely sharp. misuse can cause serious injury! Should you attempt any of the tasks described in this article, you do so at your own risk. 

Any informed discussion about honing has to begin by saying: there isn't just one way to make a razor sharp. The ultimate test of any honing method is the act of shaving, and judging how well the blade removes hair and feels against the skin. If it cuts hair and doesn't ruin your face, then it works. How well it works depends on an infinite number of factors that may have nothing or everything to do with honing, from the quality of the steel to whether or not you drank coffee with or without sugar this morning.

honinghands.jpeg

Part I of this series will familiarize you with the common terms, concepts and techniques related to honing. We will cover when to hone, and what you need to start honing on your own. Sharpening a razor is quite simple and can be done safely and effectively by most people in the comfort of their own home! This series sets out to demystify the process called "honing," and equip straight shavers with the knowledge to sharpen their own blade.

Basic Vocab

  • Honing: The process of sharpening a razor or similar blade. This is done by methodically passing the razor across increasingly fine stones, called hones.
  • Hone: A whetstone, especially one used to sharpen a razor. The word hone can be used interchangeably with whetstone or waterstone, and is the primary tool for sharpening a razor. These are made from a variety of natural and man-made materials, and come in varying grits. For our purposes, most honing is done with stones between 1,000 and 12,000 grit.
  • Bevel: Refers to the angle of the cutting edge of the blade. Straight razors actually have two bevels: the first is normally called the "hollow grind," and refers to the concave surface that makes up most of the blade. The second bevel, sometimes called the "primary" or "cutting edge" is what actually cuts hair, and this is the one we refer to most while honing. The angle of the final bevel is set by the ratio of spine thickness to blade width, and how the blade rests when the bevel and spine are in contact with the hone.
  • Polished Edge: Describes a perfectly smooth, continuous edge. A truly polished edge will appear as a continuous black line under a microscope. This type of edge is characteristic of well-honed razors. 
  • Serrated Edge: An edge which is dentated, sawtoothed, or jagged This does not mean the blade is not "sharp," as serrations may be microscopic and are often capable of cutting hair. This type of edge is more characteristic of utility knives. 
  • Swarf: Fine pieces of metal, stone, and other materials produced during honing. Swarf is notoriously hard to clean up, gets stuck in the porous surface of hones, and can mar the blade. Swarf can be minimized by cleaning hones frequently.
  • Lapping: A technique for cleaning and flattening hones. This is done with a lapping stone or similar tool with an established, perfectly flat surface.
  • Hanging Hair Test: A test for establishing the shaving potential of a razor. A well-honed razor should be able to cleanly cut a hanging hair, unsupported by at least 1/2 inch. This test is done by holding a hair between your fingers, hanging it perpendicular to the razor's edge, and pushing it into the blade. This test should be conducted along the blade's entire length. 
  • Shave Ready: An arbitrary (but useful) term for describing a razor capable of producing a comfortable shave. For a razor to be called "shave-ready", it must be sharp enough to effortlessly cut hair against the skin without causing irritation. This means that the blade is free of nicks or scratches, and is perfectly sharp along its entire length. While not a conclusive test (shaving is the only conclusive test) a good way to determine whether your razor might be shave-ready is to shine a light at the cutting edge and look for reflections; any imperfections along the edge will reflect light that your eye can perceive. We call this the "shine test," and it is the safest way to check the razor's edge because you don't have to physically touch it. This is most easily done with an illuminated jeweler's loupe.

When To Hone

Starting out, it might be difficult to determine whether your razor needs honing. Indications that your razor might need to be honed include (in order of increasing severity):

  • Your razor does not pass the Hanging Hair test
  • Your razor no longer cuts hair effectively
  • You experience excessive irritation while shaving 
  • There are visible nicks or grooves on the blade's edge

It's hard to estimate how frequently your razor will need to be honed because everybody (and every razor) is different. Some factors that will affect the time between honings include how frequently you shave, the number of passes you do, the coarseness of your hair, your technique, the way you strop... even humidity can be a factor.

If you've decided your razor needs to be honed, you can mail your razor to us and we will hone it for you for $20 plus the cost of shipping. But ideally, you will  be able to keep and maintain your razor yourself for the rest of your life. Not because we mind honing rzors, we actually quite like it, but because caring for your own tools is rewarding and fun!

To hone at home, all you need in addition to your strop and straight razor is a good hone and practice. We recommend the Norton 4k/8k waterstone as a good first hone; the 4k side is abrasive enough to work out minor nicks and scratches, and the 8k is fine enough to produce a shave-ready edge. Combined with a good strop, this combination can keep your razor going indefinitely. 

In Part II of this series, we'll go more in-depth into honing, with tips to get you started at home.