Cut Throat Diaries | What Happened When I Switched to a Real Straight Razor in a High Volume Barbershop - A Barber’s Perspective

Cut Throat Diaries is a series featuring our customers and their experiences using a straight razor. We believe that the straight razor can be used by any person to cut any hair regardless of gender, sexuality, race, or ability. All it takes to shave with a straigh razor is a willingness to learn. We hope you will decide to learn the art of straight shaving and #ditchthedisposable just like today’s guest!

Back in September, Alex Young--a barber in Richmond, VA--made the pilgrimage to Portland to visit our workshop. After getting his razors tuned up and learning more about our manufacturing process, Alex was kind enough to share his experience using our razors in a high-volume barbershop.

What Happened When I Switched to a Real Straight Razor in a High Volume Barbershop

Q. Thanks for your visit in September! It was great to finally meet you in real life.

It was a pleasure meeting you and Sarah in person!!

Q. Tell us about yourself! What’s your background, how long have you been a barber, etc?

My name is Alex Young and I currently work at High Point Barbershop in Richmond, Virginia. I've been a licensed barber in the state of VA since October 2017. I did a little bit of everything before getting into the barber trade: military, college, bartending/bouncing... I moved to Los Angeles in 2014--I think--and I started barber school at Borners Barber College (IG @bornersbarbercollege) near Inglewood in July 2016.

About halfway through my day I strop the Peacemaker again, sanitize it, and go on with my day. If you're only using it on the back of the neck, you only need to strop it maybe two times a day

Q. When did you first become aware of Portland Razor Company?

I vaguely remember seeing an Instagram post from @barber_fabian. I kind of glanced over the Portland Razor Company website but left it alone for a little while. I eventually messaged Fabian and asked him a million and a half questions and started doing research on how to use conventional straight razors in Virginia.

Q. What ultimately made you decide to take the leap and shop with us? 

Once I found out it was legal to use them in my state and had some Xmas money to blow, I placed my order for The Peacemaker. I used it for a week and liked it so much I bought two more razors in different blade lengths!

Q. What does a normal day in the barbershop look like for you? 

A normal day for me is various combinations of hot towel shaves, beard trims (we do full beard trims with razor lineups and throat shaves), and haircuts. I work in a pretty high volume shop and see roughly 14-16 people a day on a normal day.

Q. How do you use our razors in the shop? 

I use three different Portland razors in various lengths: a 1.75-inch Cascade Steel, The Peacemaker, and a 2.5-inch Cascade Steel. All have different uses for me. I strictly use the 2.5 for full face and head shaves, I use the 1.75 for beard trims with the throat shave and line up, and I use the Peacemaker for shaving the back of necks, hard parts and shape-ups for haircuts.

Q. What tools did you shave with before? What are the biggest differences you’ve noticed?

I used Irving Barber Company shavettes before. They're good shavettes by good people, but I decided I wanted to go to the more traditional side of things and use conventional straight razors. The biggest difference I've noticed is you get more feedback from the conventional razor than the shavettes. Like, I can feel in my fingertips every hair that's being cut. The sound is pretty satisfying as well!

Q. What changes have you noticed since switching to conventional straight razors?

I've noticed that I haven't had to worry about a "bad batch" of disposable DE blades, no burrs, no bullshit. 

Q. What has the response been from customers? 

“Don't be afraid to nick your strop, no one is perfect.”

It varies. The younger ones don't notice it too much, the older folks love it; they appreciate the kind of skill it takes to strop and maintain. In a generation of people who are bringing the barber shop back, the previous generations seem to be very happy that "real barbers are back." My tips got better, too!

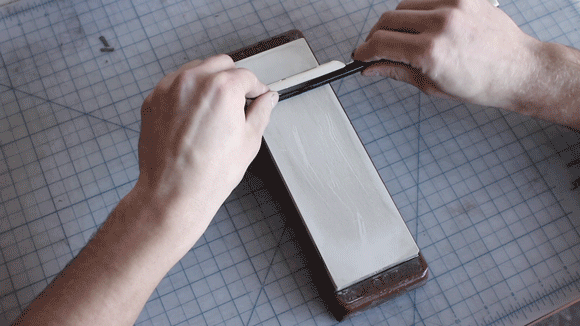
Q. A lot of professionals are concerned about the time it takes to strop and hone a straight razor. Is there a place for conventional straight razors like ours in a high-volume shop setting?

Honestly, it takes some work, but not as much as one might think. Take me for example: when I get into work I strop all three of my razors and then put them all in a high level barbicide for 10 mins. I then take all three out, rinse them water, and wipe them off. Everything but the Peacemaker goes back into biodegradable travel toothbrush holders until I need them. After I use the Peacemaker--which is every haircut--it goes into high level. About halfway through my day I strop the Peacemaker again, sanitize it, and go on with my day. If you're only using it on the back of the neck, you only need to strop it maybe two times a day.

The other razors get stropped and sanitized immediately after they get used for shaves and beard trims, every single time.

Q. Do you have any tips or words of wisdom that might help a barber be successful with their new straight razor? 

  1. Don't be afraid to nick your strop, no one is perfect.

  2. Slow is smooth, smooth is fast when it comes to stropping.

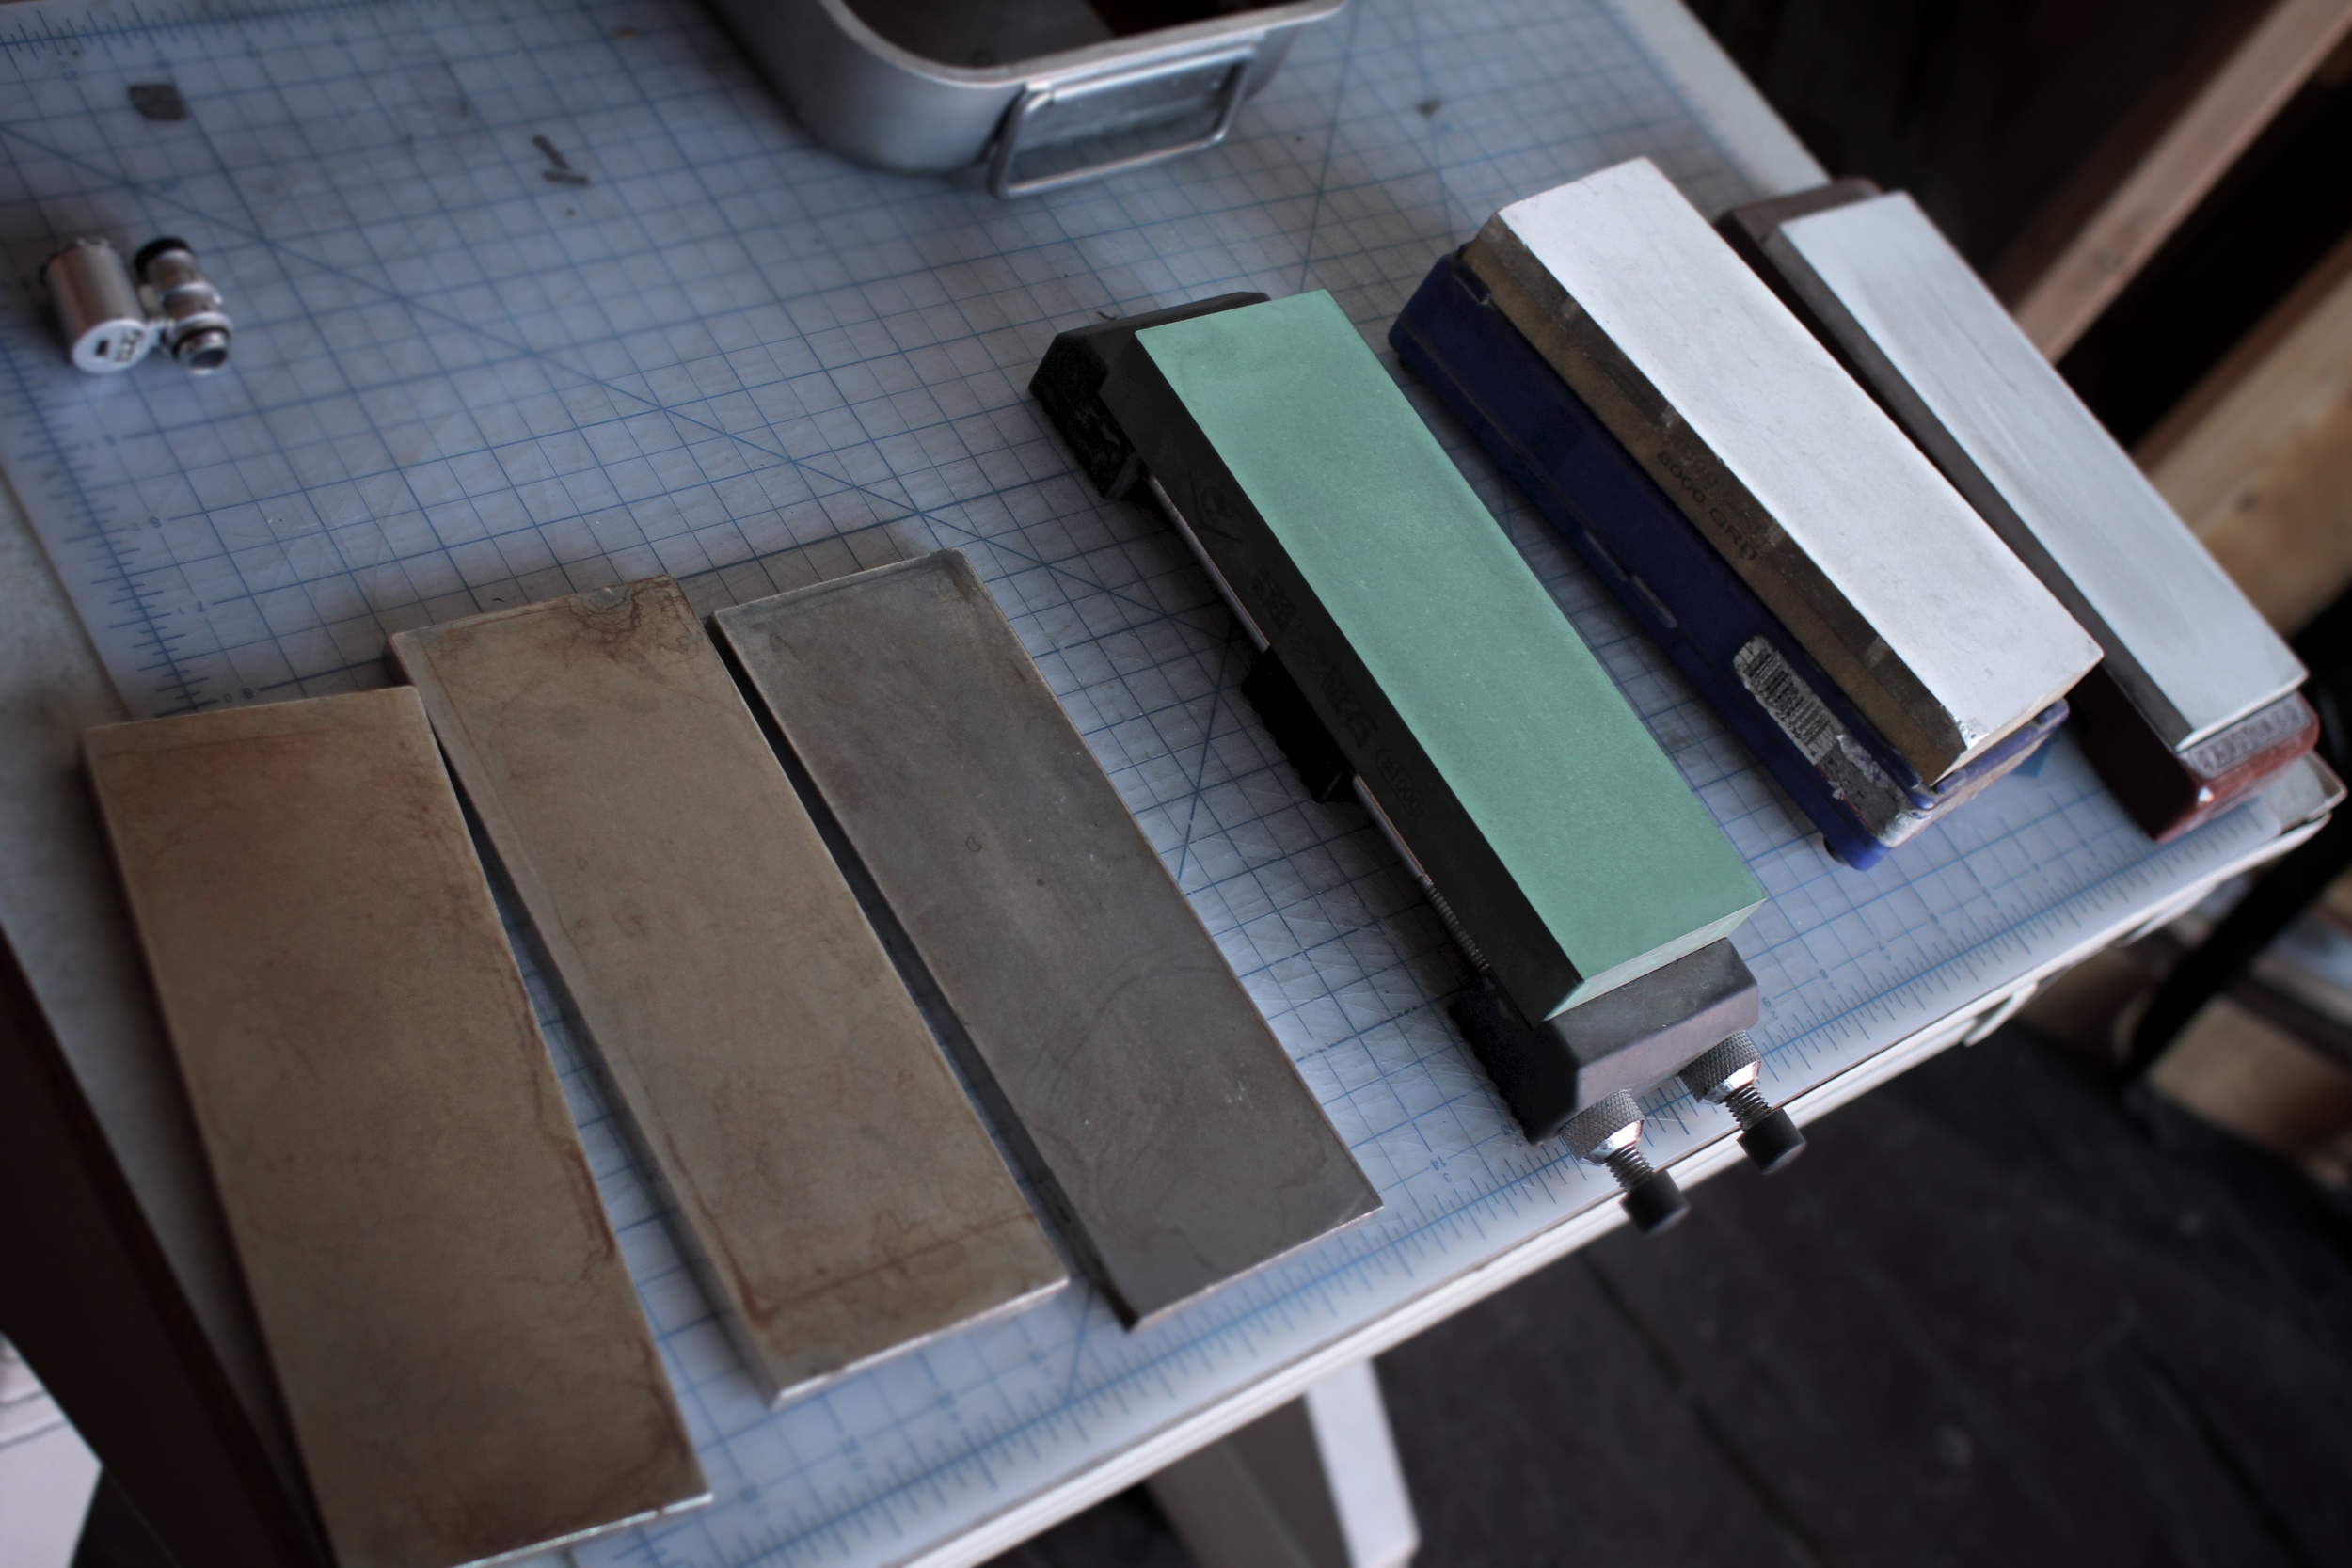
  3. Don't be afraid to learn on your own about how to touch up your straight razor with your own hones. There are a lot of resources on the web, including Portland Razor Company and other sources on YouTube.

Q. Finally, where can our readers find you online/get in touch/schedule an appointment with you?

Work IG: @highpointbarbershop
My IG: @alex_gfy
If you're in the Richmond area and want to make an appointment, give the shop a call at 804-762-0260.

Honing at Portland Razor Co. Part III

WARNING: RAZORS ARE EXTREMELY SHARP. MISUSE CAN CAUSE SERIOUS INJURY! SHOULD YOU ATTEMPT ANY OF THE TASKS DESCRIBED IN THIS ARTICLE, YOU DO SO AT YOUR OWN RISK. 

Any informed discussion about honing has to begin by saying: there isn't just one way to make a razor sharp. The ultimate test of any honing method is the act of shaving, and judging how well the blade removes hair and feels against the skin. If it cuts hair and doesn't ruin your face, then it works. How well it works depends on an infinite number of factors that may have nothing or everything to do with honing, from the quality of the steel to whether or not you drank coffee with or without sugar this morning.

Part III of this series covers how we hone a razor at Portland Razor Co., from setting a bevel on a virgin blade to final polishing and stropping...

Everyone has different priorities, and choosing a honing method is no exception. When we founded Portland Razor Co., we decided that a razor would never leave our shop less than shave-ready. It had to be functional, durable, and affordable. Honing became part of that equation, and we needed a reliable, repeatable method for getting shave-ready edges on hardened O1 tool steel that didn't take forever, and also didn't cost thousands of dollars. What follows is the best solution we found to meet our needs.

(Left to Right) DMT Diamond stones, Naniwa Chosera/Professional 1k, Norton 4k/8k, Naniwa 12K "Superstone"

(Left to Right) DMT Diamond stones, Naniwa Chosera/Professional 1k, Norton 4k/8k, Naniwa 12K "Superstone"

Our Straight Razor Sharpening Hone Progression: updated 8/21/2019

  1. DMT Dia-Sharp Extra Coarse diamond stone - lapping plate for 400 & 1000 grit hones

  2. DMT Dia-Sharp Course diamond stone - lapping plate for 4K+ hones

  3. Naniwa Professional 400 - bevel setting

  4. Naniwa Chosera/Professional 1K - bevel setting and honing

  5. Norton 4k

  6. Norton 8k

  7. Naniwa 12k

  8. Chromium Oxide pasted poly strop

  9. Poly strop

  10. Hanging Hair Test

Setup

We don't mind getting our table tops wet and covered in metal dust, so our setup utilizes individual stone holders and a spray bottle UPDATE: We now have a dedicated honing station with running water.

Bevel Angle

The angle of the bevel is determined by the height difference from spine to the edge on the razor. A little geometry is required to illustrate this: by changing either the thickness of the spine or the width of the blade, you can manipulate the angle of the cutting bevel as it sits on the hone. A thicker spine in relation to blade width will result in a steeper, more open bevel angle. A wider blade in relation to the spine will create a more acute, or closed bevel. 

Putting this geometry into practice is quite simple: just set the razor flat on its side on top of the stone. We use 7/32" thick steel stock for 6/8 blades to achieve the proper bevel angle. We apply one layer of Super 88 electrical tape to the razor's spine for the factory hone, as this sets the ideal starting angle for the bevel and protects the spine (we don't feel the razor should arrive from the factory with visible hone marks). UPDATE 10/23/2017: due to production changes, we now hone all of our production razors without tape. 

1. Bevel Setting. Setting the initial bevel on a straight razor lays the foundation for all the following steps by establishing the cutting bevel's angle. At this step, we are grinding either side of the blade down evenly until they meet in the middle, creating a continuous cutting surface the length of the blade. The goal is to remove a lot of material quickly, but evenly. Starting on the Extra Coarse DMT stone (now the Naniwa 400), we do this by alternating between small circle strokes with the spine elevated OFF the hone, and longer circle strokes with the spine ON the hone. It's useful to think of the edge as several different parts: ultimately, we want to be removing material from the very edge (front of the razor as it travels across the hone), but any material we remove from the edge must also be removed behind it (the flat surface of the bevel). In bevel setting, we find it best to knock down material at the front first by elevating the spine and to follow up with longer circle strokes with the spine on the hone to flatten the face of the bevel. 

2. Bevel Setting cont'd. We transition to the Coarse DMT (now Naniwa 1K) when we can still see a hair-thin reflection along the edge using a flashlight--we call this the "Shine Test". The bevel is almost set, and so we don't elevate the spine off the stone during circle strokes much, if at all.  We continue until there is no reflection along the entire edge of the razor, passing the Shine Test. The razor can pop hairs at this point, but the bevel is very rough and needs to be smoothed and polished with increasingly finer stones.

3, 4, 5. Honing. After the initial bevel angle has been established, honing can begin. We start on the Naniwa 1K, and move up to the next stone once all the hone lines from the previous stone have been smoothed on the bevel and it has an even shine. If we are honing a razor that has been in use for some time, we can usually start on the Norton 4K stone. However, razors with visible nicks on the edge will start on the Naniwa 1K, or even the DMT coarse if wear is extensive enough.

We use deliberate X-pattern honing strokes (push away, flip over the spine, pull back, with the blade travelling diagonally across the stone drawing an "X"). Some stones are narrower than the length of the blade, and so the diagonal path of the stroke ensures that the whole blade passes evenly over the stone. However, this means that the heel will come off the stone, and we have to be especially careful not to apply pressure to the heel as it passes off the stone, as this will cause a problematic groove on the bevel. 

We sometimes vary our stroke, using 3-4 strokes of each and assessing how the blade is behaving. For example:

  • Apply pressure heel-to-toe as it passes across the hone. This is especially handy on smiling blades, but also helps sharpen the toe and heel of the razor more quickly. We make sure to pass evenly and seamlessly from heel to toe during the stroke, applying pressure as a wave that rolls from one hand to the other.

  • J-stroke. Draw a "J" as the razor passes down the hone. We combine this with heel-to-toe for added variance.

  • (Almost) elevate the spine. Apply rotational torque so the spine aaaaalmost comes off the hone, but doesn't. Here, we can feel pressure transition on to the very cutting edge of the blade, much like bevel setting. We are essentially trying to do the same thing; remove material at the front of the edge before flattening the face of the bevel behind it. We sometimes combine this with a stroke that draws straight down the hone to address the middle of the blade more directly.

6. Polishing. The Naniwa 12K Super Stone has it's own gravity. When the stone is lapped level and has the right amount of water on it, it will just grab the razor and make it perfect. We use very light pressure to move the razor across the hone, and let the stone pull the razor in and do its work. This is our finishing stone and produces the final cutting edge and polish that makes our razors truly Shave-Ready.

7. Polishing on Pasted StropSome shavers like paste, some do not. Well, we like it a lot, and will do a good 20-40 passes on it before sending a blade out the door. Chromium Oxide polishes the bevel and smooooooths that edge just the finest amount without removing much material, while also keening the edge. 

8. Stropping. How well we strop the razor can determine whether or not it will pass Hanging Hair. We strop on nylon for 100+ passes. You'll notice we do not normally strop on leather as part of our honing process. This is because we get comparable results going straight from the nylon to shaving as with leather, although stropping on leather can certainly get you an extra 10% in performance.

9. Hanging Hair Test. We test along the entire length of the razor, cutting a hair unsupported at least 1/2" out. We are looking for dull spots where the hair just slides off the edge instead of exploding... and I do mean exploding! The hair makes an audible "pop" when the blade is sharp enough. 

If you're trying this at home, step 10 is to lather up and shave with it! 

We hope you have enjoyed this series, and thank you for taking the time to learn more about our craft. If you want to learn even more about honing, email us and ask about future class offerings at our shop in Portland, OR.

Honing a straight razor with an X-pattern stroke on a Naniwa 12,000 grit stone

Honing a straight razor with an X-pattern stroke on a Naniwa 12,000 grit stone