Shear and Clipper Sharpening Services

The day-to-day reality of tool maintenance is not glamorous, but we believe it is necessary and something to take pride in. At Portland Razor Co. we work hard to keep grinders lubricated, laser lenses clean, and saw blades sharp! By lapping our hones between sharpenings, we guarantee that each blade will be as sharp as the one before it. Our work would be impossible without these tools, and we honor them and the work they perform by committing time to caring for them.

Just as our tools are essential to crafting a quality razor, so are a barber’s in crafting a quality haircut, shave, or beard trim. Sharp tools work effortlessly, allowing you to focus on the important things: creating a work of art and building relationships with the person in the chair before you.

In an effort to better support our professional clients, we now offer scissor (aka beauty shear) and clipper sharpening services in addition to our very popular straight razor honing service. You can bring your tools to Portland Shave Shop to be sharpened while you wait, or you can mail them in to us, similar to our razor honing service. Barbershops and Salons in the Portland, OR area may also schedule mobile sharpening services to be performed by a Portland Razor Co. bladesmith at your shop!

shear sharpening at portland razor co-5814.JPG

Tools We Hone

Straight razors
Japanese-style convex edge scissors
German-style beveled scissors
Texturizing scissors
Clipper blades

All tools in good condition and made by a reputable manufacturer can be sharpened. If it cannot be sharpened for any reason, we will not charge for the service.

How We Hone

All honing services are performed by hand on traditional Japanese waterstones. This process results in the finest possible edge with the least amount of wear and tear on your blades, meaning your tools are safer to use, more functional, and longer-lasting than if they were sharpened with mechanized sharpeners.

We do our best to research and match the honing practices of the original manufacturer. Please be familiar with your manufacturer's warranty and repairs policy before honing with us.

House Calls

We know barbers and stylists carry full schedules. If you are a barber or stylist in the Portland Area who would like to avoid the hassle associated with mailing or dropping off your tools for sharpening, we’ll come to you! To schedule a House Call at your barber shop or salon, call us or email us with your location and availability. We are usually available Wed-Fri afternoons for House Calls. There is no minimum to schedule a House Call and no added fee. We look forward to helping you soon!

October Impact | Supporting Hurricane Maria Relief in Puerto Rico

UNICEF USA_Logo B&W_0.jpg

Hurricane Maria made landfall in Puerto Rico on Wednesday, September 20, as a Category 4 storm. The powerful storm left approximately 3.4 million people without power, and the island’s energy grid all but destroyed. Without electricity, there is no power to pump water into homes, leaving almost half the population without potable water. Many roads remain scattered with debris, and bridges need to be assessed for safety. This has caused access to the hardest hit areas more difficult. In just a few hours, Maria wiped out approximately 80 percent of the crop value in Puerto Rico – making it one of the costliest storms to hit the island – an estimated loss of $780 million in agriculture yields. Governor Ricardo A. Rosselló of Puerto Rico said the island was on the brink of a “humanitarian crisis”, and predicts a long road to recovery.

UNICEF USA is deeply concerned about the needs of all children affected by this natural disaster, especially the most vulnerable – which includes displaced and unaccompanied children, in addition to their families who have been devastated by Hurricane Maria. UNICEF USA is committed to putting children first, and will leverage its resources to support the most vulnerable children. UNICEF USA will provide family dignity and hygiene kits for the children and families affected by Hurricane Maria. The kit will provide a family with basic, yet much needed essential supplies such as a water bucket with lid, water containers, soap, toothpaste, water purification tablets, detergent and sanitary pads. This will help children and their families keep clean and healthy, protecting them from disease which can occur after such a disaster like this, where there is a disruption of a safe water supply and loss of equipment and infrastructure.

How It Works

Portland Razor Co. will donateº $10 from each Straight Razor Honing Service sold during the month of October 2017, in support of UNICEF's relief efforts in Puerto Rico. These donations will continue through the end of October. We hope to aid those in need as much as we can and thank you for your support.

If you would like to make a donation on your own accord, you can donate directly to UNICEF USA here.


ºIncludes sales to Portland Razor Co. retail and web customers, and authorized retailers. No portion of the purchase price is tax deductible. UNICEF does not endorse any brand, company or service.

Straight Razor Care and Honing Classes at Portland Razor Co!

From the beginning we set out to make heirloom-quality straight razors and strops here in the US. In addition, we make it our priority to provide our customers with all of the tools and knowledge they need for a great shave. When we first started straight shaving, we read countless posts and watched endless hours of videos on the Internet. We found these resources helpful, but who couldn't use a few moments (or days, weeks, months!) away from a screen? It has always been our intention to bring the online wet shaving community offline, to give it a physical space here in the Pacific Northwest.

With these goals in mind, we have organized a skill-building class at our SW Portland workshop to teach our customers how to maintain their straight razor. We hope to build an inclusive community around wet shaving and an appreciation for the straight razor as the best shaving tool out there.

Each class will be held on a Saturday 10:30-12:30 and be lead by a Portland Razor Co. bladesmith. There are no gear requirements; you don’t even have to be the proud owner of a PR straight razor yet! Students are welcome to bring their own honing stones and razors if they wish. Most importantly, bring yourself, be ready to learn, and prepare to make some friends

As a student, you can expect to leave the 2-hour class with a new Norton 4k/8k stone, a 1.5 oz can of ballistol, and the know-how to care for your straight razor all on your own. Class size is limited, so sign-up while space is available.

2017 Schedule:
1/21/17 10:30am-12:30pm
4/29/17 10:30am-12:30pm
7/8/17 10:30am-12:30pm
11/11/17 10:30am-12:30pm

Thank you for reading and for your continued support of Portland Razor Co. as we gear up for this exciting new offering. We hope to see you here in 2017!

Honing at Portland Razor Co. Part III

WARNING: RAZORS ARE EXTREMELY SHARP. MISUSE CAN CAUSE SERIOUS INJURY! SHOULD YOU ATTEMPT ANY OF THE TASKS DESCRIBED IN THIS ARTICLE, YOU DO SO AT YOUR OWN RISK. 

Any informed discussion about honing has to begin by saying: there isn't just one way to make a razor sharp. The ultimate test of any honing method is the act of shaving, and judging how well the blade removes hair and feels against the skin. If it cuts hair and doesn't ruin your face, then it works. How well it works depends on an infinite number of factors that may have nothing or everything to do with honing, from the quality of the steel to whether or not you drank coffee with or without sugar this morning.

Part III of this series covers how we hone a razor at Portland Razor Co., from setting a bevel on a virgin blade to final polishing and stropping...

Everyone has different priorities, and choosing a honing method is no exception. When we founded Portland Razor Co., we decided that a razor would never leave our shop less than shave-ready. It had to be functional, durable, and affordable. Honing became part of that equation, and we needed a reliable, repeatable method for getting shave-ready edges on hardened O1 tool steel that didn't take forever, and also didn't cost thousands of dollars. What follows is the best solution we found to meet our needs.

(Left to Right) DMT Diamond stones, Naniwa Chosera/Professional 1k, Norton 4k/8k, Naniwa 12K "Superstone"

(Left to Right) DMT Diamond stones, Naniwa Chosera/Professional 1k, Norton 4k/8k, Naniwa 12K "Superstone"

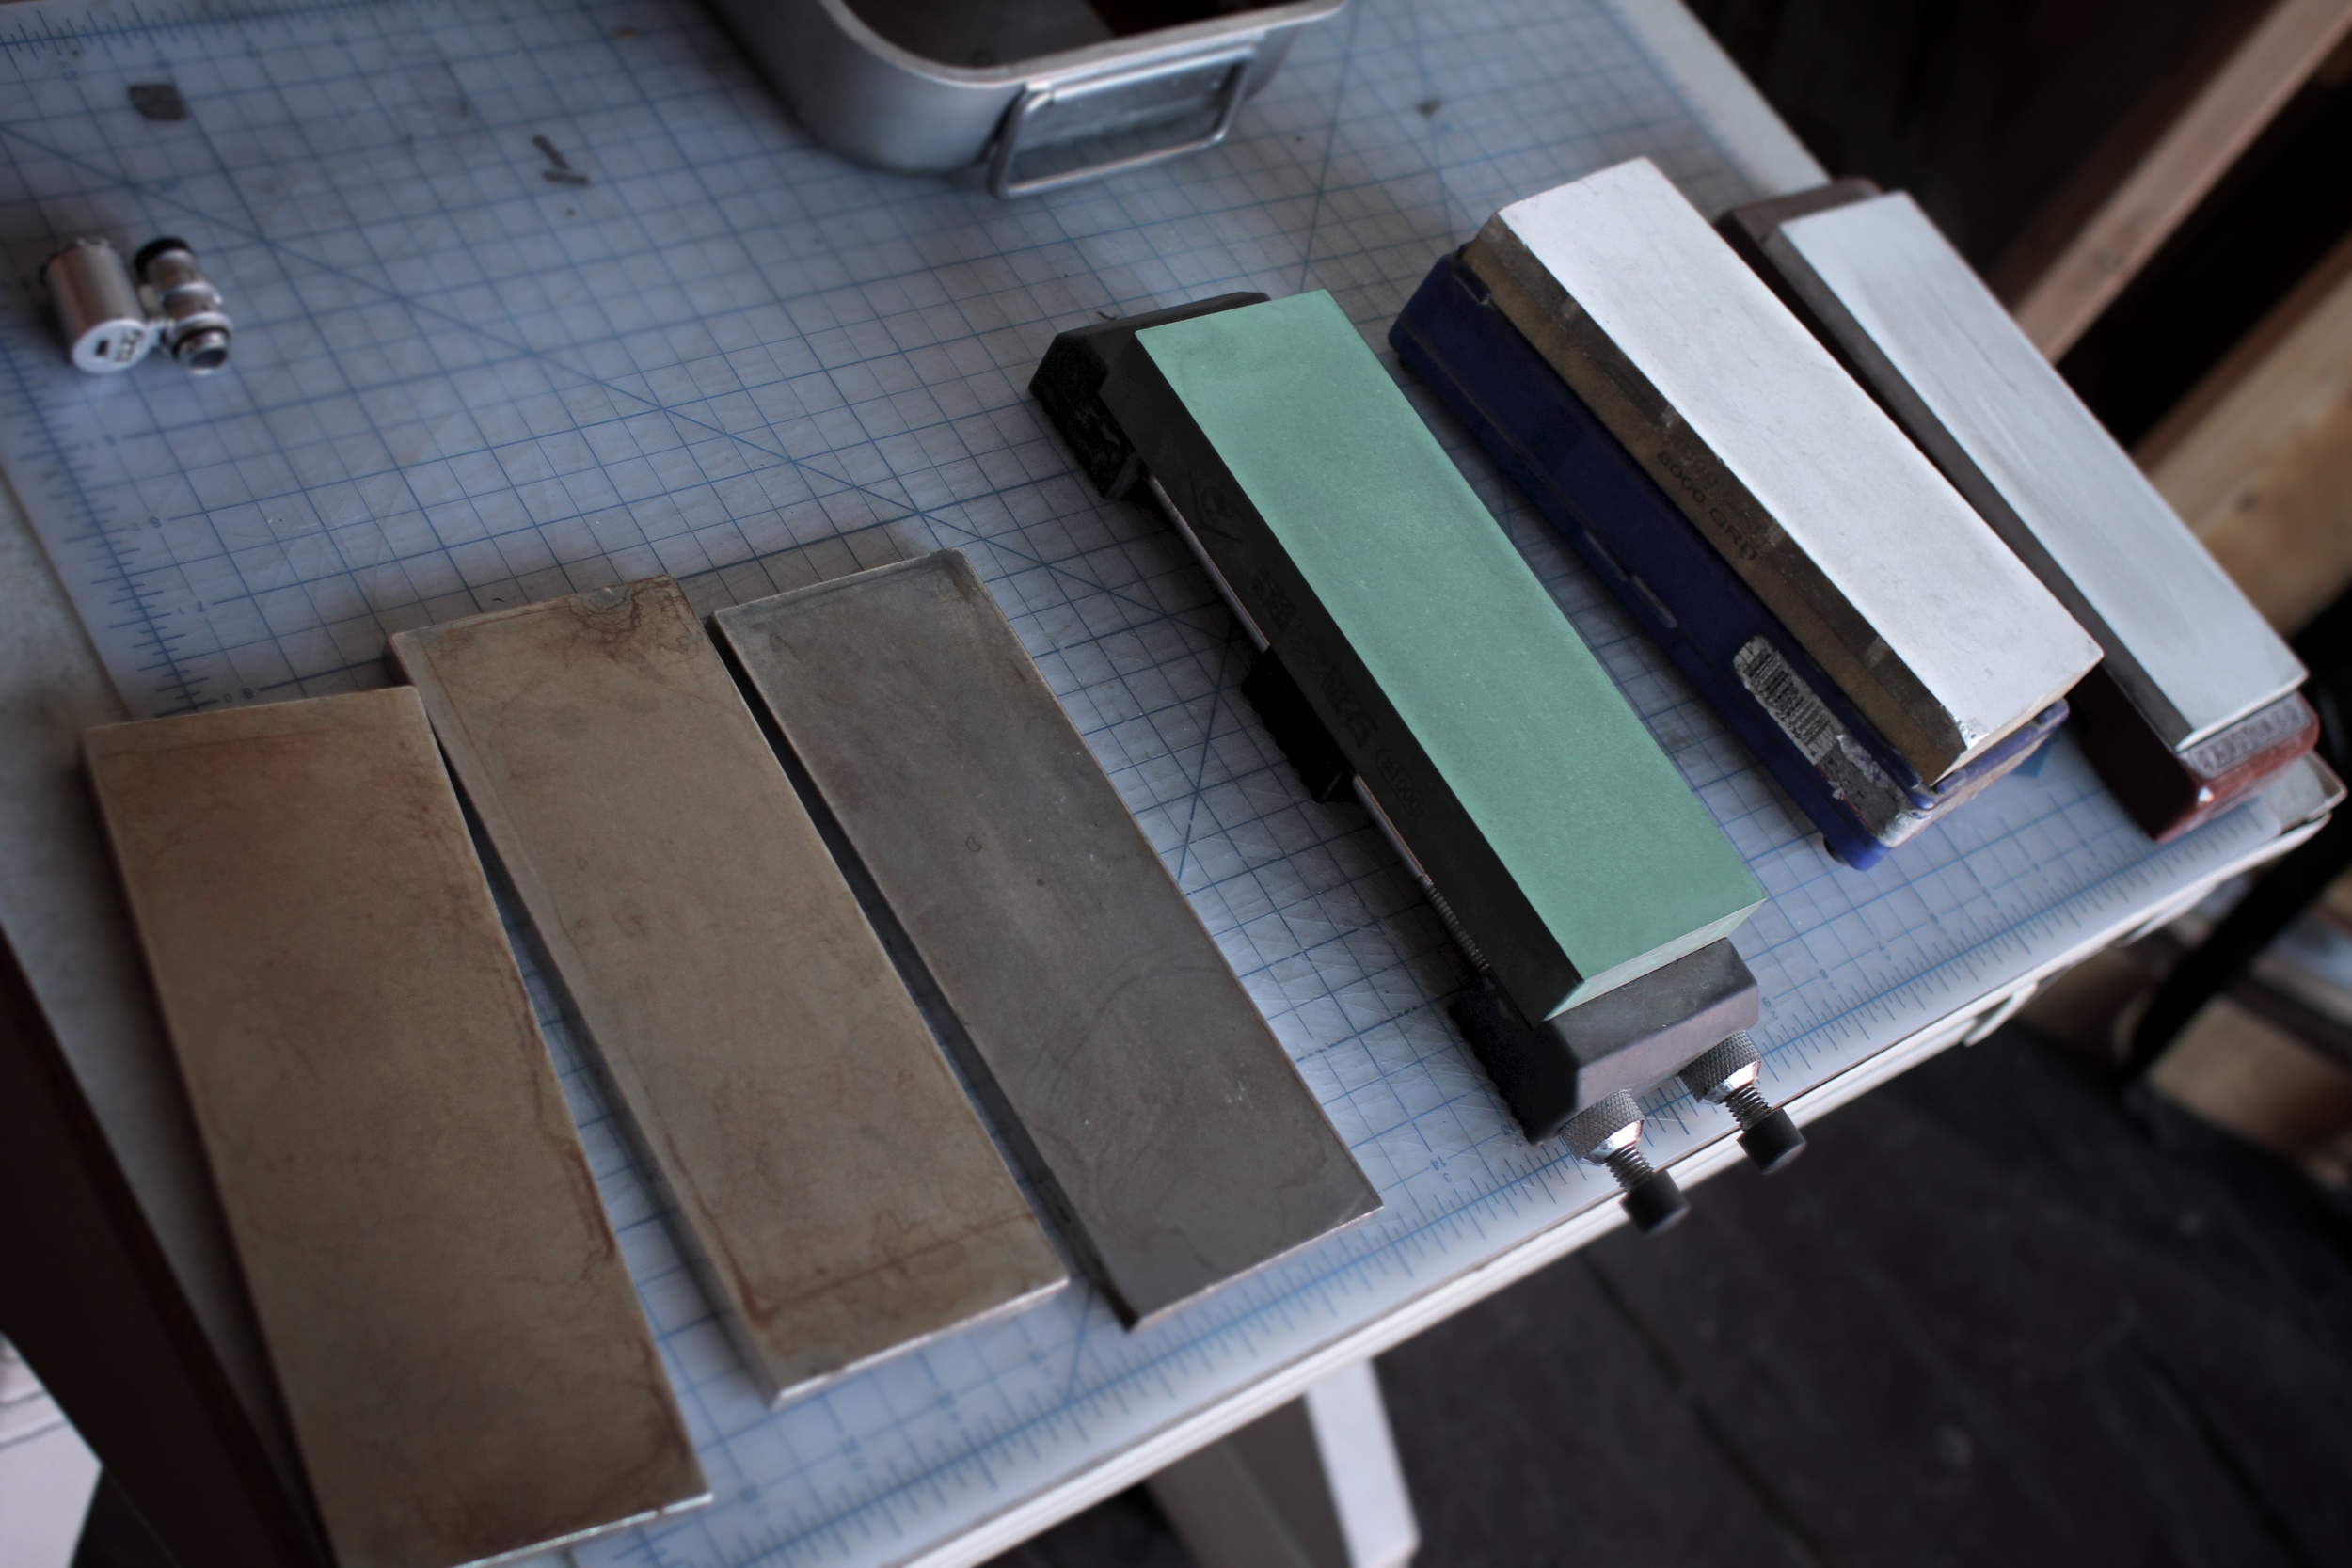
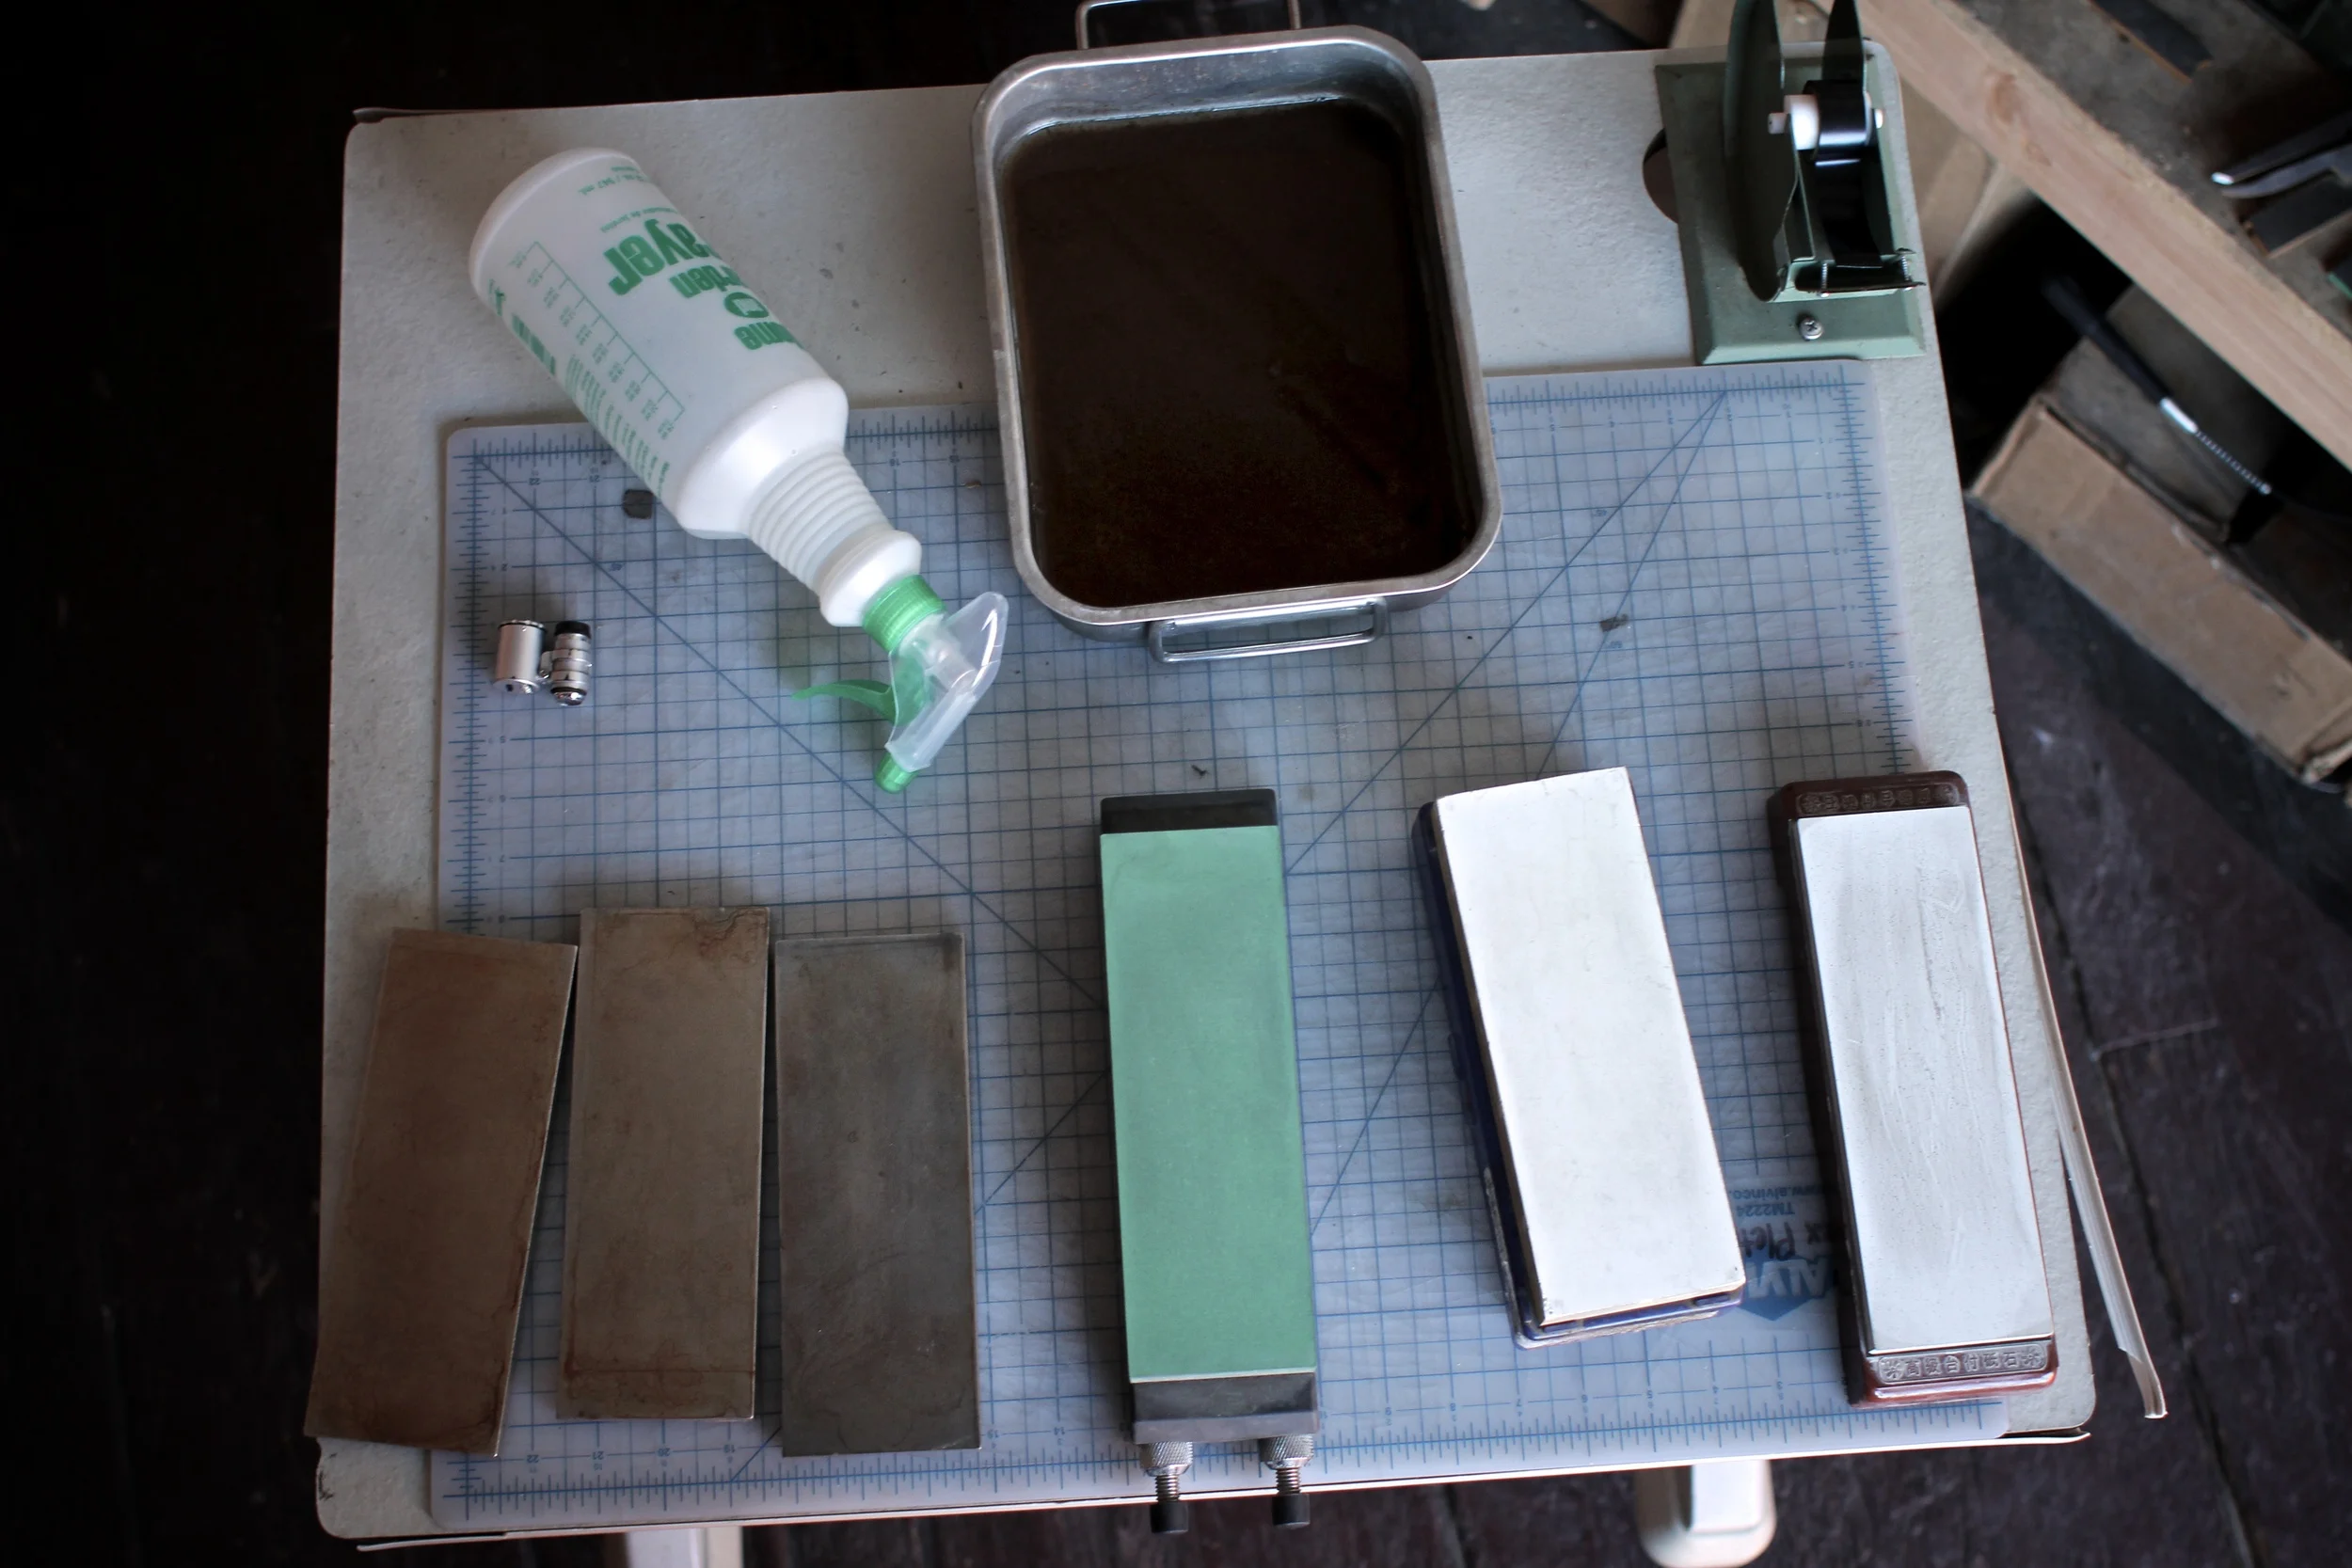
Our Straight Razor Sharpening Hone Progression: updated 8/21/2019

  1. DMT Dia-Sharp Extra Coarse diamond stone - lapping plate for 400 & 1000 grit hones

  2. DMT Dia-Sharp Course diamond stone - lapping plate for 4K+ hones

  3. Naniwa Professional 400 - bevel setting

  4. Naniwa Chosera/Professional 1K - bevel setting and honing

  5. Norton 4k

  6. Norton 8k

  7. Naniwa 12k

  8. Chromium Oxide pasted poly strop

  9. Poly strop

  10. Hanging Hair Test

Setup

We don't mind getting our table tops wet and covered in metal dust, so our setup utilizes individual stone holders and a spray bottle UPDATE: We now have a dedicated honing station with running water.
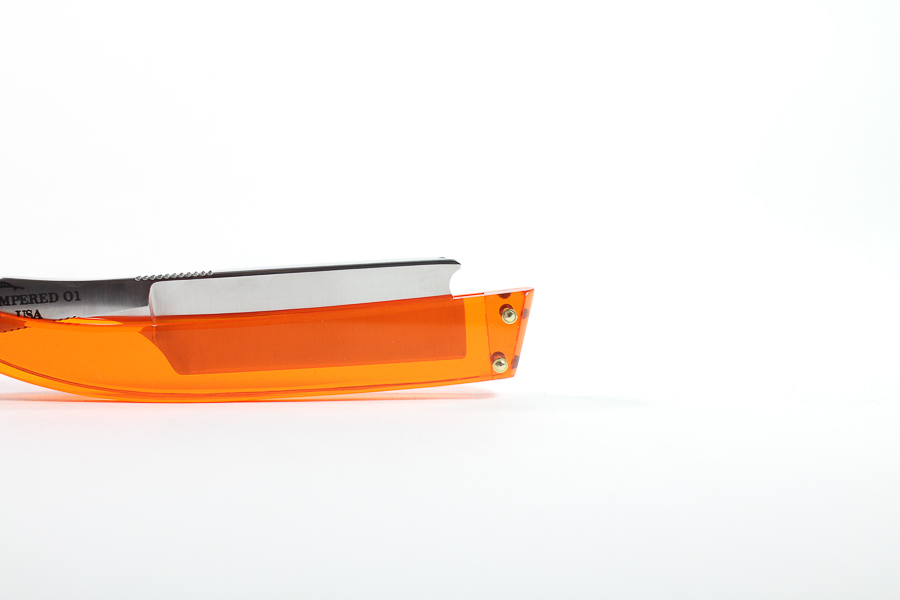
Bevel Angle

The angle of the bevel is determined by the height difference from spine to the edge on the razor. A little geometry is required to illustrate this: by changing either the thickness of the spine or the width of the blade, you can manipulate the angle of the cutting bevel as it sits on the hone. A thicker spine in relation to blade width will result in a steeper, more open bevel angle. A wider blade in relation to the spine will create a more acute, or closed bevel. 

Putting this geometry into practice is quite simple: just set the razor flat on its side on top of the stone. We use 7/32" thick steel stock for 6/8 blades to achieve the proper bevel angle. We apply one layer of Super 88 electrical tape to the razor's spine for the factory hone, as this sets the ideal starting angle for the bevel and protects the spine (we don't feel the razor should arrive from the factory with visible hone marks). UPDATE 10/23/2017: due to production changes, we now hone all of our production razors without tape. 

1. Bevel Setting. Setting the initial bevel on a straight razor lays the foundation for all the following steps by establishing the cutting bevel's angle. At this step, we are grinding either side of the blade down evenly until they meet in the middle, creating a continuous cutting surface the length of the blade. The goal is to remove a lot of material quickly, but evenly. Starting on the Extra Coarse DMT stone (now the Naniwa 400), we do this by alternating between small circle strokes with the spine elevated OFF the hone, and longer circle strokes with the spine ON the hone. It's useful to think of the edge as several different parts: ultimately, we want to be removing material from the very edge (front of the razor as it travels across the hone), but any material we remove from the edge must also be removed behind it (the flat surface of the bevel). In bevel setting, we find it best to knock down material at the front first by elevating the spine and to follow up with longer circle strokes with the spine on the hone to flatten the face of the bevel. 

2. Bevel Setting cont'd. We transition to the Coarse DMT (now Naniwa 1K) when we can still see a hair-thin reflection along the edge using a flashlight--we call this the "Shine Test". The bevel is almost set, and so we don't elevate the spine off the stone during circle strokes much, if at all.  We continue until there is no reflection along the entire edge of the razor, passing the Shine Test. The razor can pop hairs at this point, but the bevel is very rough and needs to be smoothed and polished with increasingly finer stones.

3, 4, 5. Honing. After the initial bevel angle has been established, honing can begin. We start on the Naniwa 1K, and move up to the next stone once all the hone lines from the previous stone have been smoothed on the bevel and it has an even shine. If we are honing a razor that has been in use for some time, we can usually start on the Norton 4K stone. However, razors with visible nicks on the edge will start on the Naniwa 1K, or even the DMT coarse if wear is extensive enough.

We use deliberate X-pattern honing strokes (push away, flip over the spine, pull back, with the blade travelling diagonally across the stone drawing an "X"). Some stones are narrower than the length of the blade, and so the diagonal path of the stroke ensures that the whole blade passes evenly over the stone. However, this means that the heel will come off the stone, and we have to be especially careful not to apply pressure to the heel as it passes off the stone, as this will cause a problematic groove on the bevel. 

We sometimes vary our stroke, using 3-4 strokes of each and assessing how the blade is behaving. For example:

  • Apply pressure heel-to-toe as it passes across the hone. This is especially handy on smiling blades, but also helps sharpen the toe and heel of the razor more quickly. We make sure to pass evenly and seamlessly from heel to toe during the stroke, applying pressure as a wave that rolls from one hand to the other.

  • J-stroke. Draw a "J" as the razor passes down the hone. We combine this with heel-to-toe for added variance.

  • (Almost) elevate the spine. Apply rotational torque so the spine aaaaalmost comes off the hone, but doesn't. Here, we can feel pressure transition on to the very cutting edge of the blade, much like bevel setting. We are essentially trying to do the same thing; remove material at the front of the edge before flattening the face of the bevel behind it. We sometimes combine this with a stroke that draws straight down the hone to address the middle of the blade more directly.

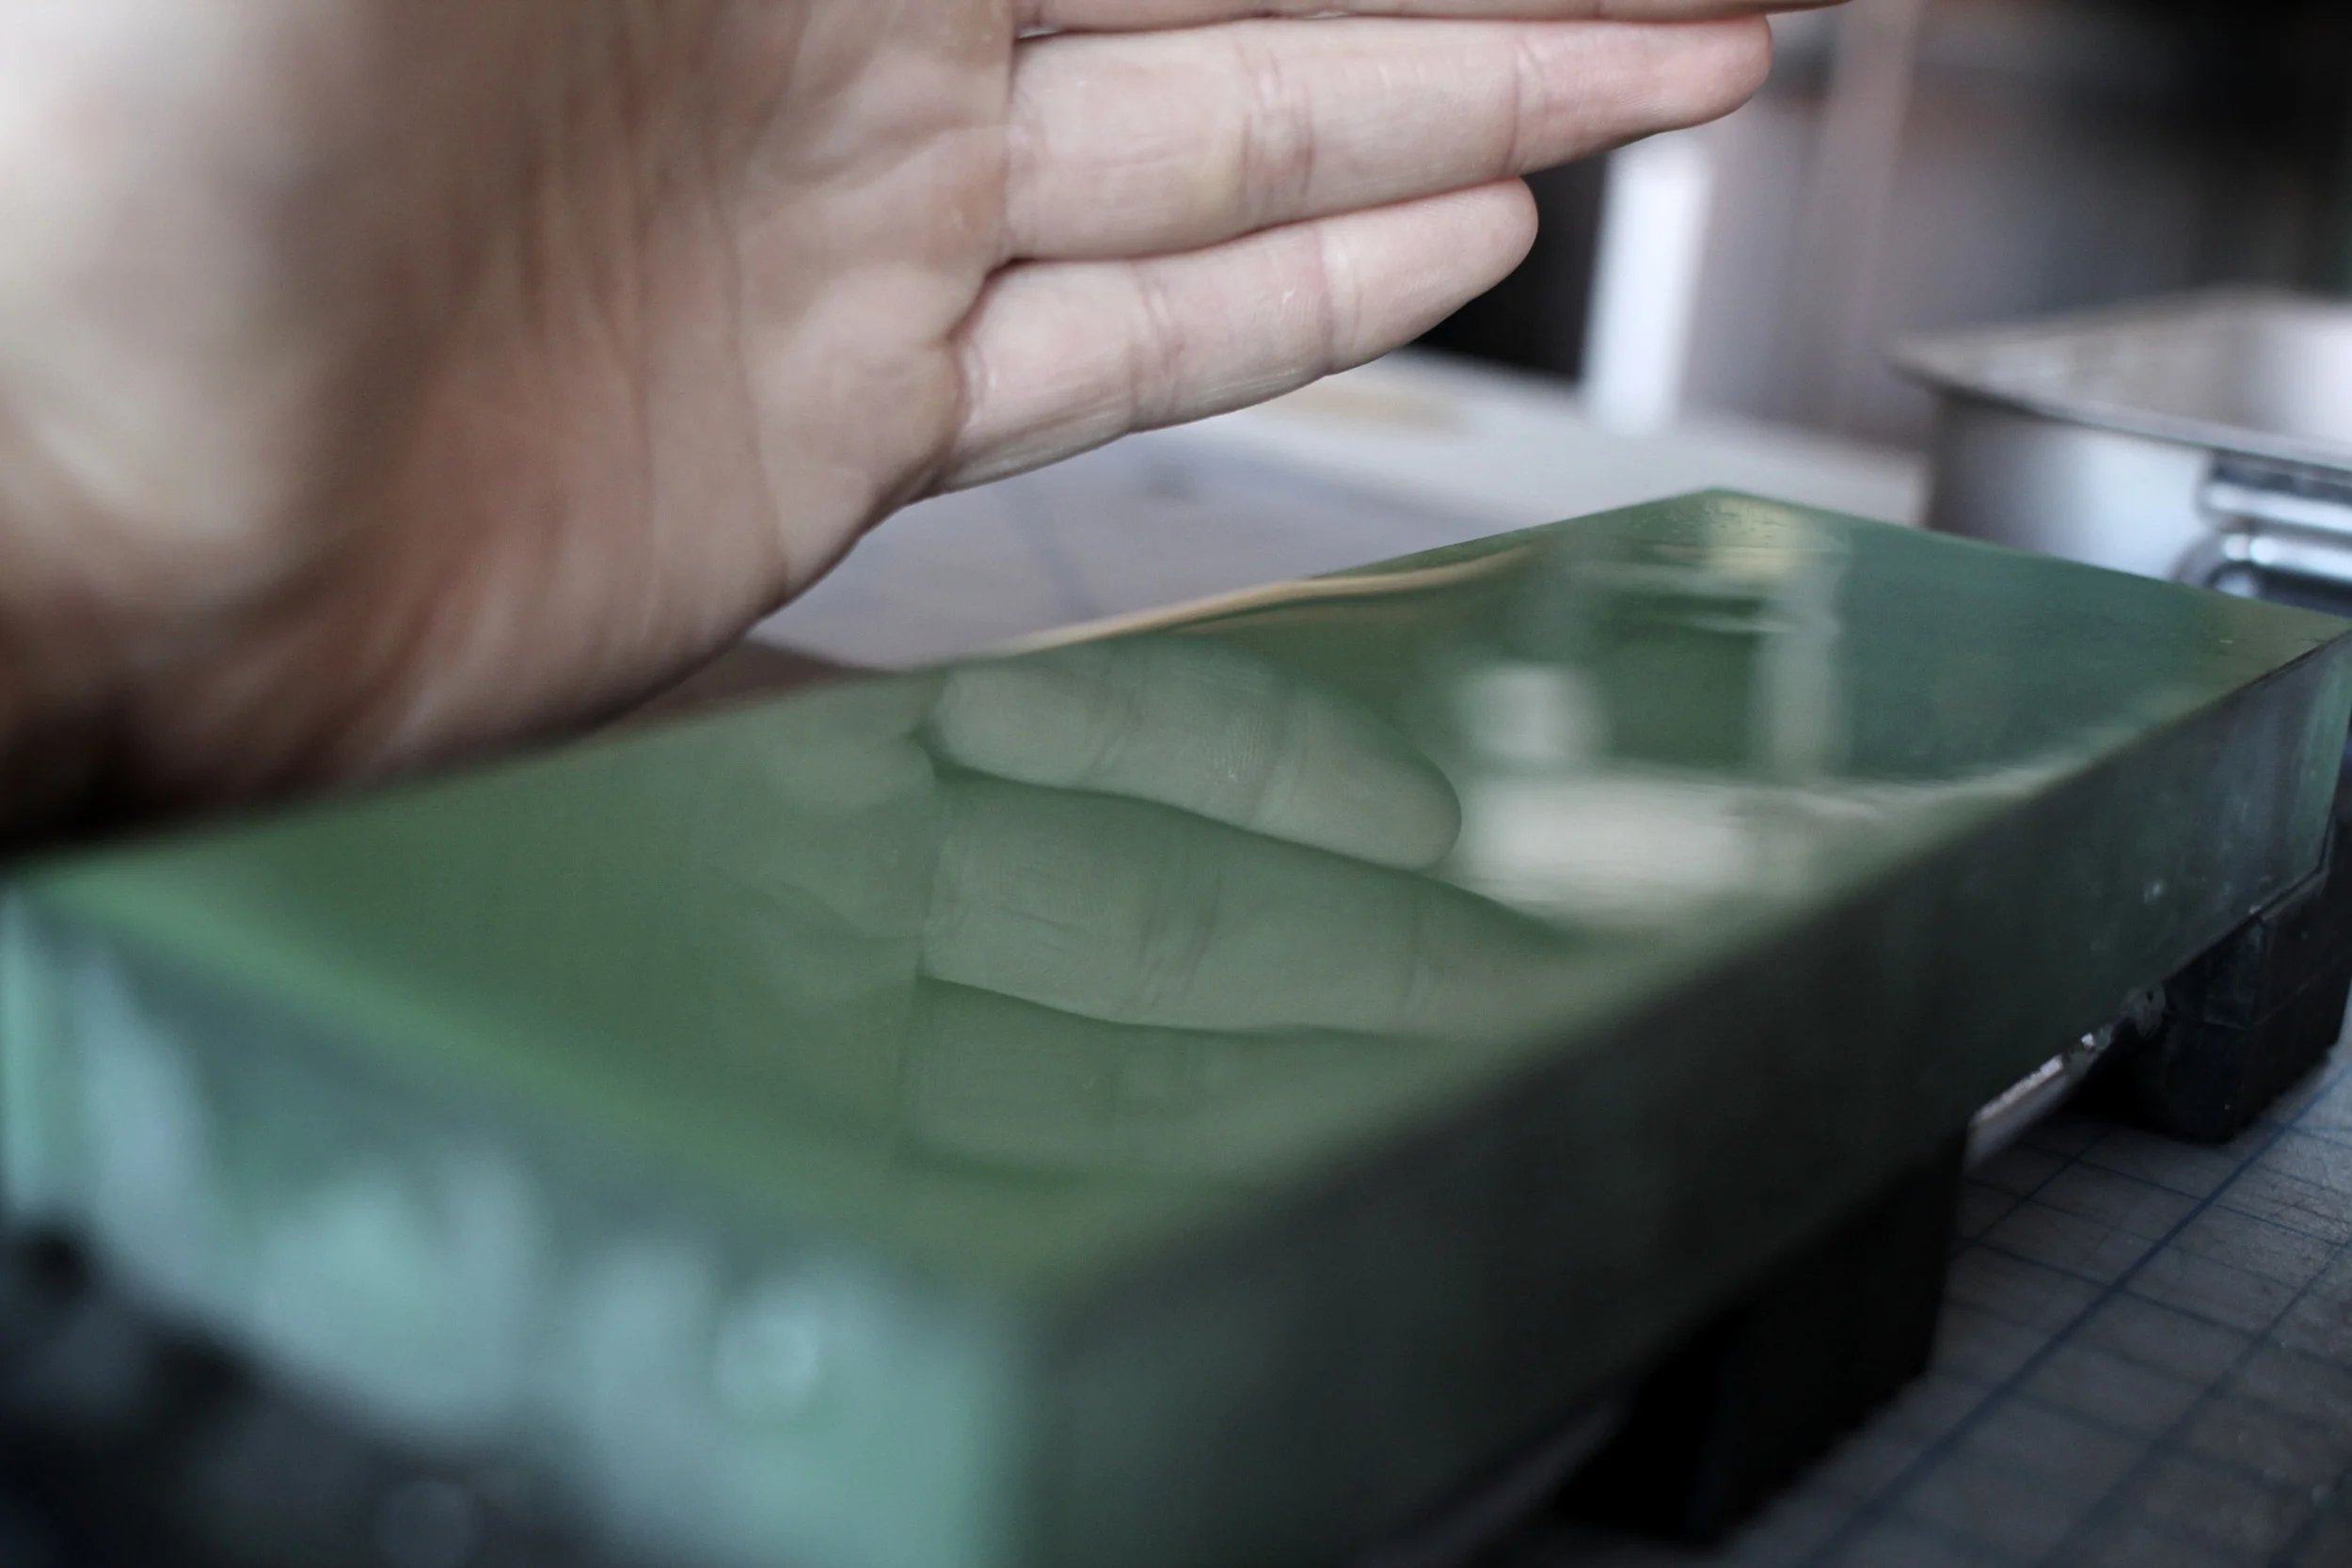
6. Polishing. The Naniwa 12K Super Stone has it's own gravity. When the stone is lapped level and has the right amount of water on it, it will just grab the razor and make it perfect. We use very light pressure to move the razor across the hone, and let the stone pull the razor in and do its work. This is our finishing stone and produces the final cutting edge and polish that makes our razors truly Shave-Ready.

7. Polishing on Pasted StropSome shavers like paste, some do not. Well, we like it a lot, and will do a good 20-40 passes on it before sending a blade out the door. Chromium Oxide polishes the bevel and smooooooths that edge just the finest amount without removing much material, while also keening the edge. 

8. Stropping. How well we strop the razor can determine whether or not it will pass Hanging Hair. We strop on nylon for 100+ passes. You'll notice we do not normally strop on leather as part of our honing process. This is because we get comparable results going straight from the nylon to shaving as with leather, although stropping on leather can certainly get you an extra 10% in performance.

9. Hanging Hair Test. We test along the entire length of the razor, cutting a hair unsupported at least 1/2" out. We are looking for dull spots where the hair just slides off the edge instead of exploding... and I do mean exploding! The hair makes an audible "pop" when the blade is sharp enough. 

If you're trying this at home, step 10 is to lather up and shave with it! 

We hope you have enjoyed this series, and thank you for taking the time to learn more about our craft. If you want to learn even more about honing, email us and ask about future class offerings at our shop in Portland, OR.

Honing a straight razor with an X-pattern stroke on a Naniwa 12,000 grit stone

Honing a straight razor with an X-pattern stroke on a Naniwa 12,000 grit stone

Honing at Portland Razor Co. Part II - How to Hone

WARNING: RAZORS ARE EXTREMELY SHARP. MISUSE CAN CAUSE SERIOUS INJURY! SHOULD YOU ATTEMPT ANY OF THE TASKS DESCRIBED IN THIS ARTICLE, YOU DO SO AT YOUR OWN RISK. 

Any informed discussion about honing has to begin by saying: there isn't just one way to make a razor sharp. The ultimate test of any honing method is the act of shaving, and judging how well the blade removes hair and feels against the skin. If it cuts hair and doesn't ruin your face, then it works. How well it works depends on an infinite number of factors that may have nothing or everything to do with honing, from the quality of the steel to whether or not you drank coffee with or without sugar this morning.

Part II of this series will discuss discerning when to hone, choosing your first hone, lapping the hone, examining the razor, and setting up your honing station. Finally, we will cover the basic technique for honing a razor: the X-pattern honing stroke.

When to Hone

You've noticed lately that you don't enjoy shaving. It seems harder than it was last week, the results aren't as good, and your face is red and puffy afterwards no matter how much lotion you use. You've been diligent about practicing your stropping, even posted videos to the forums for veteran shavers to critique. Your shaves were going so well a while back, almost getting that baby-butt smoothness. But now your results are patchy, at best. Well, chances are your razor is dull or damaged and honing is already way overdue. 

A more likely scenario is that you've put your razor through its paces for a few months and the edge has been knocked down beyond what normal stropping can restore. If you really want to put off honing, you can try pasting your strop, but only if you're confident that your technique is up to snuff. Eventually the razor will need to be honed, and you can either fork out the money to have someone else do it, or you can buy yourself a good hone and invest some time in a new skill set.

Assuming you have chosen the latter option, here is what you'll need to get started:

The Hone 

Which hone should you use? A quick google search will yield a lot of suggestions, and a dive into the forums will yield even more. Belgian Blues, coticule stones, natural stones, resin stones, ceramic stones... You get the idea. One hone which is affordable, consistent, and comes highly recommended is the Norton 4k/8k waterstone. It's a great for anyone wanting the simplicity of a one-stone system: the 4k side is abrasive enough to work out minor nicks and scratches, and the 8k is fine enough to produce a shave-ready edge. We use this hone in our manufacturing process and it does a great job at refreshing razors after prolonged use. One drawback of the Norton 4k/8k is that it must be lapped before its first use, as the surface finish from the factory is too abrasive and not consistent with the rest of the stone. 

If you want to tackle a more seriously damaged razor, a more aggressive hone like the 1k Naniwa Professional (formerly Chosera), or even a coarse DMT diamond stone will likely be necessary. The advantage of the DMT stone is that the hone's base is precision-ground and guaranteed to be perfectly flat, and does double duty as a great lapping stone.

In general, you want to remove the least amount of material possible, and so you'll want to start honing with the finest stone that will yield the desired result. Starting on a coarser stone will remove material faster, but too coarse a stone will leave deep hone lines on the bevel which will have to be smoothed out on finer stones. Starting on a finer hone removes material more evenly, but one which is too fine will take much longer and wear out the hone. Better to start on too fine a hone and realize you need a more abrasive one, than to start on too coarse a stone and realize you've removed too much material. 

Lapping The Hone

Your hone should be flat and clean of debris before you start honing. This doesn't have to be done before every session, but after multiple honings the tiny pores in the stone will start to fill with swarf--fine pieces of metal and stone--which reduces the stone's abrasive quality. Lapping clears swarf and levels the stone by exposing fresh material. This does reduce the thickness of the stone over time, but this is a less pressing issue than a dull razor.

  • To lap your hone, hold it in one hand with the lapping stone facing it in the other.
  • Under running water, press the stones firmly together and rub them back and forth so that the whole surface of the hone is worked by the lapping stone. 
  • Continue until fresh material is exposed on the hone's entire surface. 
  • You may also choose to chamfer the corners of your stone.. You do this by placing the edges of the hone perpendicular to the lapping stone and rubbing them together, creating a 45 degree angle in relation to the hone's surface. This is to reduce the consequences of some common mistakes, like applying too much pressure to the heel as it passes off the stone.

Once your stone is flat and clean, it is time to address the blade itself. 

Examining the Straight Razor

  • Determine the shape of your razor.
    • Razors that are straight are the easiest to hone, and require no special considerations.
    • A "smiling" razor, one whose edge projects outwards in the middle, will have to be honed in a rocking heel-to-toe pattern, taking care not to wear out the middle of the blade.
    • A "frowning" razor whose edge is concave has been over-honed and is damaged. Honing this will require some more involved restoration for it to be effective.
    • A blade which is bent or curved to the side is quite common, especially with vintage razors with an extreme hollow grind. Steel fatigues over time and can warp, but the degree of warping will determine whether or not the blade can be honed. If the blade is bent sharply, it is likely useless. 
  • Look for any visible signs of wear on the blade. Imperfections will show up as reflections under a light. More obvious examples include chips, grooves, and scratches on the bevel's edge and flat surface, all of which cause irritation. 
  • Rust is an issue that deserves it's own article. Light oxidation can be wiped away with a clean cloth, and a little oil will help remove and prevent further rust. Rust which has penetrated the razor's surface can be a serious problem, especially once it has worked its way to the cutting edge or has rusted through the whole thickness of the blade, which can render your razor useless. 
  • Examine the width of the bevel. An even bevel is a sign of a well-ground and well-honed razor. A bevel that is wider at the toe and heel may indicate improper honing: it is quite common to apply too much pressure on either end of the razor, causing it to deflect and flatten on the stone. This can cause your blade to wear unevenly, and may eventually cause the blade to "smile," or curve. 
  • Does your razor require tape for honing? We hone our razors with one piece of Super 88 on the spine to set the proper bevel angle. Taping protects the spine from wear and elevates it off the hone to manipulate the angle. However, after honing over several years, the blade width will have narrowed and the tape should be removed. Over time, hone wear will start to affect the spine at the same rate as the cutting edge, which helps maintain the proper angle.  UPDATE 10/23/2017: due to production changes, we now hone all of our production razors without tape. 

Setup

The honing station at Portland Razor Co. HQ

The honing station at Portland Razor Co. HQ

  • You'd be amazed how hard metal dust is to get rid of. While the kitchen table may seem like a great candidate, think twice, or at least cover it with a towel.  
  • You will need a source of clean water to lubricate the hone, so a sink, pan, or spray bottle should be kept handy. 
  • Have a safe place to set the razor while you move your stones around and ensure that there's nothing to bump into while you work.
  • A clean cloth can be used to wipe the razor, but be particularly careful not to cut yourself or mar the blade's surface with metal dust in the cloth. Soft T-shirt material works well. 
  • Have a system to clean or lap your stones with running water, as metal dust will build up in a slurry (swarf) on your stones if you are setting new bevels or doing a lot of honing.

Honing

Sharpening a straight razor using X-pattern honing strokes.

Sharpening a straight razor using X-pattern honing strokes.

DO NOT:

  • Cut yourself handling the razor!
  • Cut off your fingertips because you put them on the hone!
  • Lift the spine off the stone EXCEPT while setting a new bevel.
  • Apply pressure to either end of the blade as it comes off the stone; this will create a groove in the bevel where it passes over the edge.
  • Use too much pressure; the blade can deflect and flatten onto the stone. This is especially true of razors with a half or full-hollow grind.
  • Flip over the blade edge when changing direction.  

DO:

  • Start with light pressure, increasing as you get more comfortable honing and get to know the razor you're working on.
  • Flip over the spine, even leaving it on the stone.
  • Lead with the edge of the blade as it travels across the hone, spine trailing.
  • Use the thumb and forefinger of both hands to hold either end of the blade.
  • Apply a small amount of torque so that there is greater pressure on the edge than on the spine.
  • Go slowly; the only time I have cut myself badly was while honing a razor. 
  • Be intentional. Every pass across the hone is an opportunity to learn something about the characteristics of your stone, the razor, your fingers; to learn their unique textures, sounds, and smells. 

The X-pattern Honing Stroke.. For a demonstration of the honing stroke, refer to the .GIF animation above.

Keep your hone well-lubricated with water, wetting from a pan or spray bottle.

Keep your hone well-lubricated with water, wetting from a pan or spray bottle.

  1. Lubricate the hone with water; it's surface should be reflective and glassy.
  2. Place the razor flat on the hone, spine and bevel both in contact.
  3. With the edge leading, push the blade away from you and at a slight diagonal across the hone so that the whole blade passes over the hone.
  4. Stop short of the end of the hone, flipping it over its spine and NOT the edge.
  5. Pull the blade towards you at a slight diagonal.
  6. Flip the blade over its spine.
  7. Repeat until the blade's edge is even and gives off no reflections under a flashlight and the bevel has an even finish. For a routine touch-up, this may take as few as 10 passes on each stone. Check your work frequently. 
  8. Move on to a finer hone and repeat steps 1-7.

In Part III of this series, you'll learn about one of the last steps in our manufacturing process: how we set the bevel on a new razor, including our full hone progression, with tips and tricks to help improve your own honing.