
WARNING: Razors are extremely sharp. misuse can cause serious injury! Should you attempt any of the tasks described in this article, you do so at your own risk.
Any informed discussion about honing has to begin by saying: there isn't just one way to make a razor sharp. The ultimate test of any honing method is the act of shaving, and judging how well the blade removes hair and feels against the skin. If it cuts hair and doesn't ruin your face, then it works. How well it works depends on an infinite number of factors that may have nothing or everything to do with honing, from the quality of the steel to whether or not you drank coffee with or without sugar this morning.
Part I of this series will familiarize you with the common terms, concepts and techniques related to honing. We will cover when to hone, and what you need to start honing on your own. Sharpening a razor is quite simple and can be done safely and effectively by most people in the comfort of their own home! This series sets out to demystify the process called "honing," and equip straight shavers with the knowledge to sharpen their own blade.
Basic Vocab
- Honing: The process of sharpening a razor or similar blade. This is done by methodically passing the razor across increasingly fine stones, called hones.
- Hone: A whetstone, especially one used to sharpen a razor. The word hone can be used interchangeably with whetstone or waterstone, and is the primary tool for sharpening a razor. These are made from a variety of natural and man-made materials, and come in varying grits. For our purposes, most honing is done with stones between 1,000 and 12,000 grit.
- Bevel: Refers to the angle of the cutting edge of the blade. Straight razors actually have two bevels: the first is normally called the "hollow grind," and refers to the concave surface that makes up most of the blade. The second bevel, sometimes called the "primary" or "cutting edge" is what actually cuts hair, and this is the one we refer to most while honing. The angle of the final bevel is set by the ratio of spine thickness to blade width, and how the blade rests when the bevel and spine are in contact with the hone.
- Polished Edge: Describes a perfectly smooth, continuous edge. A truly polished edge will appear as a continuous black line under a microscope. This type of edge is characteristic of well-honed razors.
- Serrated Edge: An edge which is dentated, sawtoothed, or jagged . This does not mean the blade is not "sharp," as serrations may be microscopic and are often capable of cutting hair. This type of edge is more characteristic of utility knives.
- Swarf: Fine pieces of metal, stone, and other materials produced during honing. Swarf is notoriously hard to clean up, gets stuck in the porous surface of hones, and can mar the blade. Swarf can be minimized by cleaning hones frequently.
- Lapping: A technique for cleaning and flattening hones. This is done with a lapping stone or similar tool with an established, perfectly flat surface.
- Hanging Hair Test: A test for establishing the shaving potential of a razor. A well-honed razor should be able to cleanly cut a hanging hair, unsupported by at least 1/2 inch. This test is done by holding a hair between your fingers, hanging it perpendicular to the razor's edge, and pushing it into the blade. This test should be conducted along the blade's entire length.
- Shave Ready: An arbitrary (but useful) term for describing a razor capable of producing a comfortable shave. For a razor to be called "shave-ready", it must be sharp enough to effortlessly cut hair against the skin without causing irritation. This means that the blade is free of nicks or scratches, and is perfectly sharp along its entire length. While not a conclusive test (shaving is the only conclusive test) a good way to determine whether your razor might be shave-ready is to shine a light at the cutting edge and look for reflections; any imperfections along the edge will reflect light that your eye can perceive. We call this the "shine test," and it is the safest way to check the razor's edge because you don't have to physically touch it. This is most easily done with an illuminated jeweler's loupe.
When To Hone
Starting out, it might be difficult to determine whether your razor needs honing. Indications that your razor might need to be honed include (in order of increasing severity):
- Your razor does not pass the Hanging Hair test
- Your razor no longer cuts hair effectively
- You experience excessive irritation while shaving
- There are visible nicks or grooves on the blade's edge
It's hard to estimate how frequently your razor will need to be honed because everybody (and every razor) is different. Some factors that will affect the time between honings include how frequently you shave, the number of passes you do, the coarseness of your hair, your technique, the way you strop... even humidity can be a factor.
If you've decided your razor needs to be honed, you can mail your razor to us and we will hone it for you for $20 plus the cost of shipping. But ideally, you will be able to keep and maintain your razor yourself for the rest of your life. Not because we mind honing rzors, we actually quite like it, but because caring for your own tools is rewarding and fun!
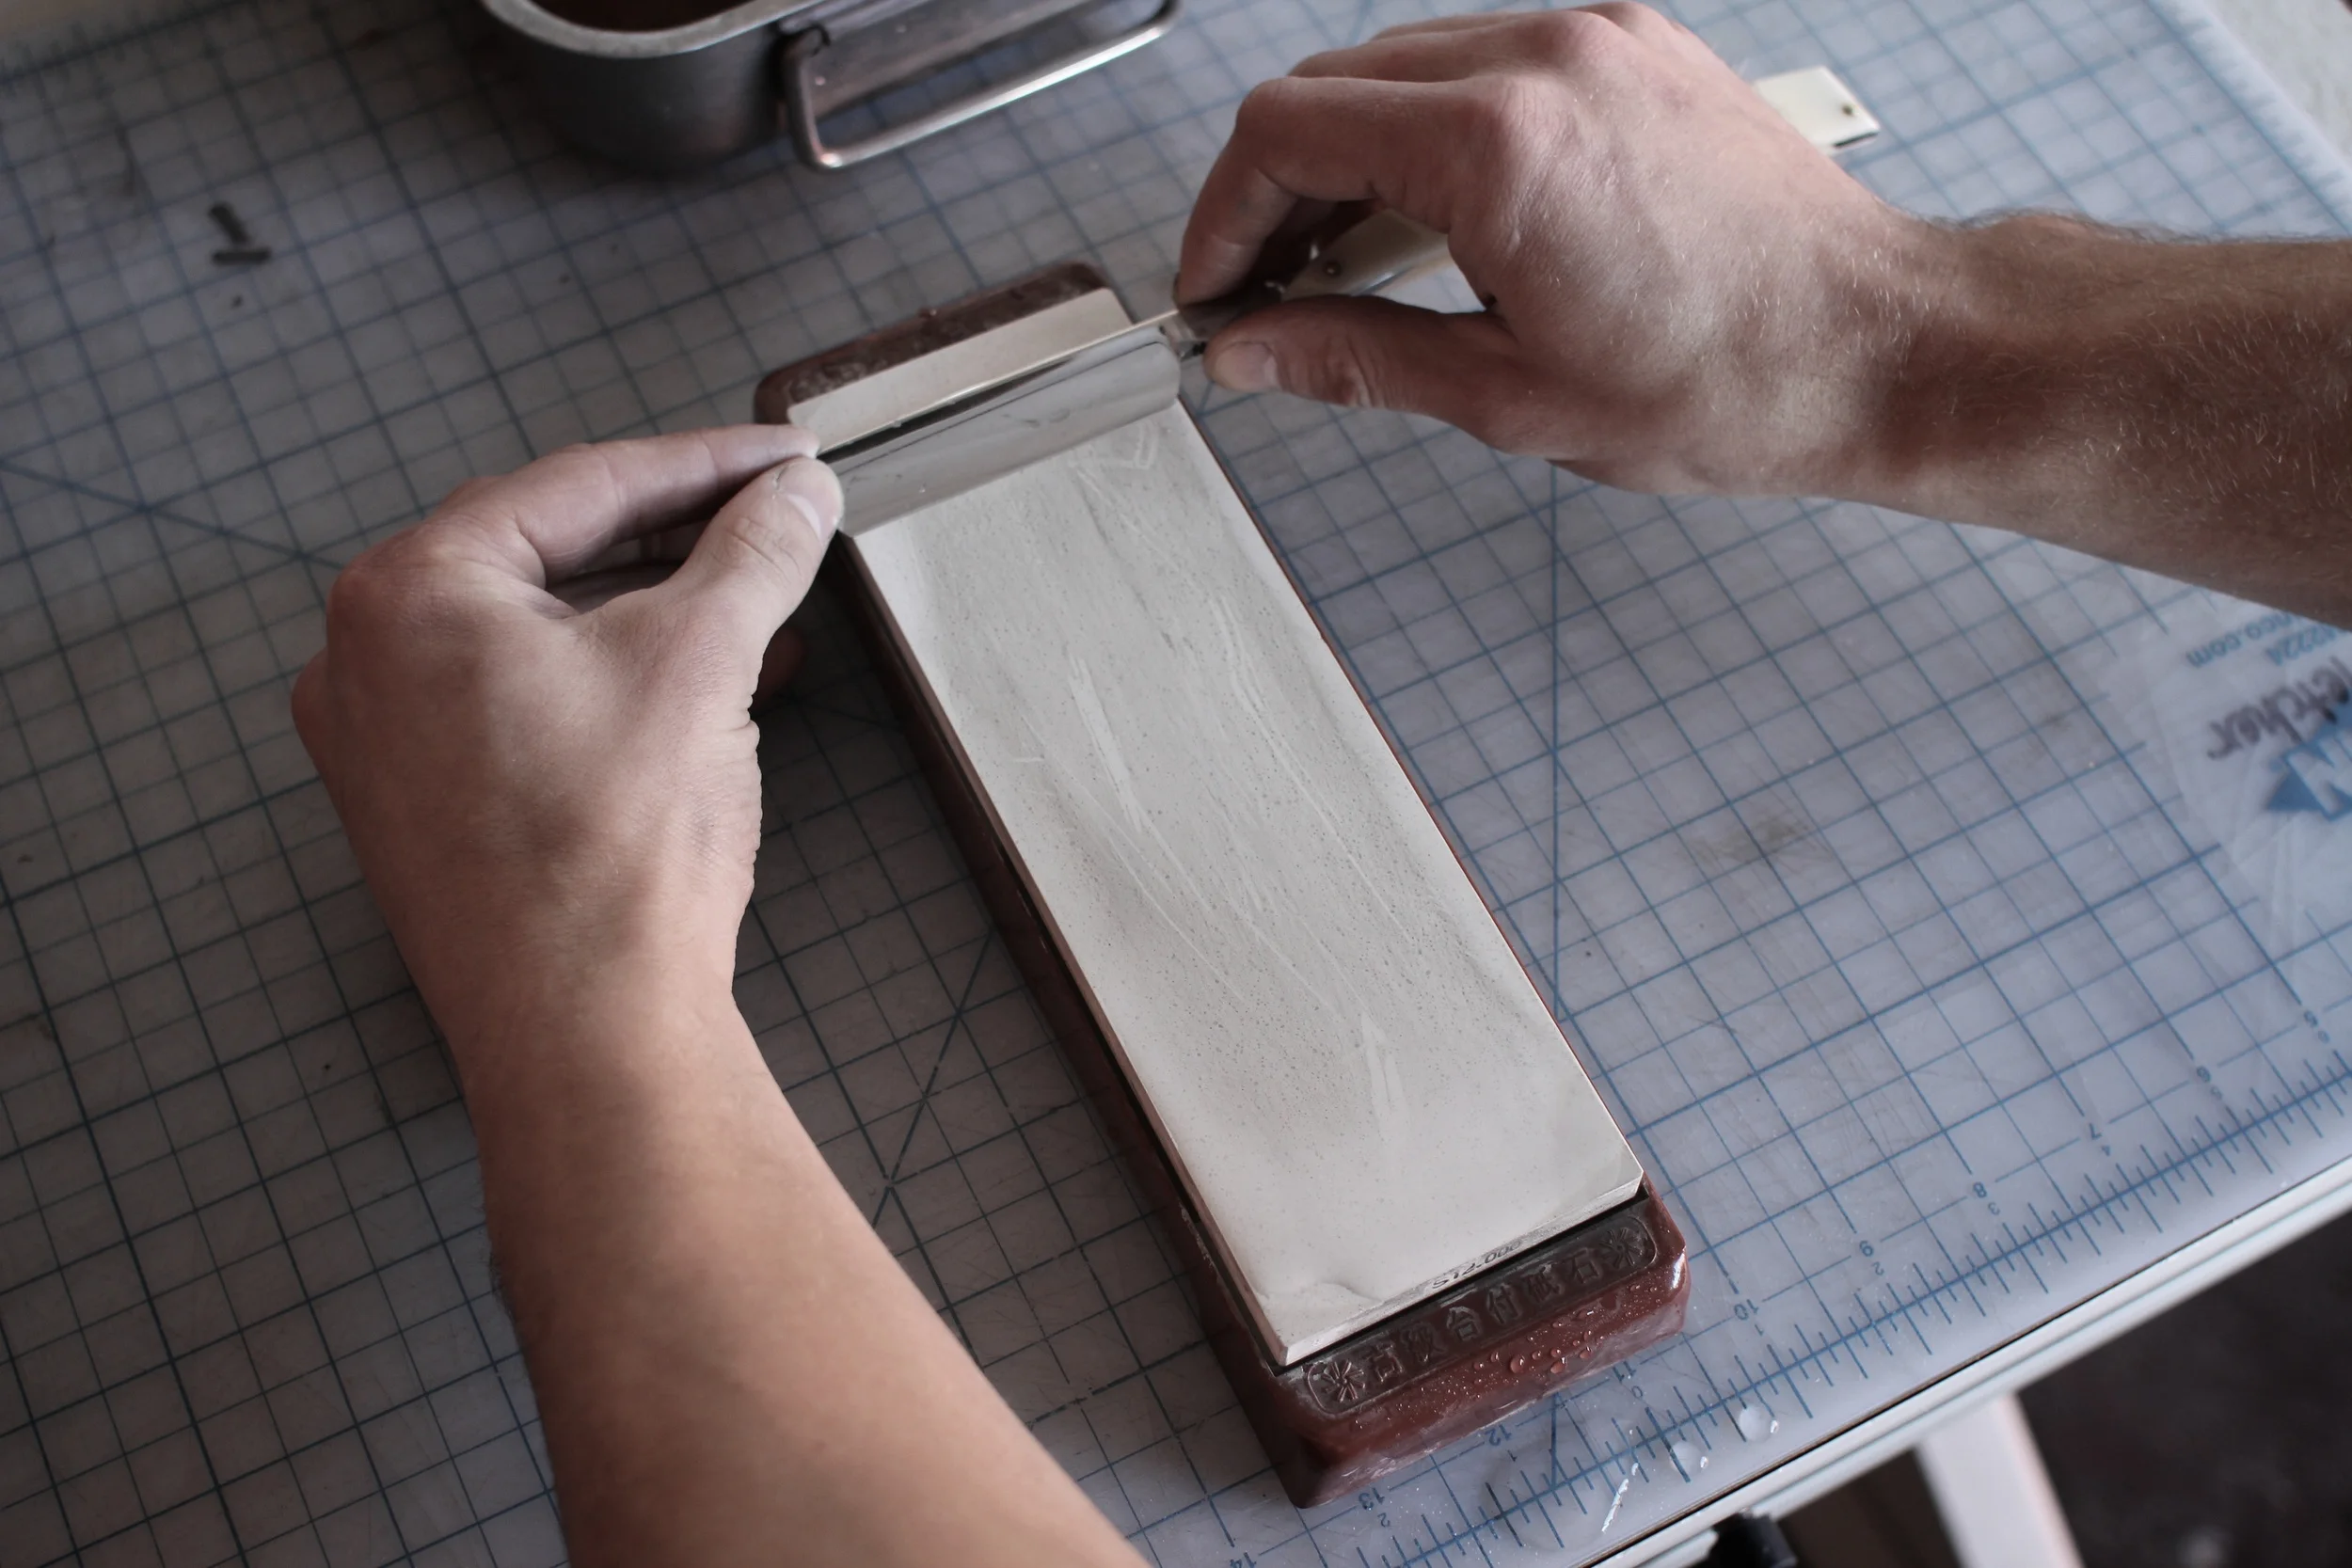
To hone at home, all you need in addition to your strop and straight razor is a good hone and practice. We recommend the Norton 4k/8k waterstone as a good first hone; the 4k side is abrasive enough to work out minor nicks and scratches, and the 8k is fine enough to produce a shave-ready edge. Combined with a good strop, this combination can keep your razor going indefinitely.
In Part II of this series, we'll go more in-depth into honing, with tips to get you started at home.