Straight Razor Care and Maintenance Tips for Barbers and Stylists

Our Pro Line consists of products we recommend for performing top-notch services in barber shops and salons. We received a question this week regarding our Pro Line which we feel might be helpful to other barbers and stylists using our straight razors. With Sydney’s permission, we have included her original email below:

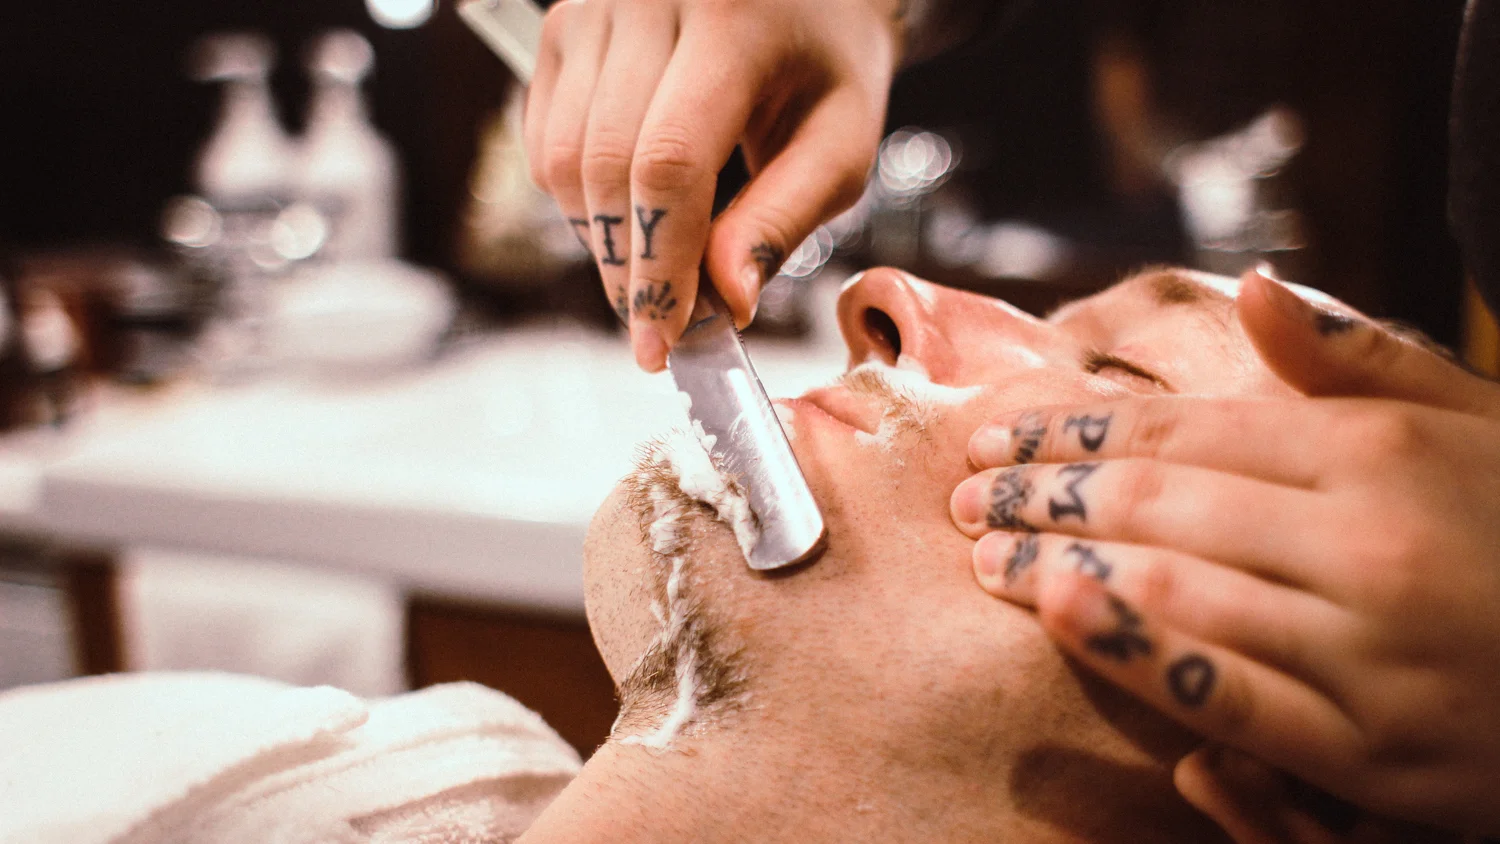
“I am a barber and I recently purchased a straight razor from you guys. I am absolutely in love with it, however, I couldn’t find definitive after care instructions on your site. Any and all help is greatly appreciated.

Best,
Sydney


First, we love this question and what it says about Sydney’s professionalism. Not only has she invested in quality, sustainable tools for the trade, she's taking the initiative in learning to care for those tools and protect her investment! For those seeking a competent barber near Simi Valley, look no further. You can book an appointment here: @syd.scissorhands

straight razor shaving in the Portland Shave Shop Barber Shop in Portland, OR

Straight Razor Care, Between Services

Fortunately, caring for your Cascade Steel straight razor between shaves is super easy and can be broken down into the three S’s:

Strop! — Sanitize! — Store!

Strop

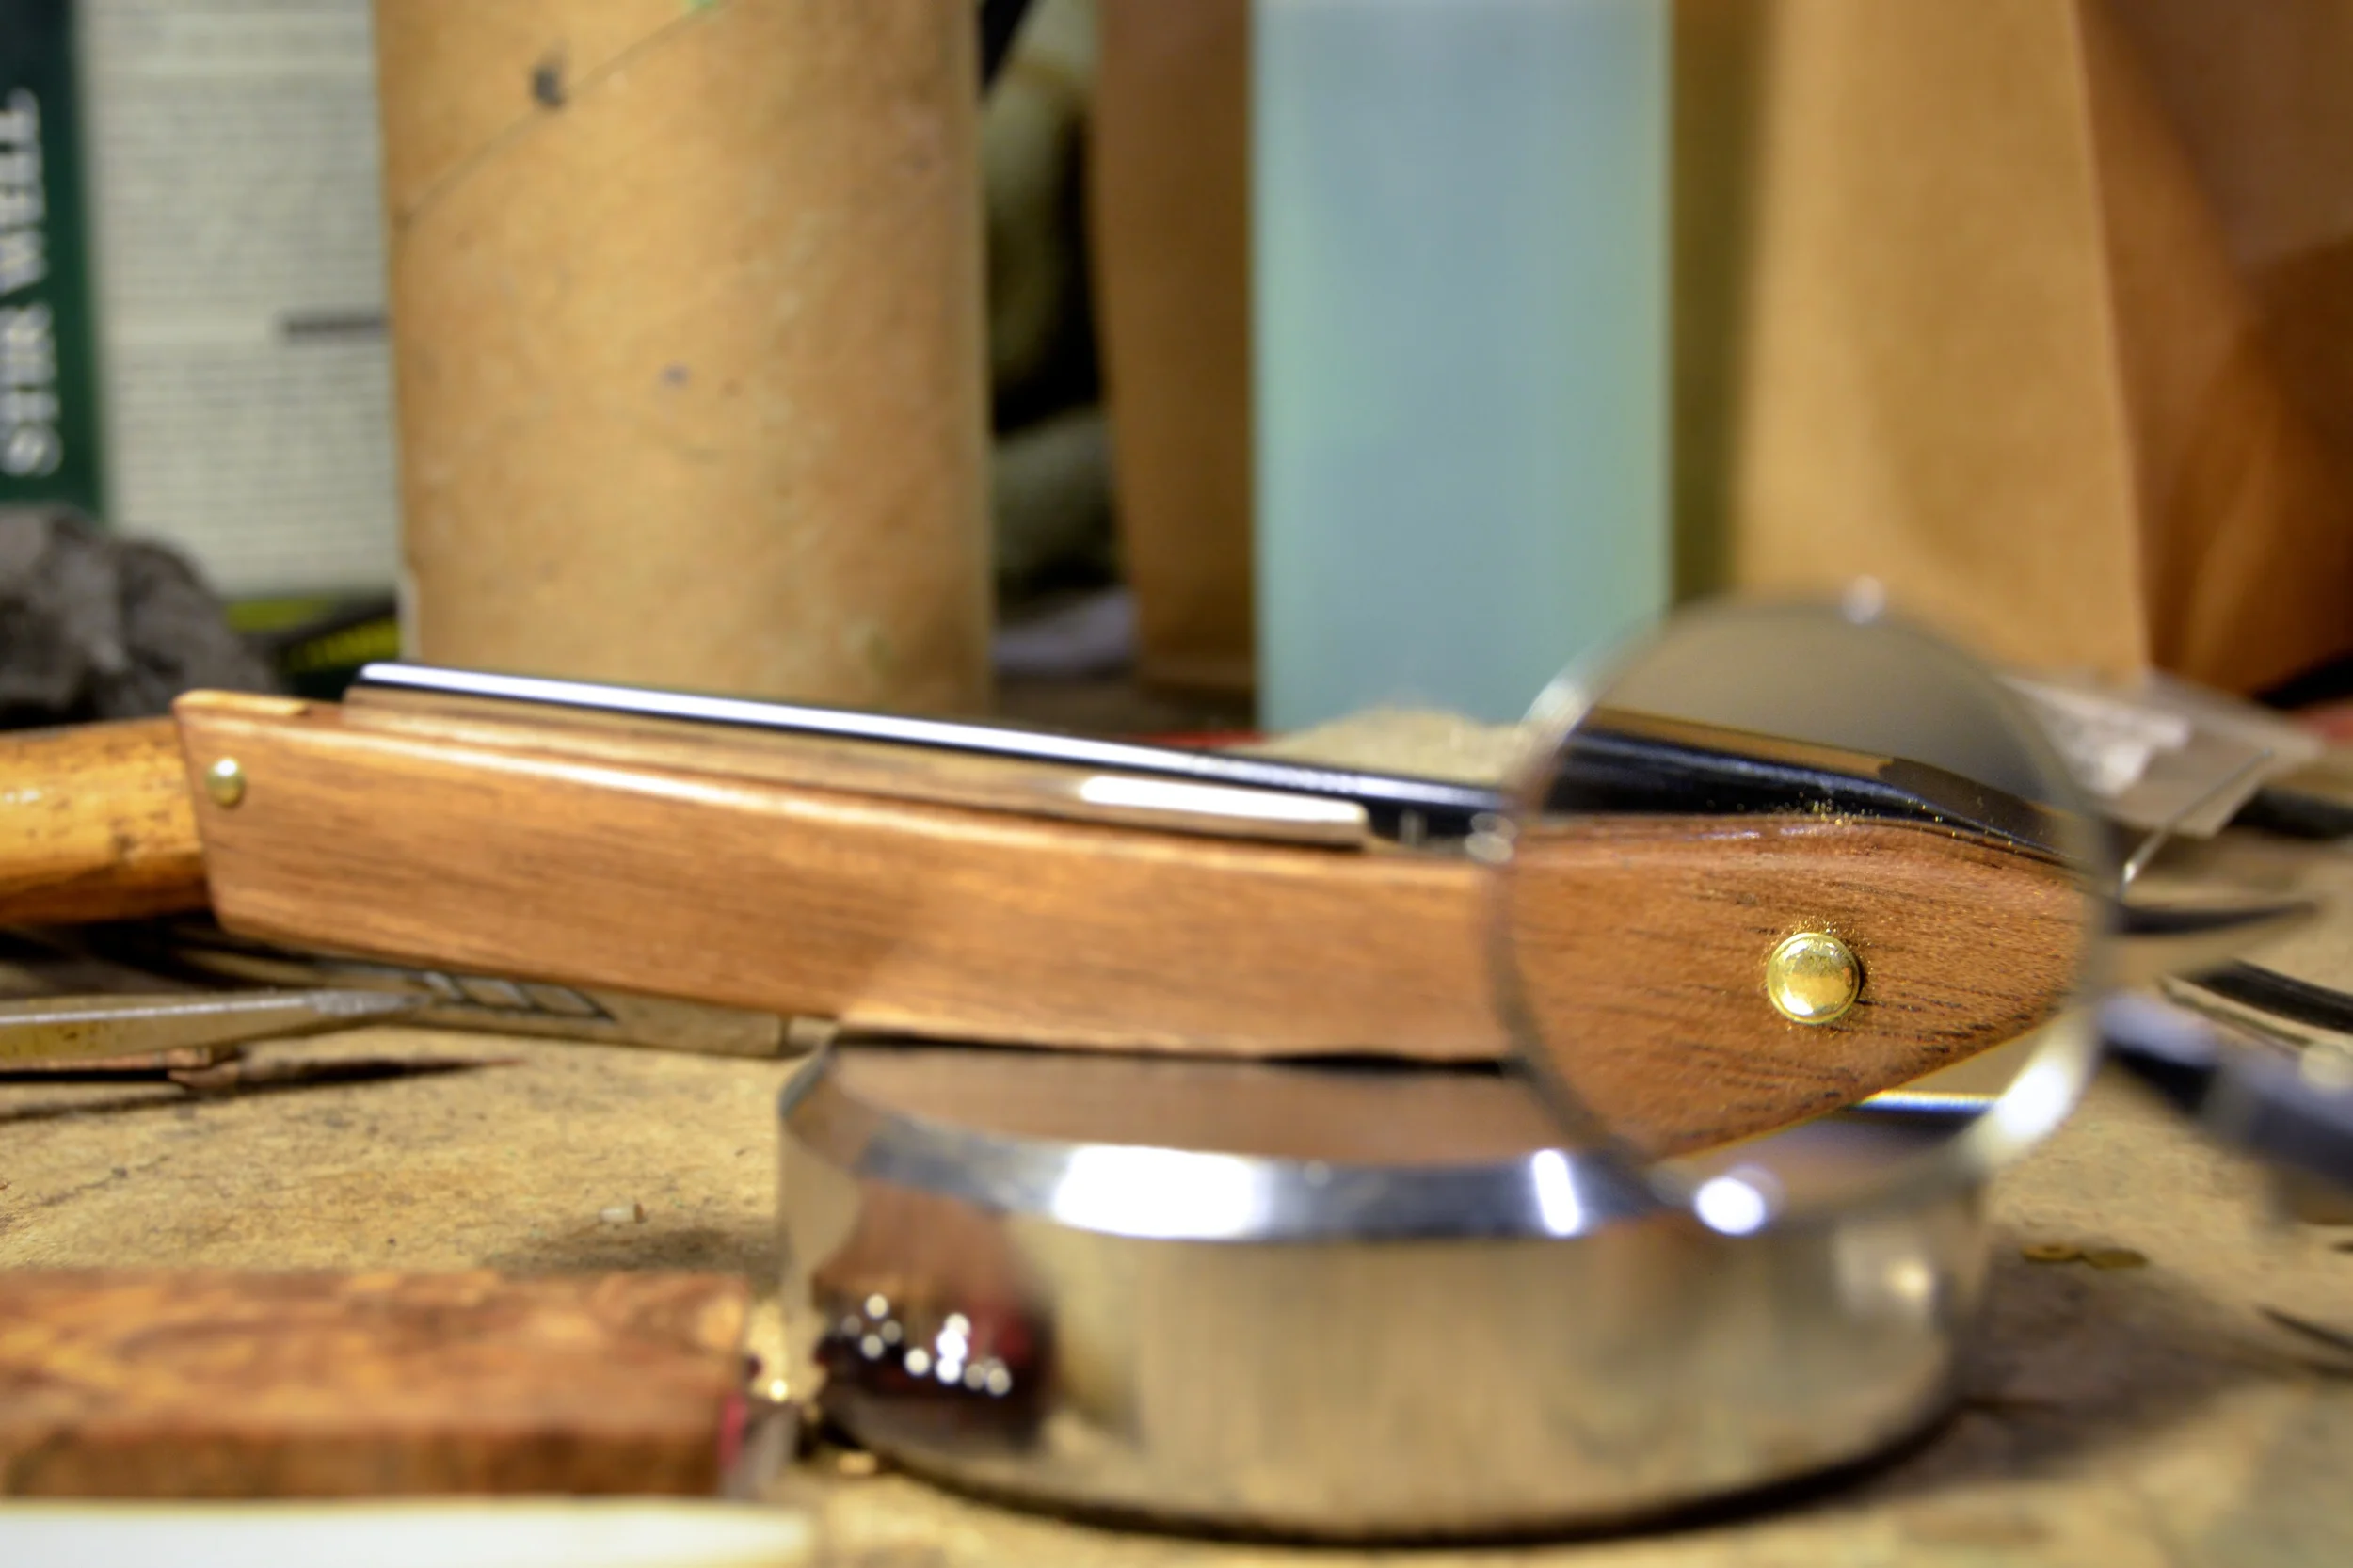
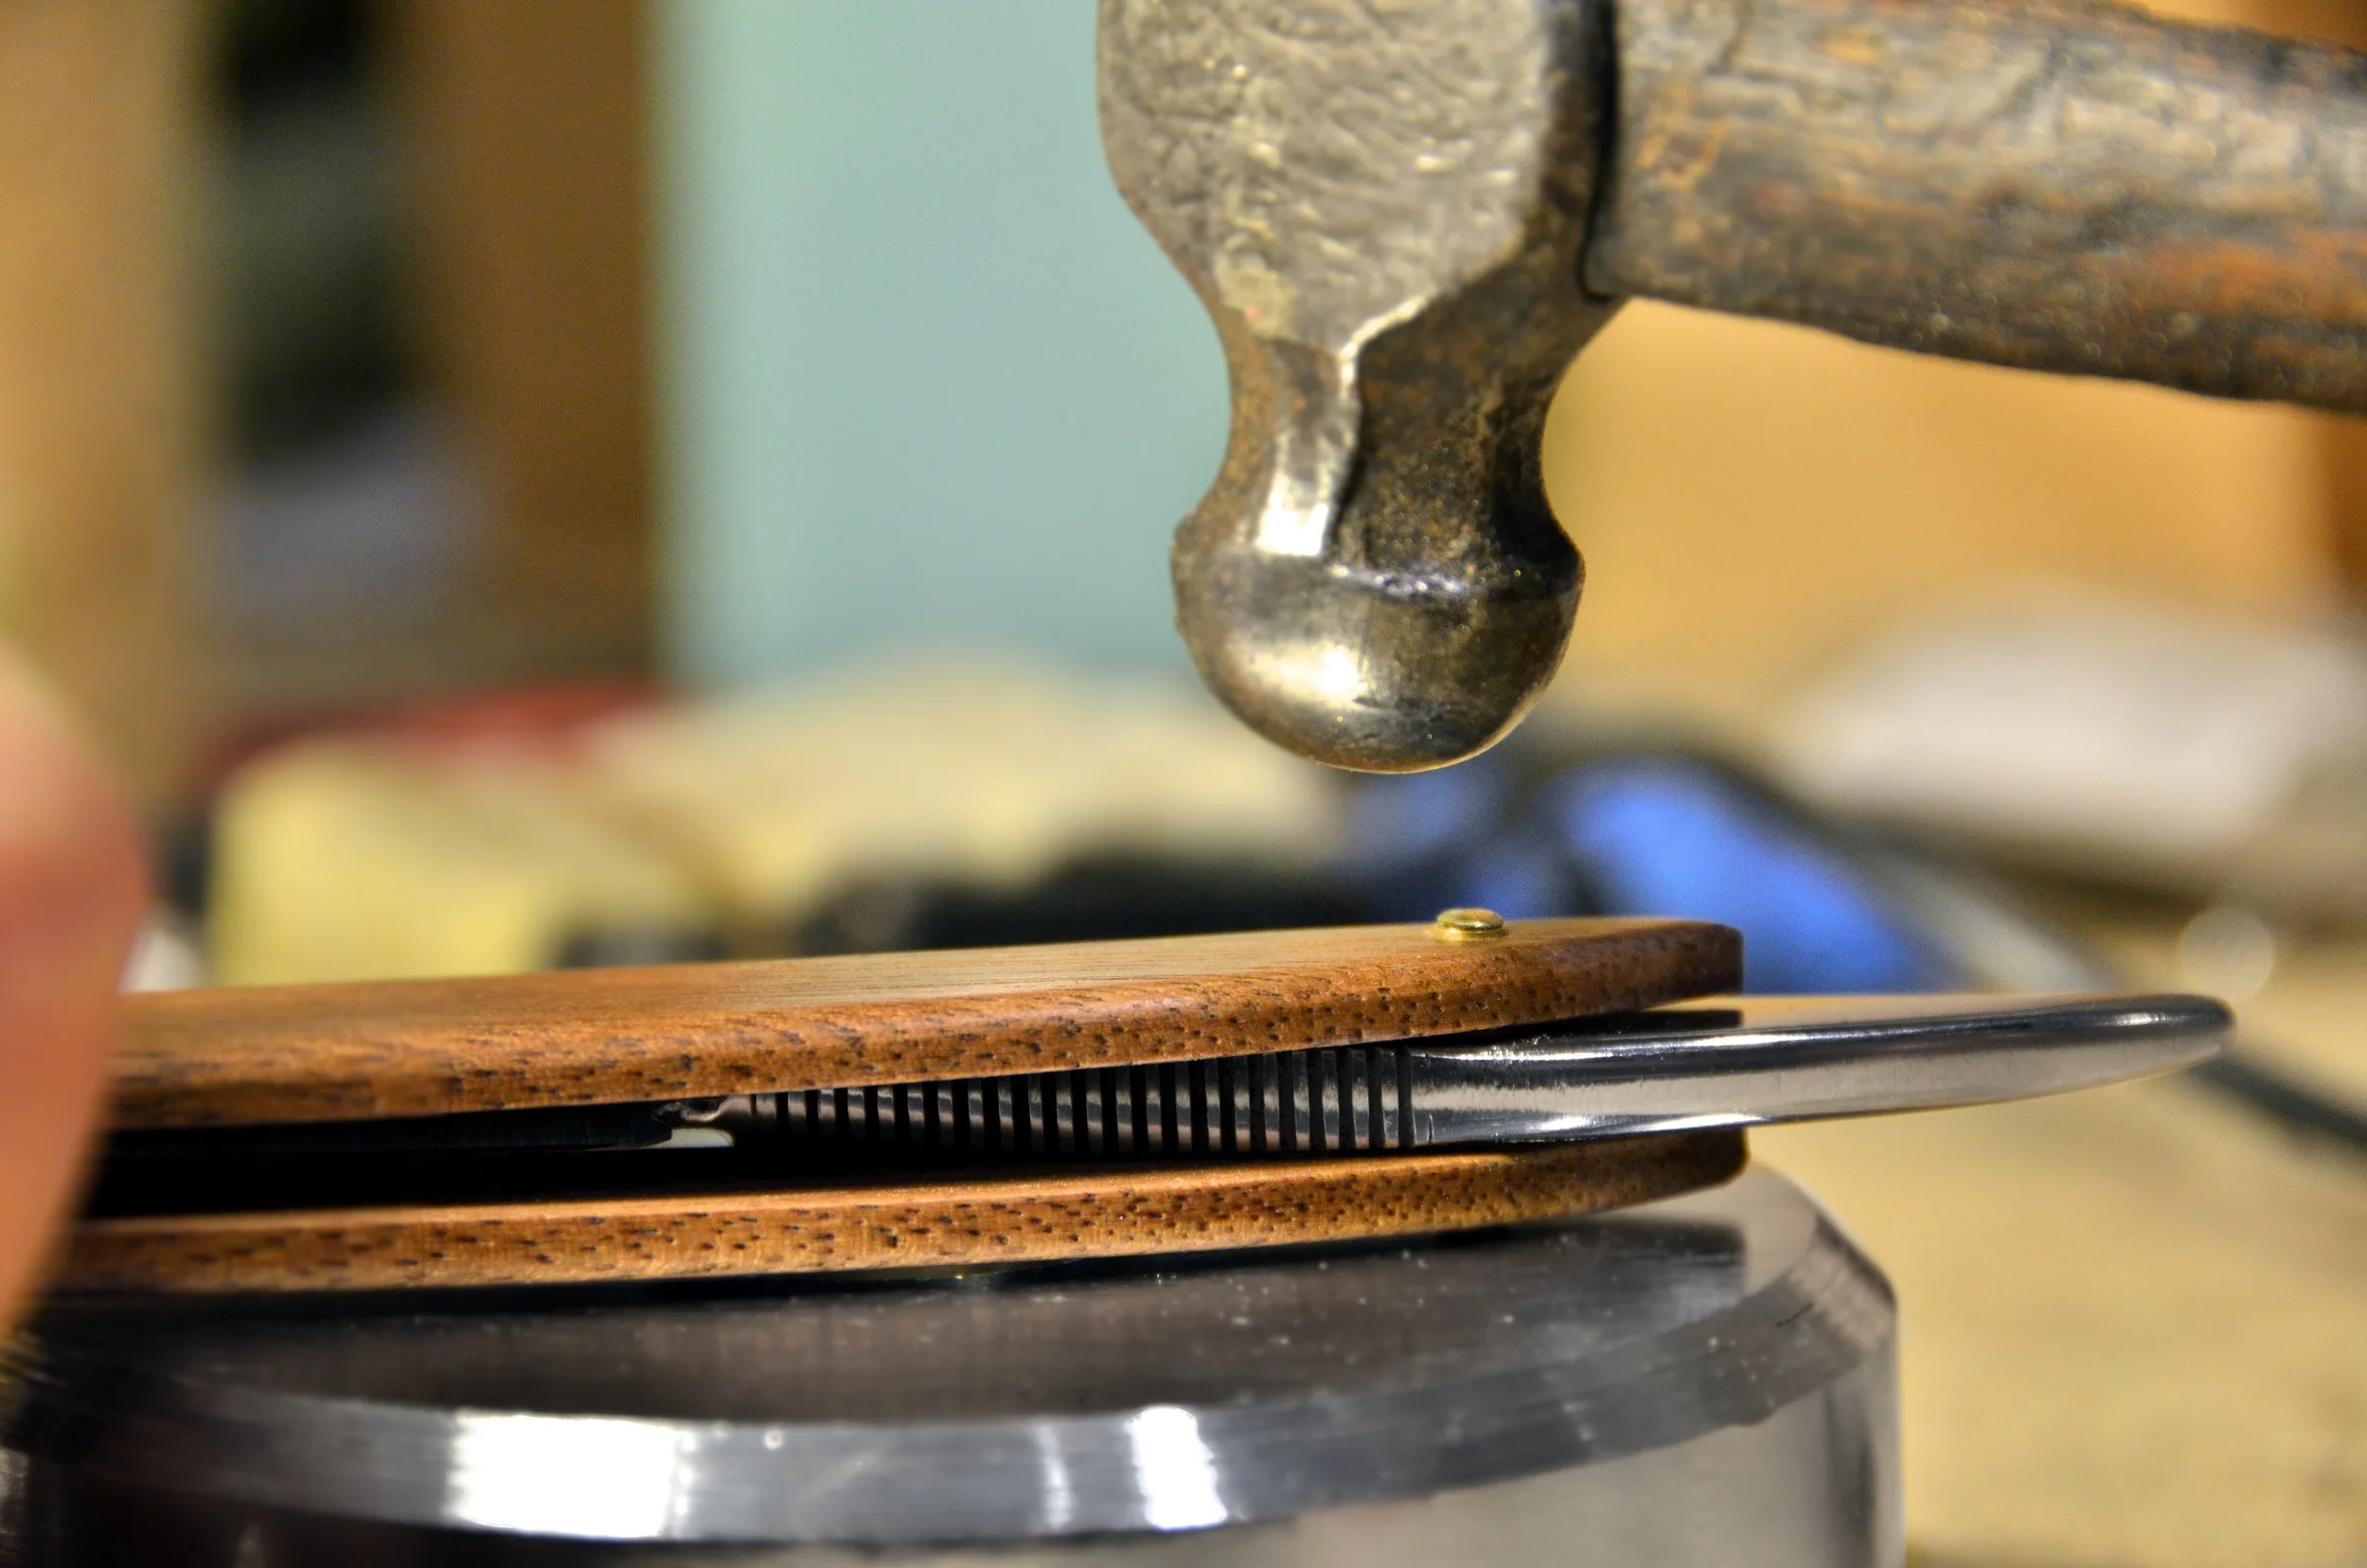
Stropping keeps your razor keen, clean, and ready to shave effortlessly. After sanitation and skin prep, having a sharp blade is the most important factor in providing a quality shave service, so don’t skip it! The more often you strop, the less time it takes each stropping to restore the edge to shaving sharp. At a minimum, strop your razor at the beginning and end of every shift, but ideally before every service. While this may seem like a cumbersome chore--especially at first while you’re getting the technique down--just remember how much time is wasted changing blades in your shavette. It also gets a lot faster the more you practice. Skipping the strop or doing so improperly will result in lost time waiting for the razor to be sharpened down the road. If you haven’t already, be sure to check out our in-depth stropping tutorial.

Sanitize

Between services, rinse the entire razor and immerse in an approved disinfectant. This isn’t just because it’s required by health authorities (which we’ve written about extensively in a previous post); keeping your razor clean will keep it looking and performing its absolute best. Since you’re using our Cascade Steel razors, the entire razor is safe to immerse in water and high-level disinfectants for worry-free sanitation and compliance.

Barber after care blog-1-2.JPG

Store

Once your razor is properly stropped and sanitized, close and store it somewhere safe. Ideally, your razor should have its own sheath or box; don’t just toss it in your kit, since other tools can slide between the razor’s scales and damage the edge inadvertently. A toothbrush travel holder is an easy-to-clean and widely available storage solution for your cutthroat razor!

We hope you found this helpful! If you have any other questions, please send them to us!


Pasted Strops, Revisited

We gave customers the option to paste the inside of their prep strop several months ago and the response has been overwhelmingly positive. If you are on the fence, here is what you need to know about pasted strops.

What does "Pasted" mean? A pasted strop has had an application of very fine polishing abrasive, in our case: chromium oxide paste. This is applied to the inside panel of the prep strop and allows for more aggressive stropping action to prolong the life of your razor's edge. 

Why paste my strop? If your stropping is solid (check out our stropping guide) then stropping occasionally on paste will make your razor's edge last longer, which delays (but does not replace) the need to pay for honing services or buy your own stones. On the other hand, poor stropping on paste will only make the problem worse

How often should I strop on paste? We generally strop our razors on paste every 10-15 shaves, or whenever you notice that your razor is not shaving as efficiently.

Do I need to reapply paste? When we apply paste at our shop, we generally apply more than an individual shaver should ever need for their own use. That said, if you notice that the paste has worn away or is no longer doing its job, it may be time for a reapplication (but more likely, it is time to hone your razor).

How do I apply paste to my strop? We offer a one-time application for $5, but there are several other types of abrasives you can purchase and apply to your strop: powders, sprays, and wax pastes. We prefer the wax pastes because they are easy to apply and go a long way, simply color in the part of your strop you'd like to paste just like you would with a crayon. 

Where do I find chromium oxide paste? Check with your local hardware store to see if they carry chromium oxide paste, just ask for "green jeweler's rouge" or "green buffing compound." If you can't find it locally, there are plenty of quality sources from online knife-making stores to Amazon.

We hope you found this information helpful! 


Straight Razor Care - Pins

Straight Razor Pin, Closeup

Straight Razor Pin, Closeup

What is a pin?

Traditional Straight Razors have two distinct parts: the blade and the scales. This article is focused on the joining of those two parts, namely the pins where the blade and scales meet.

What we call the “pin” is essentially a solid, or round head rivet; a permanent mechanical fastener consisting of a simple rod and a head which is deformed with a hammer. It’s a simple technology with a noble history, dating as far back as the Bronze Age; it was even used to make the legendary Viking longships! In what is called clinker boat building, Vikings used an iron nail driven between overlapping planks and rounded the exposed end with a hammer in a process called clenching.

Hand-pinning achieves spectacular results and is well worth the added effort. Sure, it’s tedious work; our 1/16” pins and washers are hard to hold and easy to lose, and never mind the unsecured straight razor blade swinging round your fingers! But the results are beautiful and secure compared to modern screws and rivets. Not only that, but they can easily be readjusted without disassembly.

Pins for straight razor and knife making are most commonly made of brass, nickel/silver alloys, and stainless steel. We use brass pins because we like the way they look and feel. Regardless of the material, pins sometimes come loose and will need to be retightened. Pins become more and more problematic as they loosen, causing ‘play’ at the hinge which can irrevocably damage the scales and pins. The scale material will weaken and the head of the pin will be forced to expand outward to accommodate the new range of motion, until you end up with cracked or broken scales and a useless pin that cannot be salvaged. For these reasons, it’s much easier to maintain your straight razor by periodically tightening the pin than it is to replace or restore badly damaged pins and scales.

Why Pins Come Loose.

Pins work primarily by pinching from either side of the joined pieces, and to a lesser degree by expansion within the scales. Tension is lost over time usually because the pin wasn’t peined tightly to begin with, but the scales can also deform and become compromised due to friction, corrosion, mold, etc. The most common cause of lost tension is friction from regular use, and anything short of an actual breakage is quite easy to fix on your own!

How to Diagnose and Fix Problem Pins

Tight straight razor pins that make it difficult to open or close the razor can be loosened simply by creating friction: opening and closing the straight razor a lot (we actually recommend this as a way for your to become familiar with a new razor, and to break in the pin). Conversely, too much friction over time will loosen the pin. Consciously take note of how easily your razor opens before each shave, and of how well it stays open on its own. Any ‘play’ side to side in the hinge will eventually cause the razor to open and close off-track and should be addressed immediately.

Tightening the straight razor’s pin is quite simple. However, there are times when simply tightening the pin should be avoided.

Do NOT tighten the pin if:

  • The scales have any cracks or breakage around the pin.
  • The pin is recessed within the scale material due to over-tightening.
  • The pin’s head is flattened and brittle.
  • The pin is visibly broken or cracked.

A razor with any of the above problems will eventually need re-pinning (read below). If the pin itself looks to be in good condition and there is no damage to the scales, you are clear to start tightening the pin. You will need a small hammer (ideally a rounded ball-pein hammer) and a jeweler’s anvil or other hard surface.

Peining

Peining

Tightening the pin:

  1. With the straight razor closed, place it on it’s side, balancing the pin on the anvil.
  2. With the hammer, give the pin a few firm taps. Alternatively, you can pein it gently with the rounded portion of your ball-pein hammer with light, circular taps. Take care not to strike the scales!
  3. Flip the razor over and repeat on the opposite side. This will keep the straight razor centered in the scales.
  4. Open and close the razor to test the tension. If you feel no change, tap a few more times on either side.
  5. Repeat until you have achieved the desired tension. At Portland Razor Co., we gauge tension by whether or not the razor can strike a pose, balancing upright on the tail and scales without closing.

Re-Pinning:

Sometimes a pin or the scales simply can't be salvaged, in which case the pin will have to be entirely replaced. Because the pin is a permanent fixture, it will have to be destroyed for removal either by filing, grinding, or drilling it out. Take extra care during removal if you plan to reuse the same scales! Once you the old pin is removed, you can replace it with new brass rod and a few washers. 

At Portland Razor Co. for each production razor we use 

  1. Assemble the razor on the length of brass rod with the #0 washers on the outside, then the scales, then wide washers between the scales and blade.
  2. Leaving about 1/16" on either side, cut the brass rod with the diagonal cutters.
  3. File one end of the brass rod so it is flat on top. 
  4. Pein one end of the brass rod. Go slowly and use light taps around the edge of the rod, rather than hitting it centered, so it will lie down smoothly. 
  5. Flip the razor over and ensure that the washers are still in place. Pein the opposite side.
  6. Continue peining, alternating sides, until both sides of the pin are smooth and good tension is achieved. 

Or, you can send it to our shop in Portland...

Long Term Care

Some straight shavers choose to oil their pins to smooth the action of the hinge and preserve the metal, and there’s something to be said for going the extra mile here. However, a small amount of corrosion on the brass can actually help keep the hinge tight, and won’t normally penetrate enough to compromise the integrity of the brass or steel. If you decide to store your straight razor for a long time, it would be beneficial to apply a light coat of oil and work it into the action of the hinge, lubricating the pin and preventing deep rust.

Regularly tighten the pins on your straight razor for the same reasons you strop the blade at every shave. A straight razor that is well-stropped between shaves will keep its edge longer and is easier to restore to a keen edge than one that has been shaved with multiple times without stropping. Similarly, tightening a pin which is only a little loose is much easier and safer than trying to tighten a razor with wobble and breakage. It’s the sum of many tiny efforts over time that add up to the greatest overall experience, and will help you get the most out of your straight razor.


Pasted Strops, What You Need to Know

We had a gentleman stop by our shop the other day with questions about pasted strops. His razor was losing its edge quite quickly and he wasn’t very keen on having it honed several times a year… If this sounds at all familiar, then this article is for you.

At Portland Razor Co. and at home, we use Chromium Oxide on a polyweb strop to polish and restore the razor’s edge. Chromium Oxide, aka “CrOx,” is a fine abrasive similar to jeweler's rouge. Used in conjunction with the small amount of heat and friction from stropping, it smooths the bevel very nicely, reduces hone lines from sharpening on a stone, and results in a smoother, sharper edge. It’s a nice in-between step, being more aggressive than stropping alone while not removing material the way honing does. It’s a great tool in your toolbox and will prolong the life of your blade between honings, ultimately saving time and money by stretching how long you can go before investing in a hone yourself or sending your razor to be sharpened. It is not a substitute for honing.

Before even thinking about pasting your strop, take a serious look at your stropping technique. Imagine that your razor’s edge is made up of tiny metal hairs… er, microscopic metal fibers. The goal of stropping is to clean any debris from the edge and to align these microscopic metal hairs, making them ‘keen’.

For a good stropping stroke: Click here for our in-depth tutorial

  1. Hold the strop firm and flat, but not too tight.

  2. Lay the spine and edge flat on the strop (the spine will be in the direction of travel across the strop).

  3. Push away from you with the spine and edge flat on the strop material, with little to no pressure.

  4. Before you reach the far end of the strop, flip the razor over, keeping the spine in contact with the strop.

  5. Pull towards you, flip over on the spine.

  6. Repeat.

Some common mistakes we see with stropping that will affect the blade include:

  • Rolling up on the edge in the middle of a stroke.

  • Pulling the edge towards you or away from you (instead of leading with the spine).

  • Applying too much or uneven pressure.

  • Not enough tension in the strop (there is slack).

  • Too much tension in the strop (the blade skips off the material or can’t make full contact).

  • Hitting the hardware on either end of the strop with your blade.

Also take a look at the strop itself. Make sure that it is clean and smooth, with no debris or nicks that might affect your blade. Any oily quality to the leather is indicative of a well-conditioned strop, whereas built up scum can catch harmful debris. A few small nicks on the edge close to either end is pretty common when you’re learning and is caused by flipping the razor over while it is still moving towards the end of the strop. Smaller nicks won’t be an issue and can be smoothed out just by conditioning the strop with your palm. However, if you are missing chunks of material then it’s time to shop for a new strop.

A General Warning: Any errors in your stropping stroke or flaws in the material will be exaggerated and made worse by stropping on CrOx. With that in mind, we can only recommend pasting your strop to competent shavers who are confident that their strop game is on point. If you’ve evaluated your technique, the state of your strop material, and you’ve decided you’re ready for the next level, then it’s time to get pasty!

How To Paste Your Strop

You will need a strop and a Chromium Oxide chalk, spray, or paste for this tutorial

Where to Buy Chromium Oxide: 

CrOx is widely available in a variety of forms. Knife-making, honing, and straight razor sites are a sure bet, and have the most options. If you're looking to save a buck (let's face it: who isn't?), you can find generic versions at most hardware stores, though some will dispute the purity of these options. We purchased our three-pound brick of "Knifemaker's Green Rouge" from knifemaking.com for $12.95 and it does the job. You will never use three pounds of CrOx, unless you start painting your face with it every day (which I invite you to try; don't forget to take pictures and tag us on instagram)!

When to Paste:

Knowing whether your razor can benefit from a pasted strop is tricky. Maybe you've noticed a tugging or roughness while shaving, or maybe your razor isn't popping hairs the way it used to. Whatever your test, when there is a noticeable change in performance that isn't corrected by casual stropping, then it's time to paste. 
We use our Chromium Oxide pasted strop every day just on the razors we manufacture. It gets a lot more use than the casual shaver ever will, and we still only need to reapply paste every couple of months, using the strop a dozen times every week. You will likely only need to paste your strop once.

Where to Paste:

Stropping on a pasted surface shouldn’t be part of your daily shave routine. The idea is to create a more abrasive surface than your normal strop, so we recommend pasting on the prep side and not the leather side; it generally holds the CrOx better, distributes it evenly over time, and has worked well for us for years. Apply CrOx right in the middle of your strop where it gets the most traffic, but consider the following:

  • If you have multiple strops, you can simply decide which strop will be your pasted strop and use it only when your blade needs a few restorative passes.

  • If you have just one strop, the ideal placement is on the reverse of your prep side.

  • If your strop is a one-piece hanging strop like Dovo’s small cowhide/linen strop, this may not be possible without seriously modifying the strop.

  • On the other hand, two-piece hanging strops like ours give easy access to multiple stropping surfaces (ours also have interchangeable components with screws instead of rivets). With these, you can just flip your prep side over, secure the leather side out of the way, and paste away. Depending on how you’ve anchored your strop, this can be a little harder to do in practice but is much cheaper than buying a second strop.

How Much Paste:

A quarter-sized portion of CrOx will do the trick. Rub the chalky stuff directly into the center of your strop and spread it with gradually increasing circles. Normal stropping will spread it more evenly over time. If you like it less chalky and prefer a more pasty consistency, add a few drops of mineral or neatsfoot oil and mix them beforehand. Apply the oily slurry evenly to your strop and let dry, wiping off excess oil with a clean cloth. There are also some nice CrOx sprays out there. Just shake, spray, let dry overnight, and strop!

Stropping With Paste:

10-20 passes on a pasted strop is more than enough for a quick touch-up. You can visually check the bevel for even distribution by looking for a characteristic fogginess where the paste is working. Go to your normal prep side for a standard 30-40 passes to smooth it out and remove excess paste, and then your leather for 40-60 passes for the extra 10%!

Pasting your strop helps keeps the honemeister away. Your stropping technique should be somewhere between ‘competent shaver’ and ‘razor-wielding ninja’ before you worry too much about going out and buying Chromium Oxide. It makes good stropping better when used in moderation and bad stropping much, much worse. If your razor isn't cutting hairs at all, no amount of pasted stropping will save you and it's time for honing.

Help us keep new shavers on the cutting edge! What are YOUR best tips for pasted stropping?