No. 1 Why did you want to start?
We recognize that there are a lot of reasons one might get into straight razor shaving. Some of us enjoy it as a practice, as something we can always improve in. Others enjoy it as a zero-waste shaving method and a way to live a more sustainable lifestyle. Straight razors have an undeniable aesthetic, so many of us simply enjoy it for the cool-factor! Whatever your reasons for starting, remembering your own “why” will help you persevere during the initial learning curve.
No. 2 Do you have time for this?
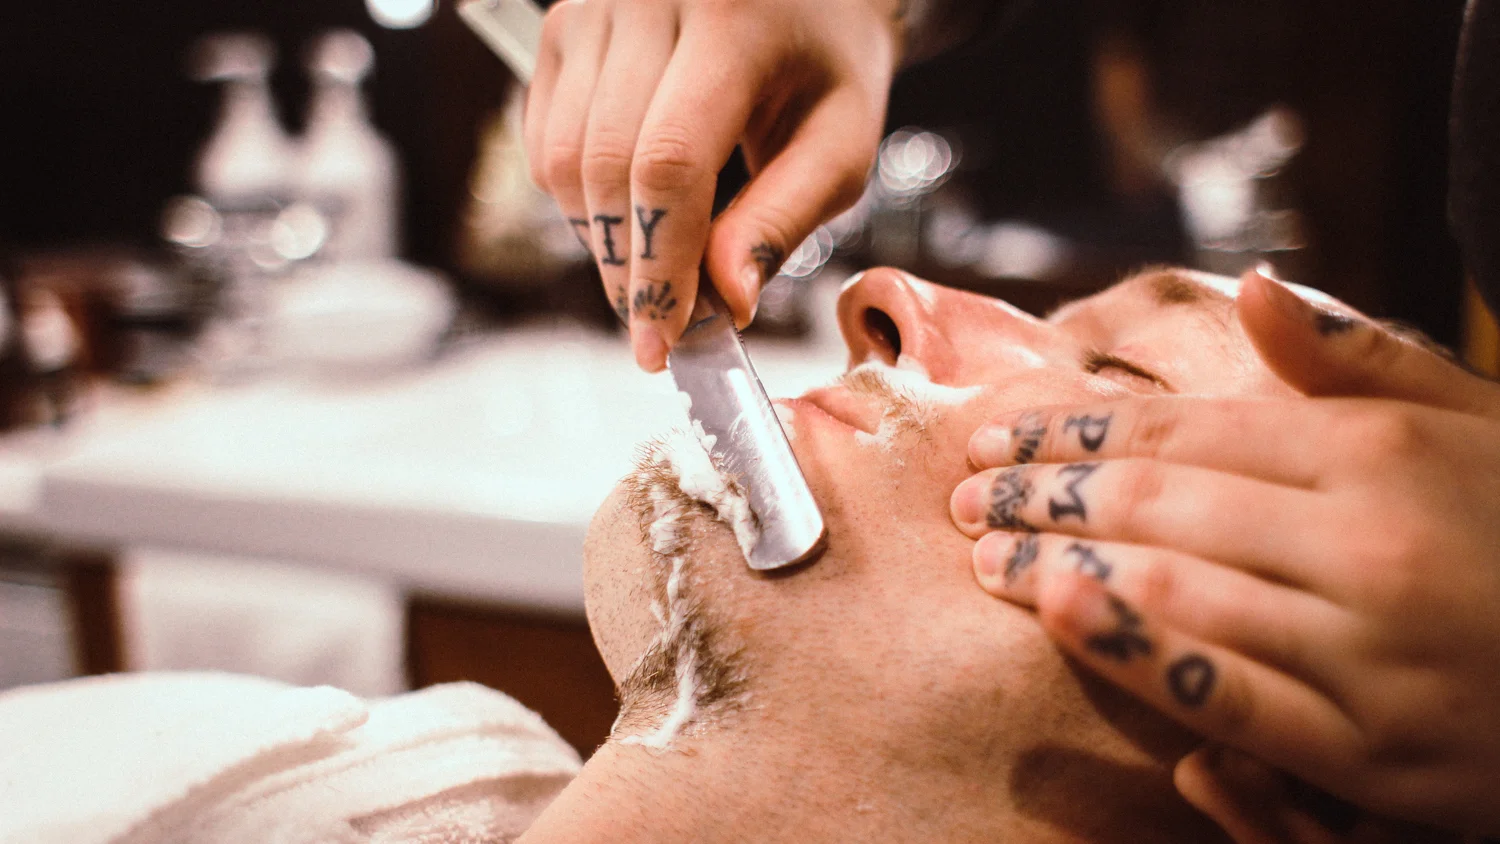
Shaving with a straight razor isn’t something you’d want to rush, and that’s a good thing! Many of us live fast-paced digital lifestyles driven by instant gratification and tight deadlines, and a traditional straight shave is a welcome counterpoint to that. Shaving is an opportunity to relax and take time for yourself, to slow down, be present in your body, be mindful, and enjoy developing a new skill. And if you don’t have time, don’t sweat it; your new razor will always be there for you when you’ve found the time.
No. 3 Do you have everything you need?
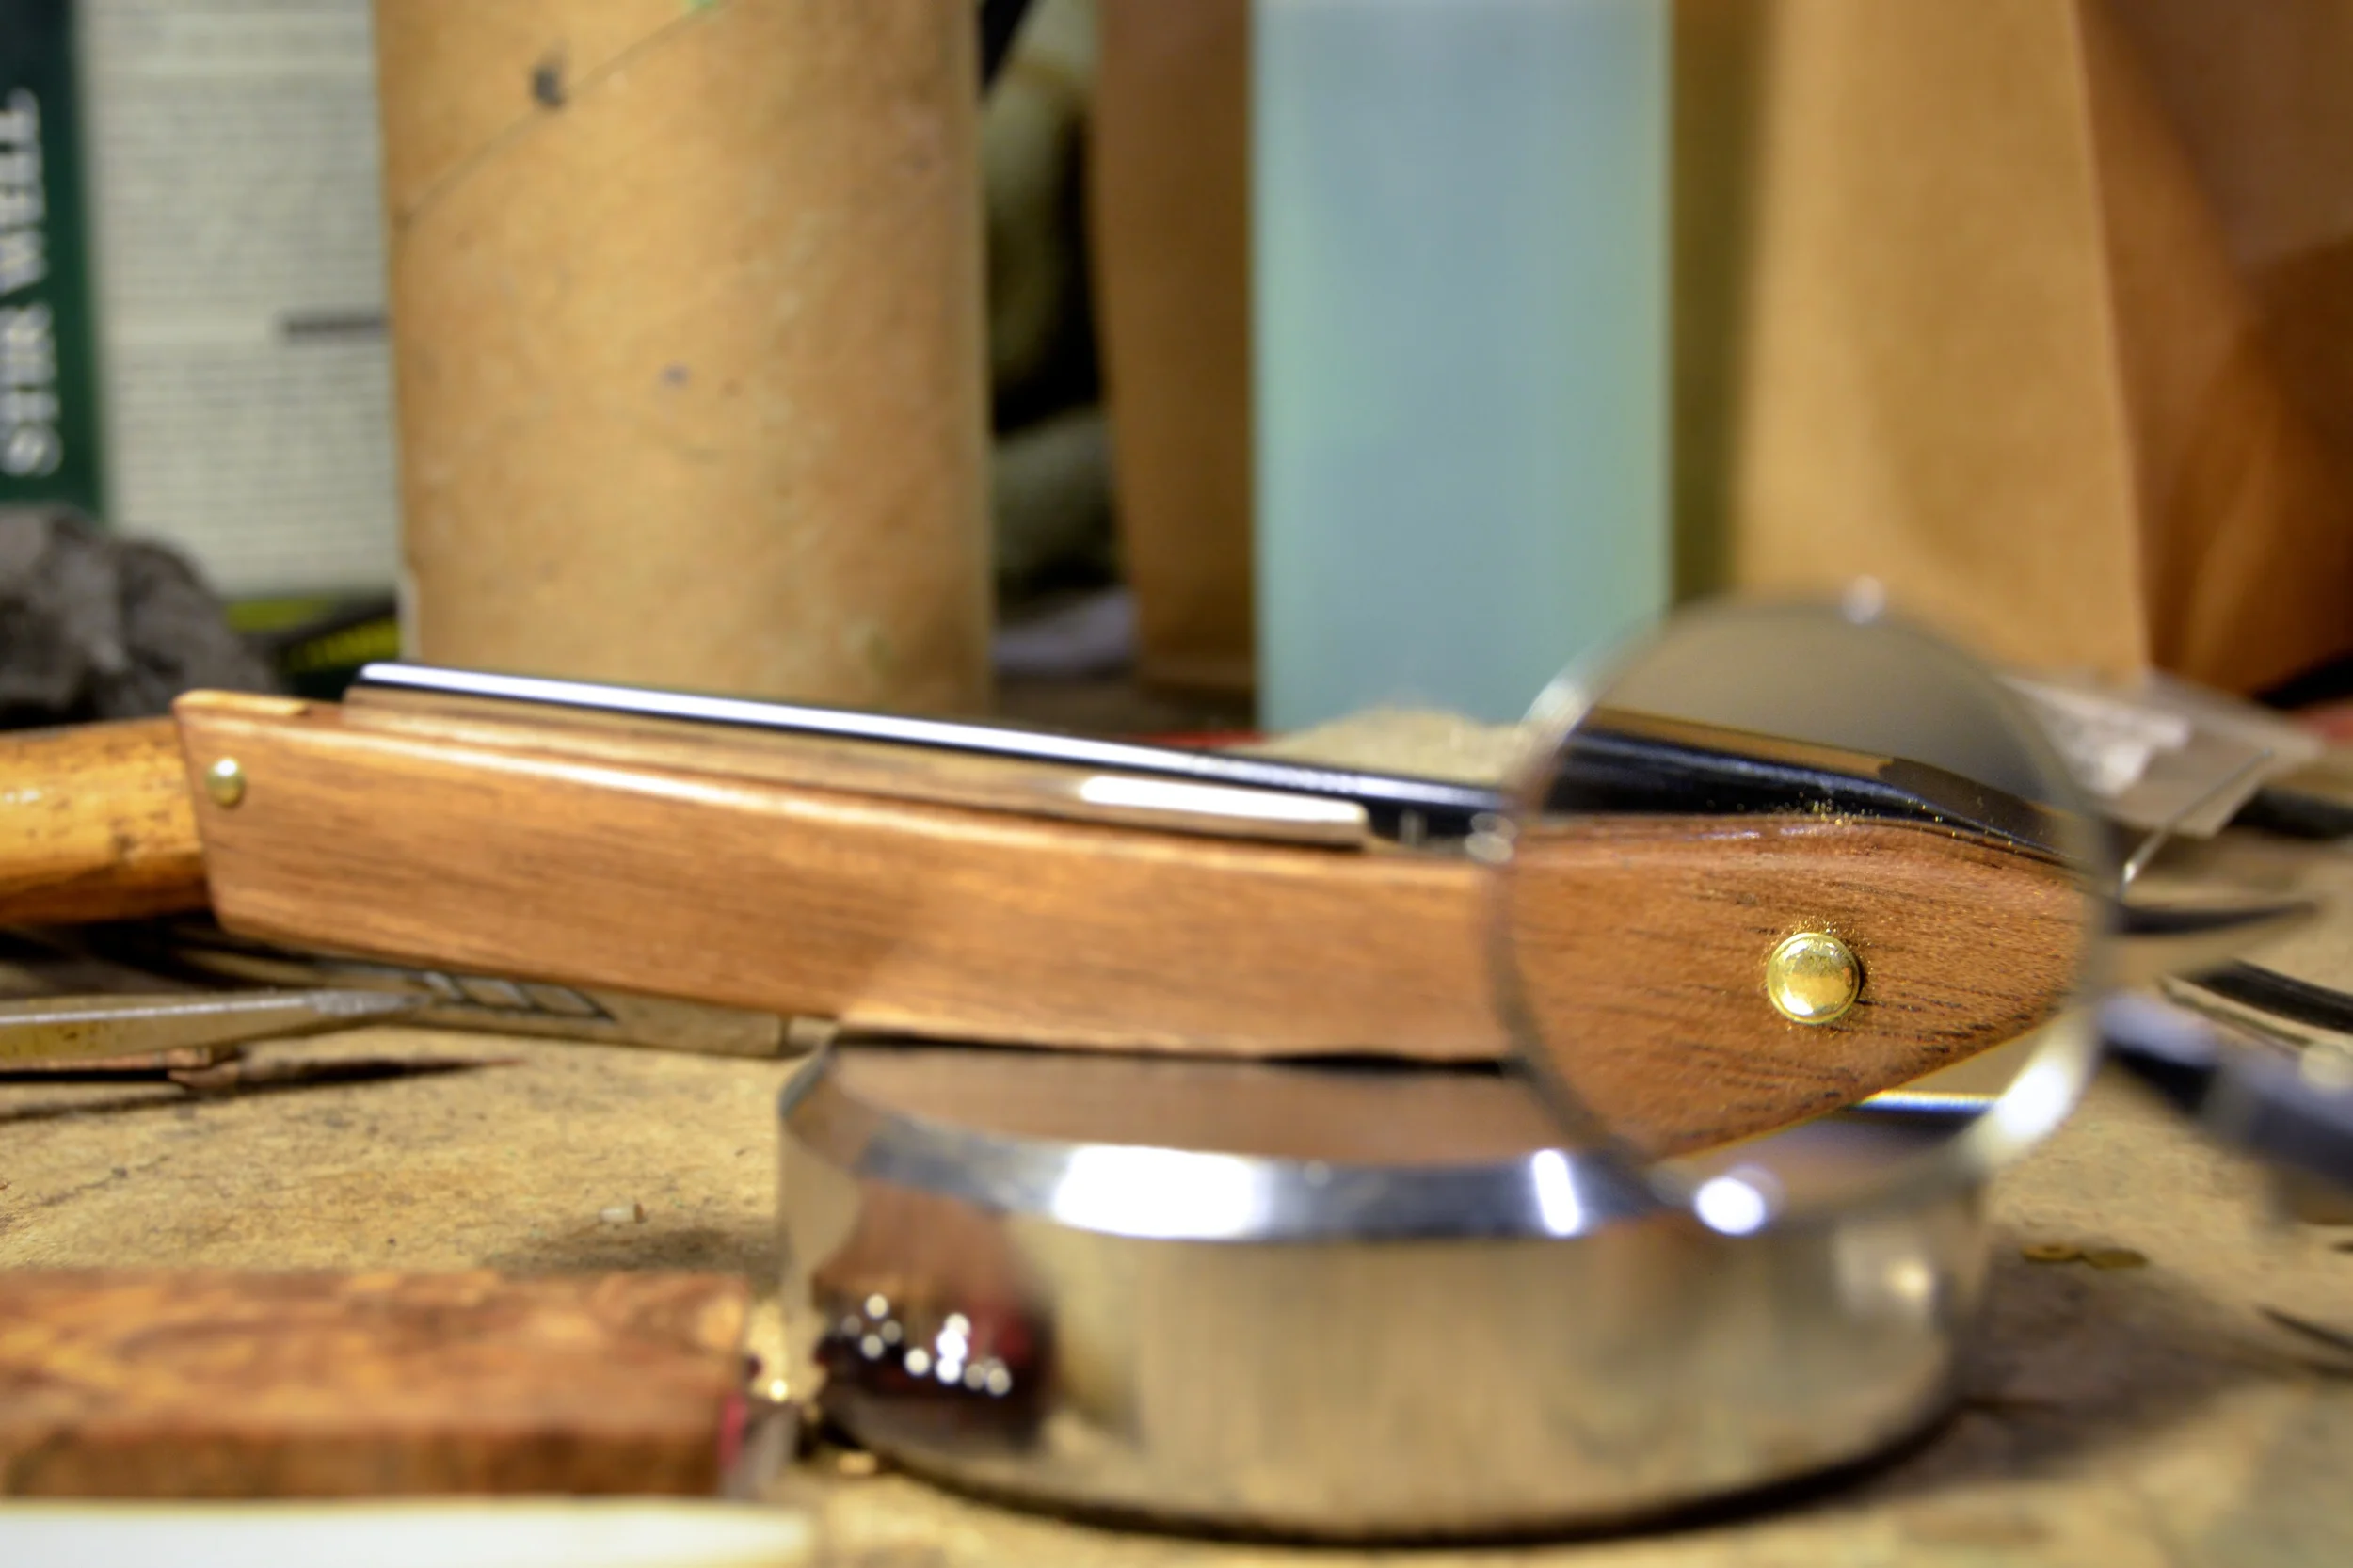
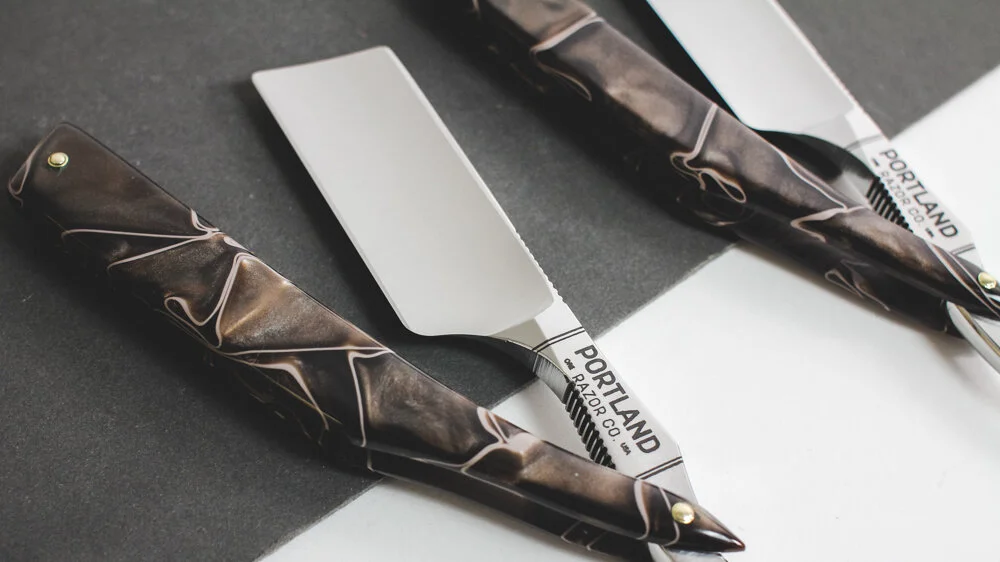
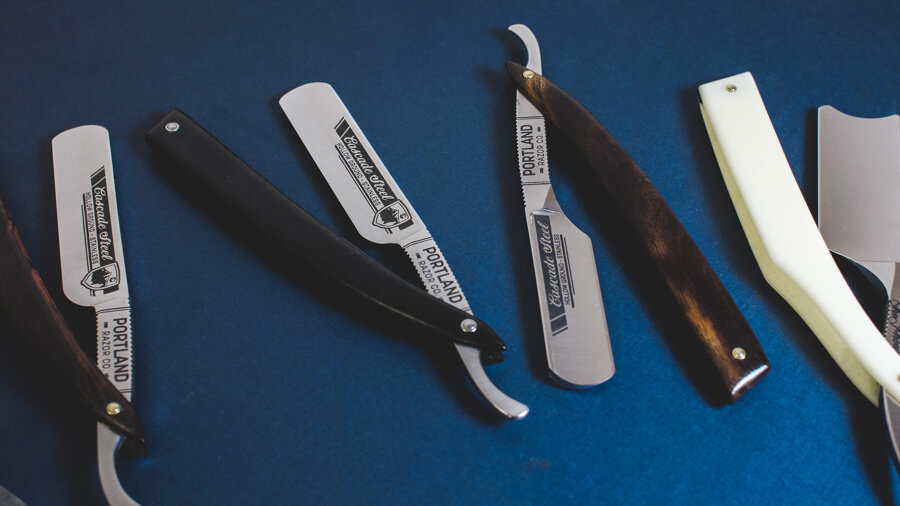
All you need to get started wet shaving is a razor you love, a strop to keep it sharp, a quality shave soap, and a brush to lather it with. Starting with quality tools and supplies will ease the learning process and make your shave more enjoyable to begin with. If you need help choosing your first razor, check out our “No Such Thing as a Beginner Razor” article. As your technique improves, it may be worthwhile to start adding other products to elevate the experience. Pre-shave conditioners and aftershave treatments all help protect your skin and make the shaving process more enjoyable, but they aren’t necessary at the get-go.
No. 4 How do you keep your razor sharp?
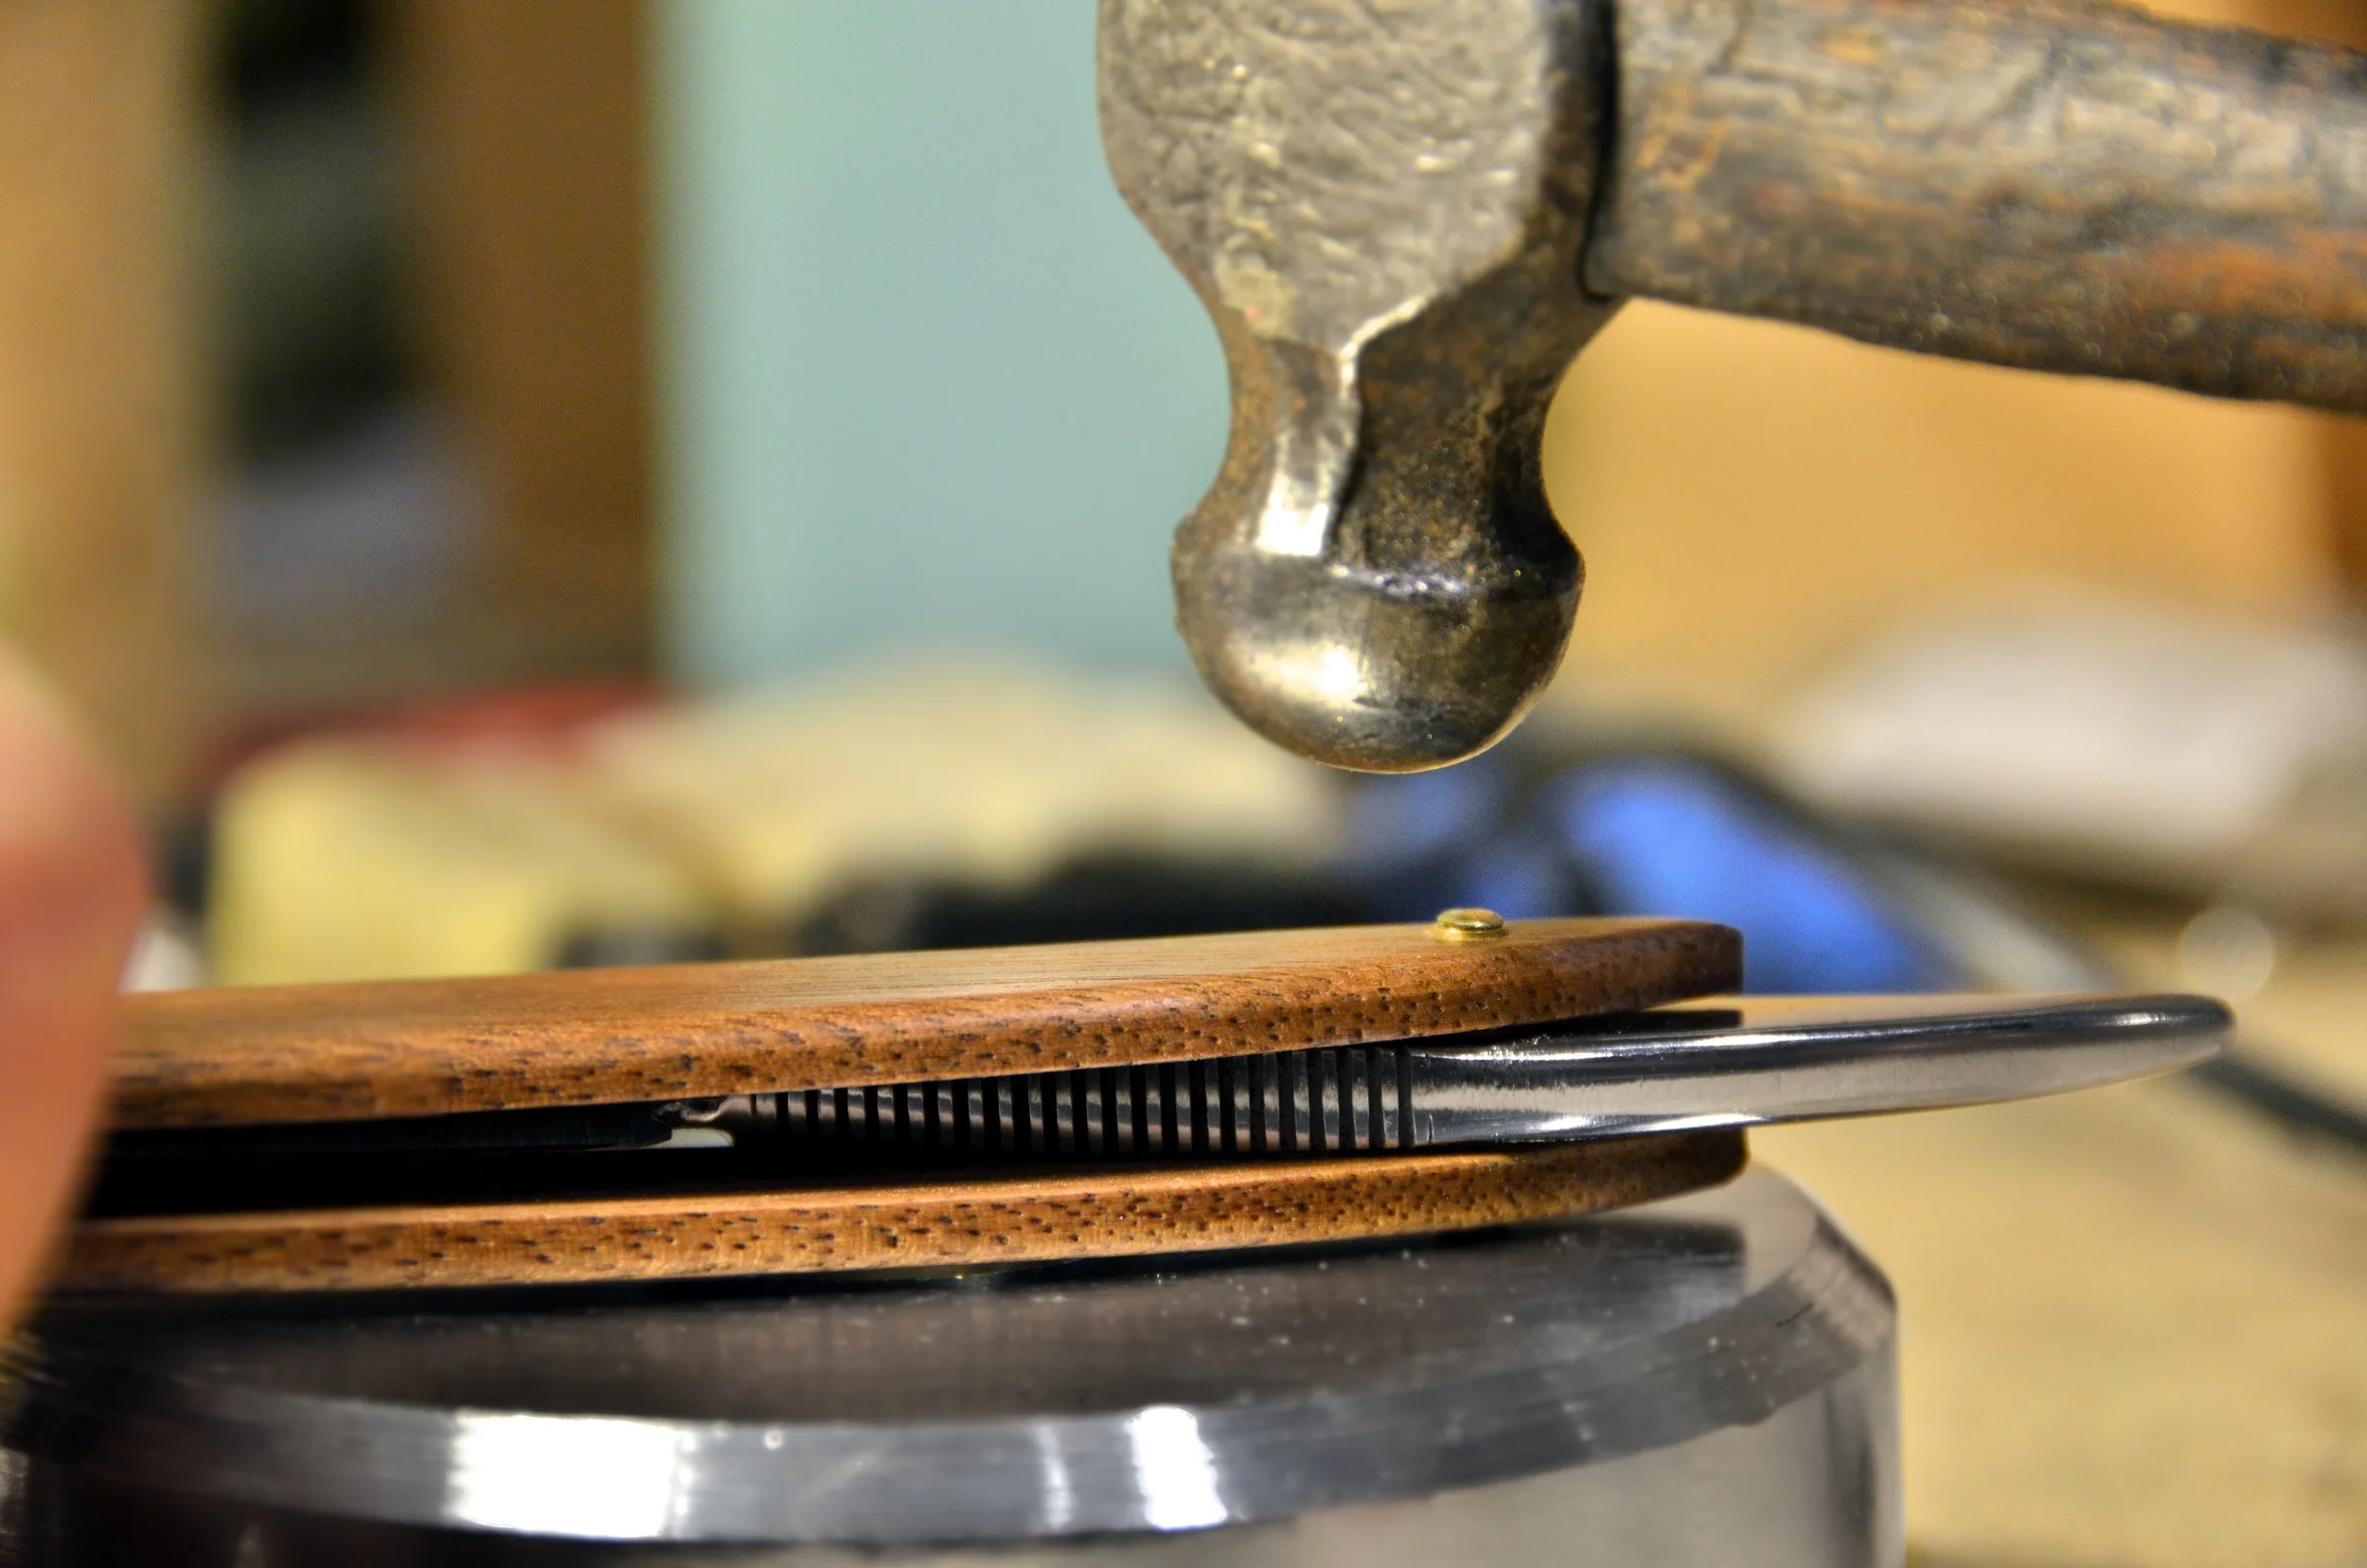
Strop your razor before every shave, and have it honed once or twice a year and when it gets damaged. This will keep your razor shaving comfortably and increase its useful life! Since the blade is non-disposable, extra care should be taken not to damage it: close it before setting it down or handing it to someone, only use it for shaving hair, and keep it in its own case separate from other items.
No. 5 Where can you get more information?
We appreciate that there’s always something more to learn or explore when it comes to straight shaving. We address our most frequently asked questions on our company blog and tutorials, but don’t hesitate to reach out if you can’t find the answers you seek!
If you are a seasoned straight shaver reading this, please leave some words of encouragement for the recent adopters below. At Portland Razor Co. we believe “what one person can do, another person can do.”