How to Grip Your Straight Razor

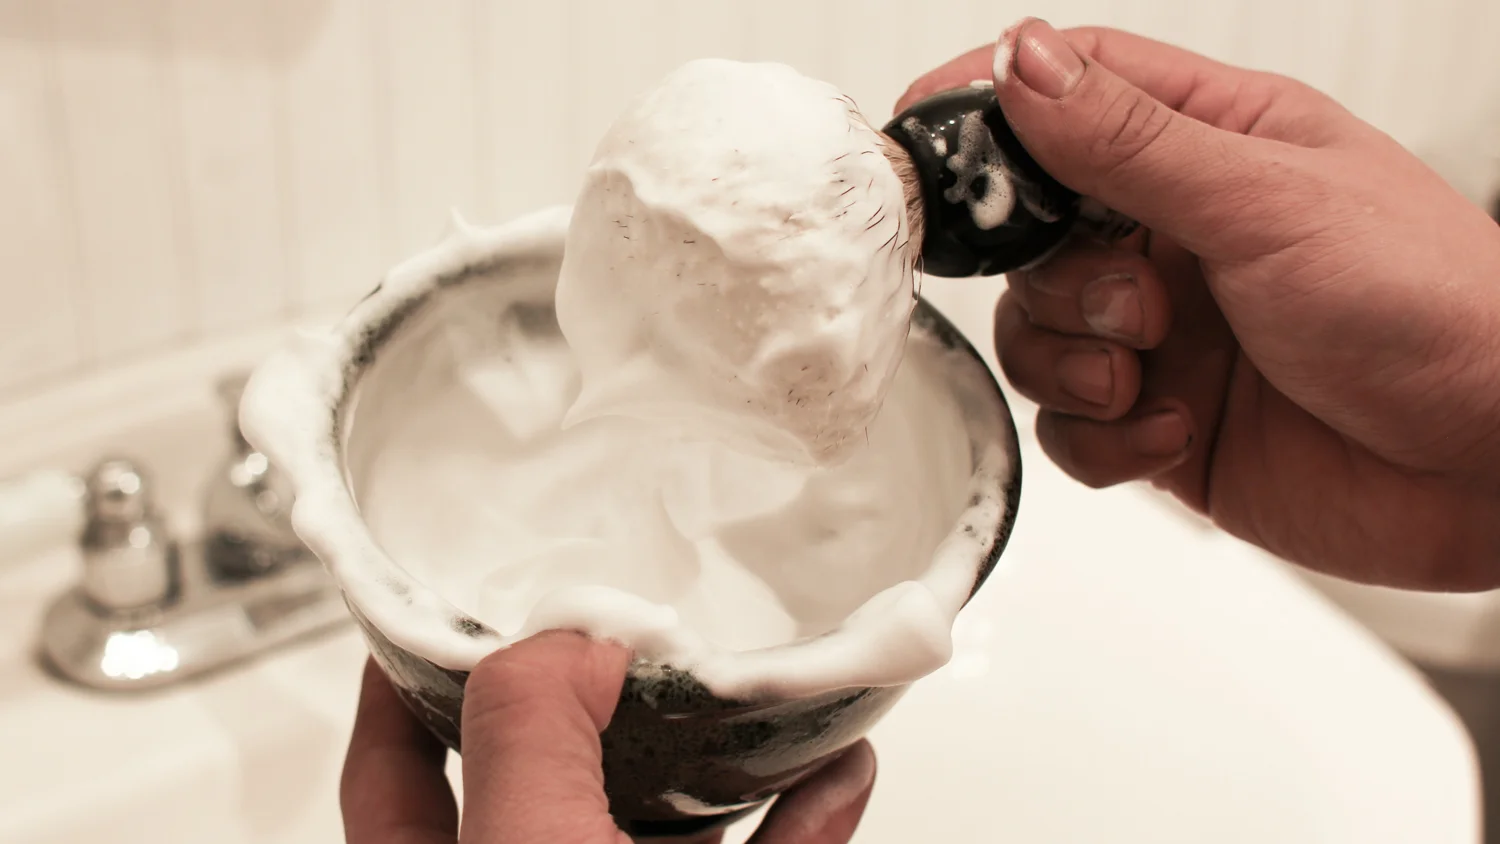
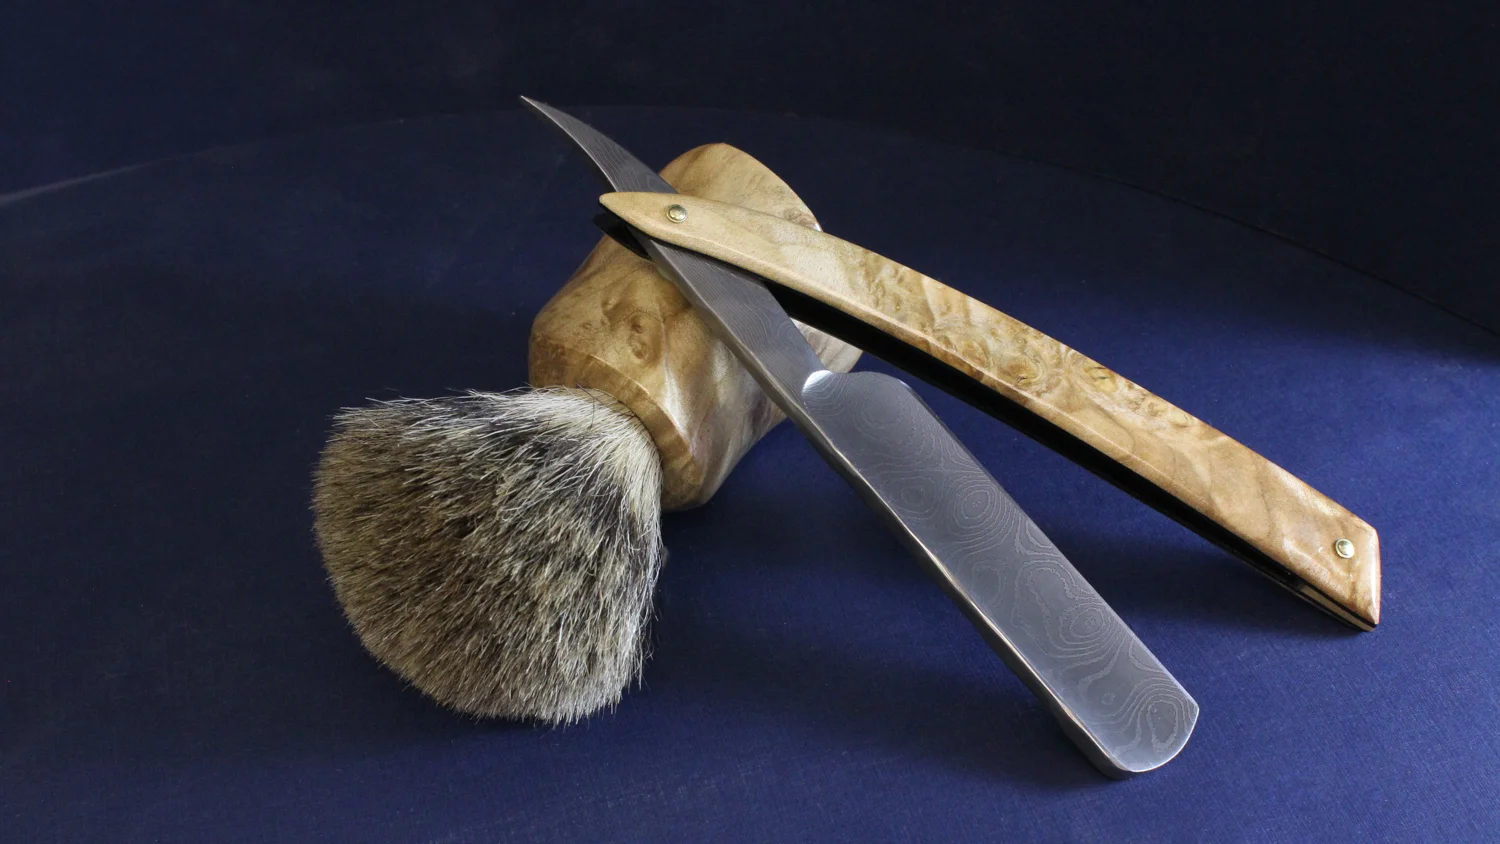
In this article, we’ll cover the basic grips used for shaving with a straight razor. This is a starting point for developing your own comfort and style in handling your new razor, and is not an exhaustive list.

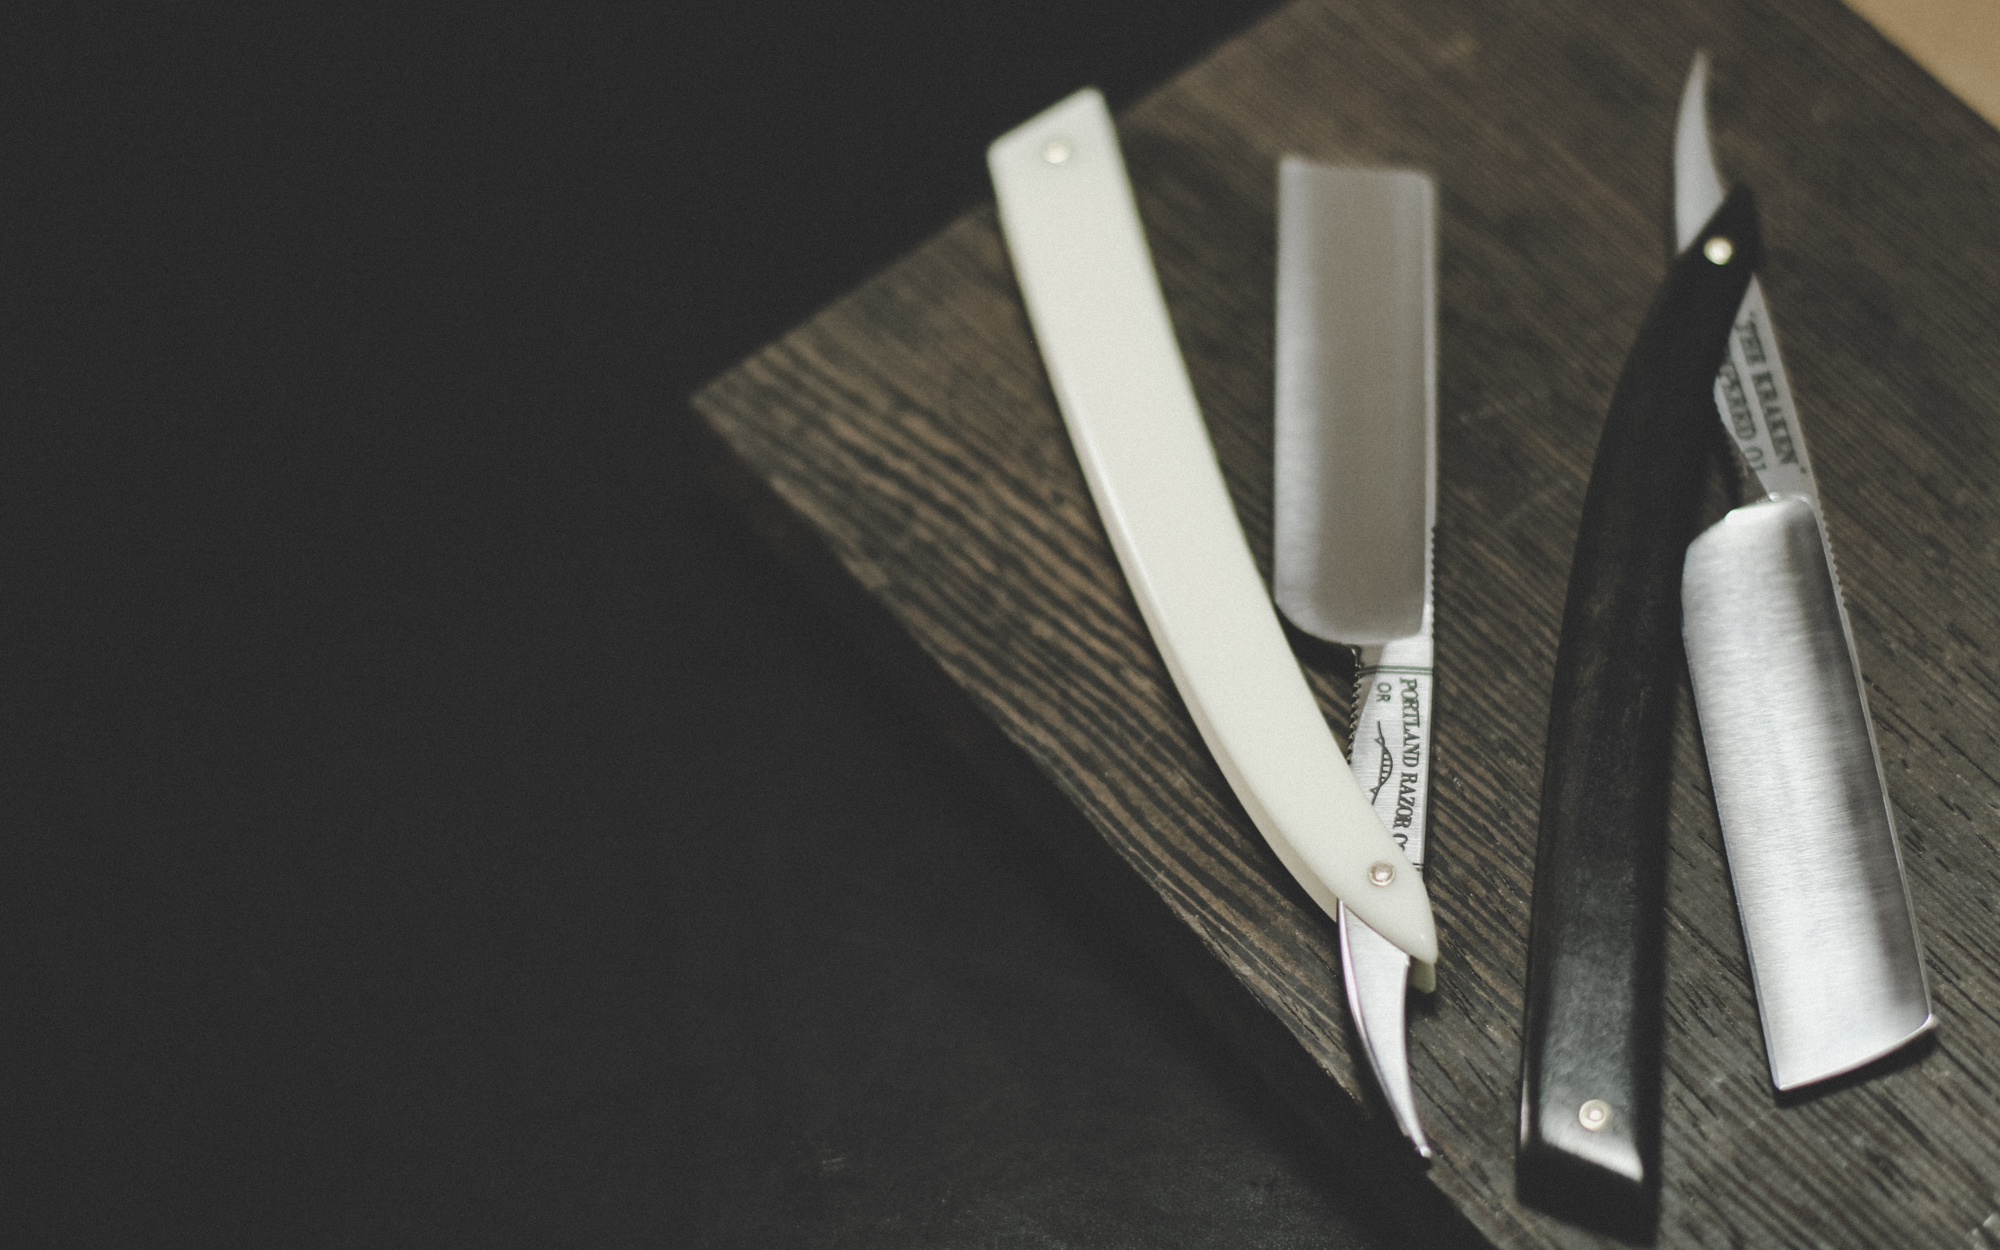
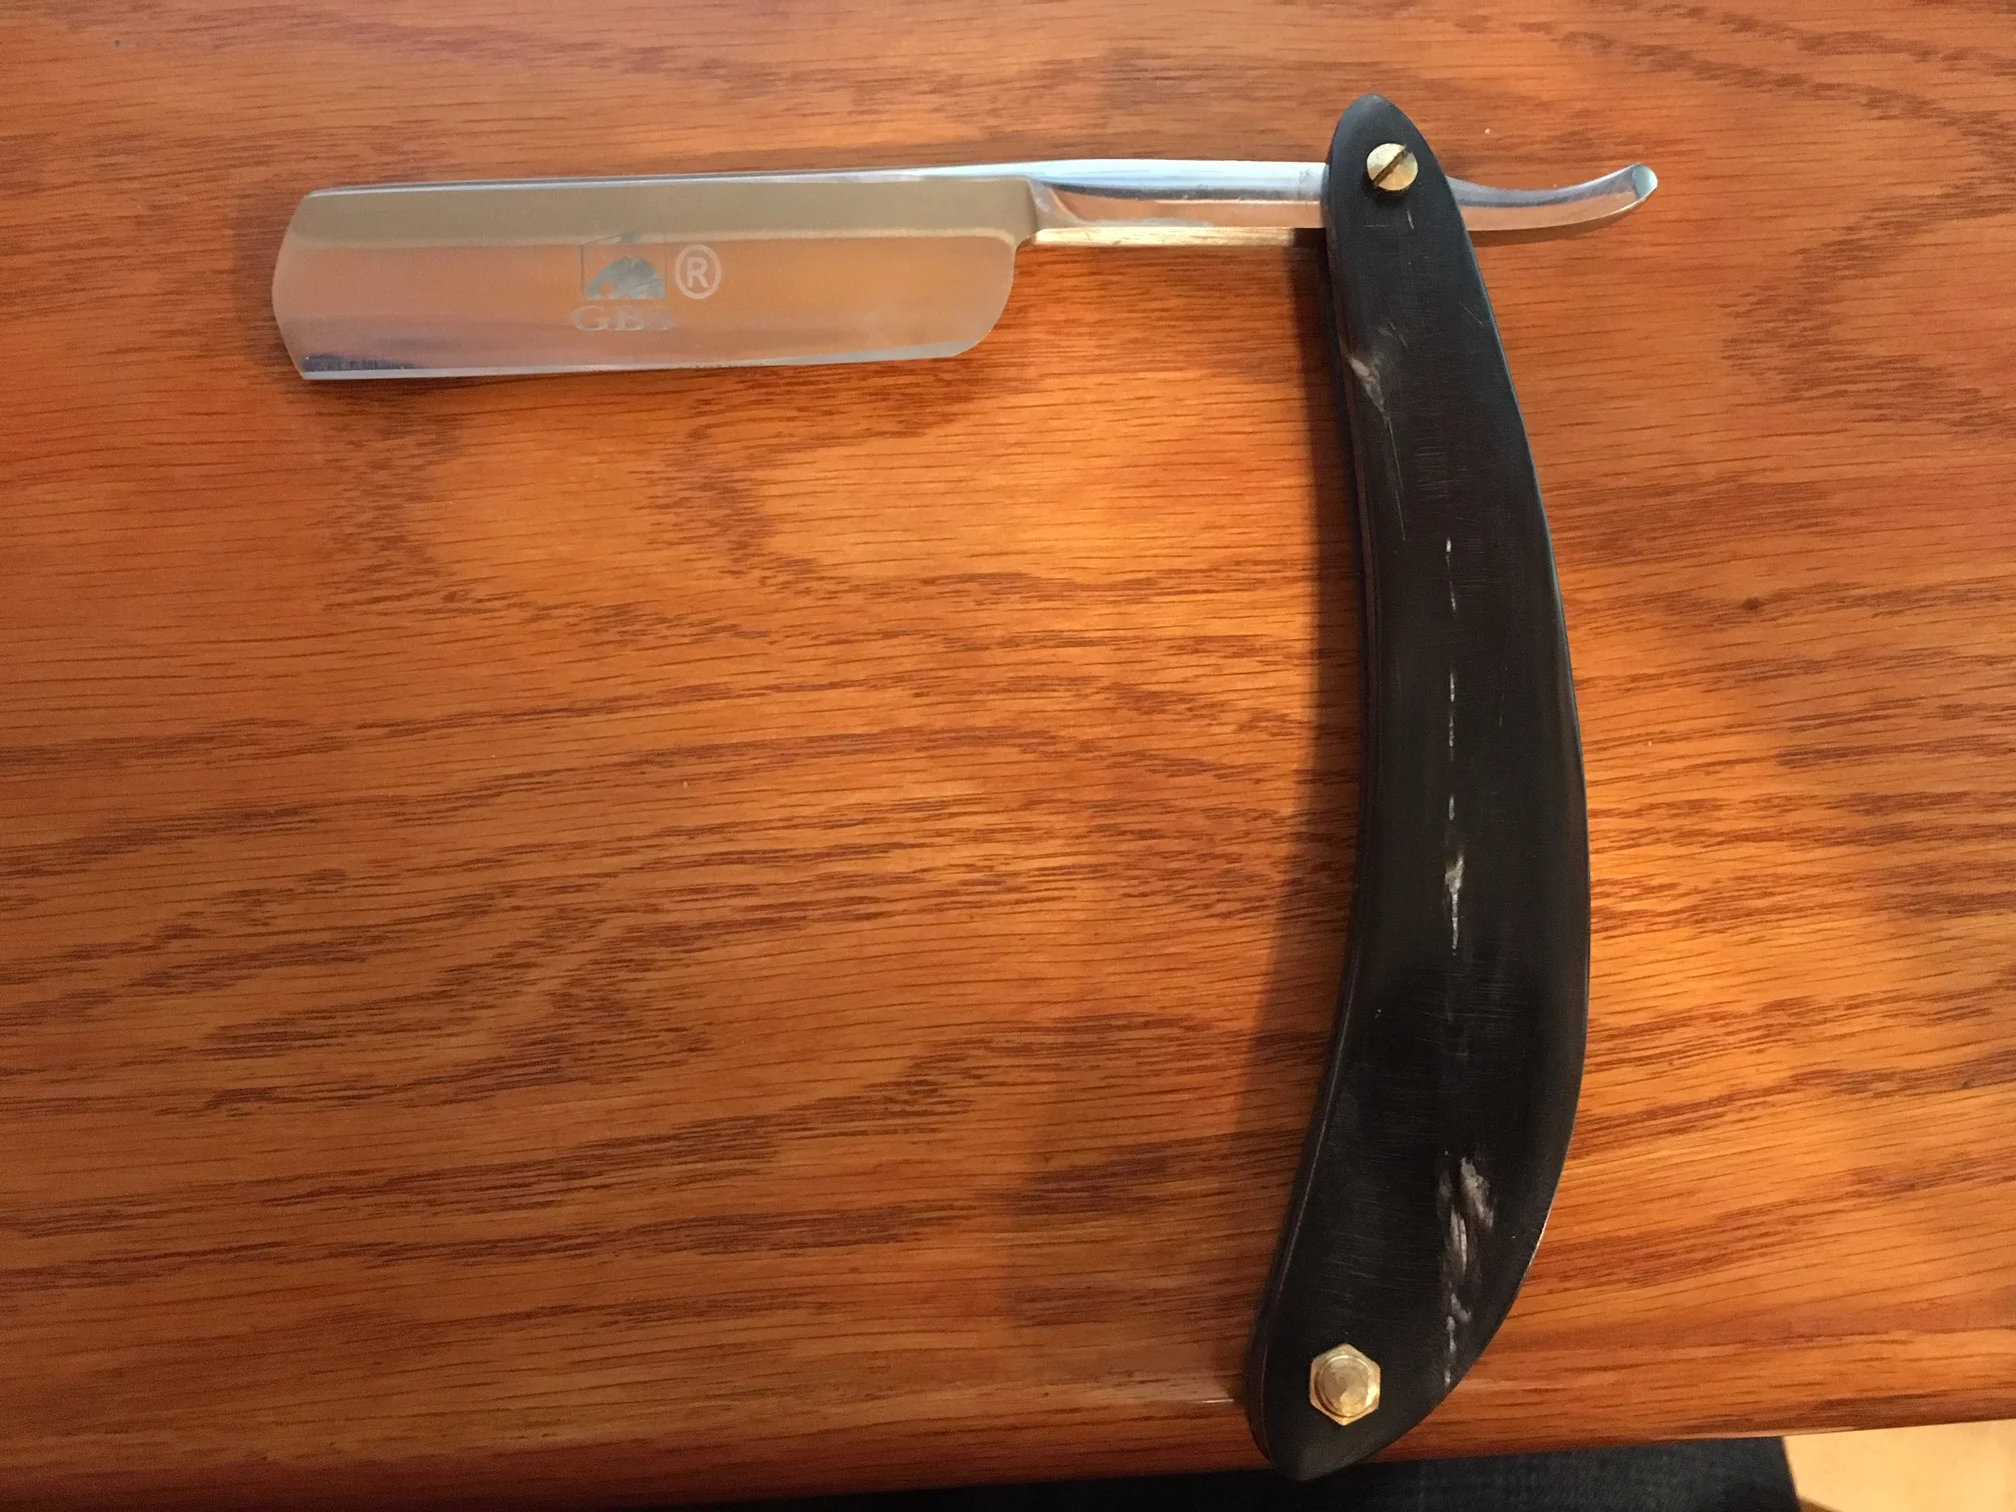
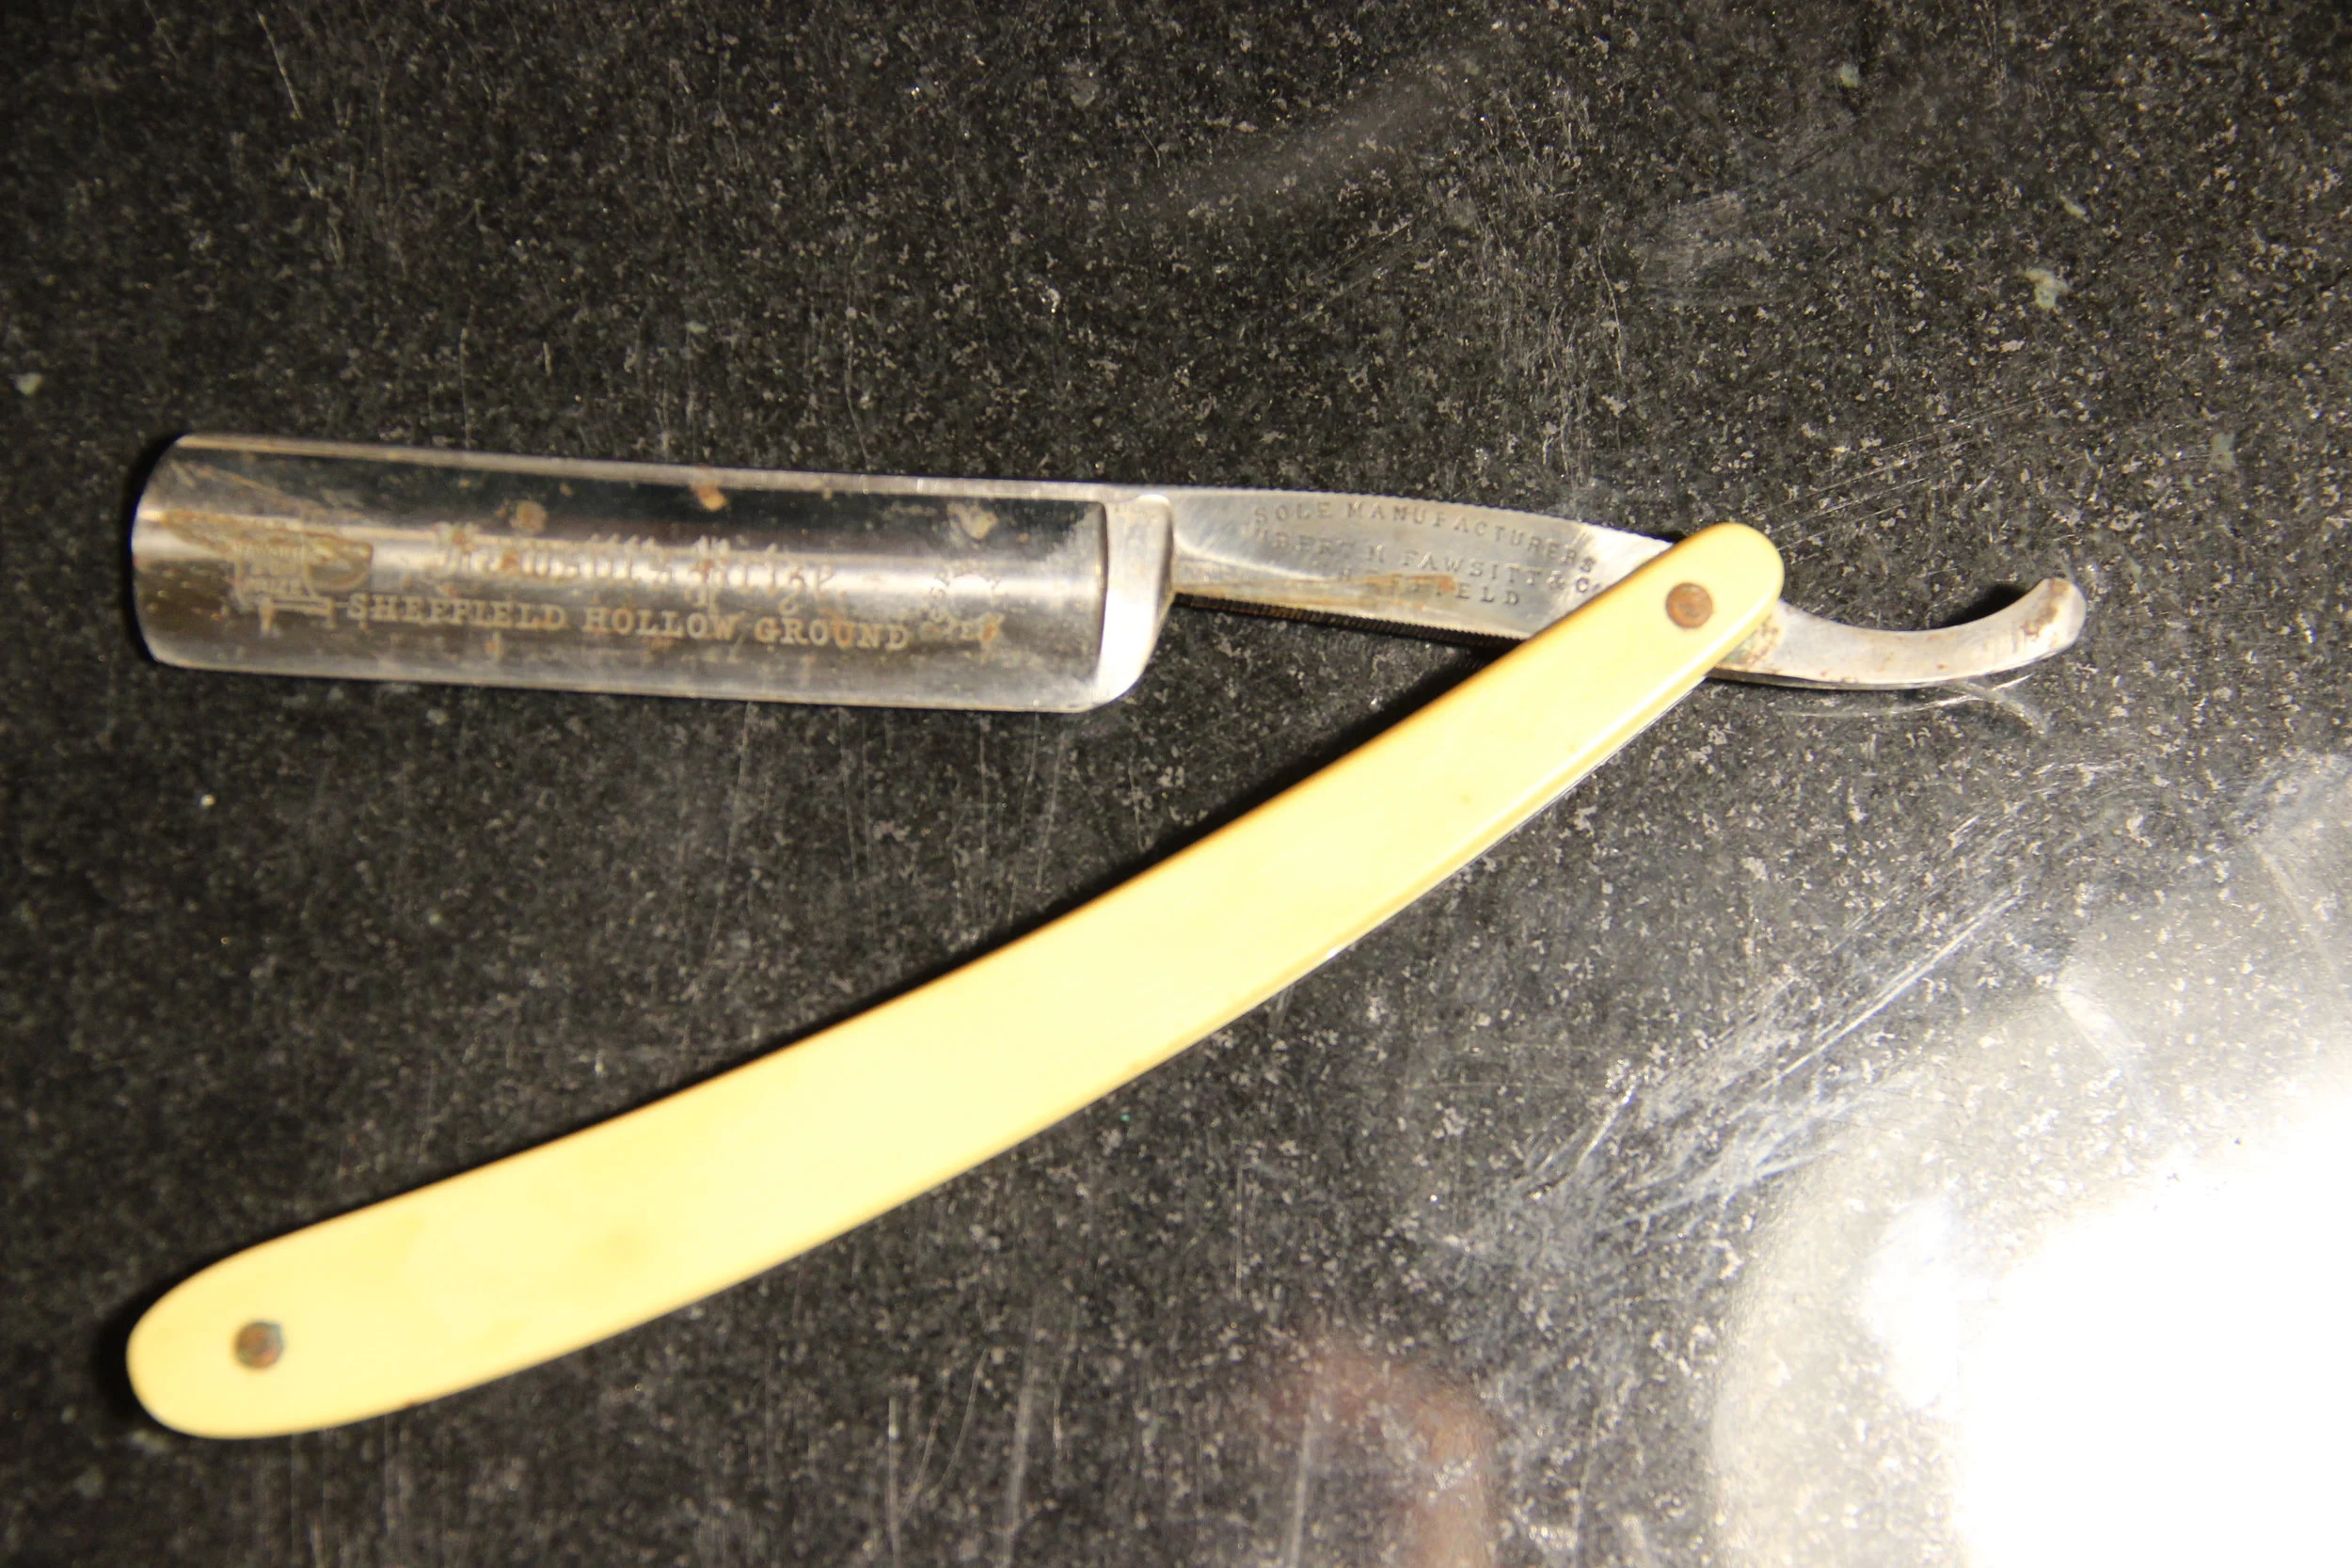
Keep our Anatomy of a Straight Razor graphic handy if you need help keeping your tangs and spines sorted.

Safety

Remember that the tang and spine are the safest place to grip the razor. Never hold a razor by the scales! The pivot can always come loose and holding only the scales may cause the razor to swing open or shut unexpectedly. Finally, always close the razor before setting it down. This protects the razor from incidental damage, and nobody needs an open razor blade lying around.

In all of the grips described below, your pressure should be relaxed but firm like a handshake. Keep your wrist straight (straight lines are stable lines) and avoid unnecessary movements. Relax, and initiate movements with your shoulder, following through with the wrist. Do not push or move the razor with your fingers.
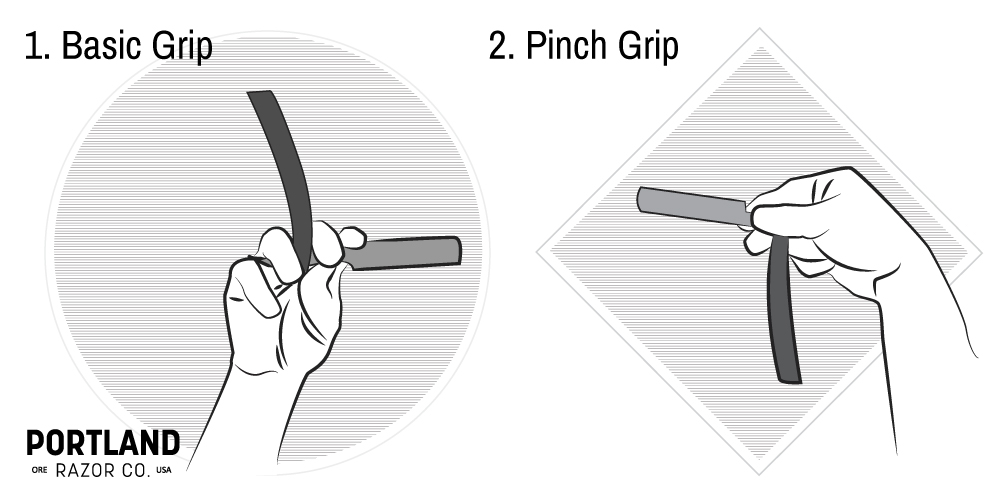
Portland Razor Grip Blog 11.jpg

1. Basic Grip

This is the starting point for most straight shavers. With the razor’s scales opened 270 degrees and the edge down, grip the tang with two fingers in front of the scales, two behind, and your thumb underneath. This allows you to apply pressure on the tang but also the scales between your fingers, giving maximum control and balance.

2. Pinch Grip

From the basic grip, simply roll the razor between your fingers until the thumb and forefinger pinch the sides of the tang, rather than the top and bottom. This grip is great for upward, against-the-grain strokes on the face.

3. Reverse/Push Grip

Grip the tang with thumb on the spine. This grip is more advanced but is especially useful for barbers shaving other people, and leg shavers. Pushing the blade away from you can be difficult while you build muscle memory, but this will allow you to shave in more comfortable positions and in the direction of hair growth more easily.

Portland Razor Grip Blog 21.jpg

Experiment with variations of these grips to suit your hands, razor, and the surface you’re shaving. Remember, this is not an exhaustive list and there is no right way to grip the razor, just whatever works for you! If you’ve tried using a straight razor before, what grips do you find useful? When do you use them? Let us know in the comments below ↓↓↓


How to Start Straight Razor Shaving

So, you’ve decided to start shaving with a straight razor- Welcome! There’s a lot to learn, and we’re here to help you have the best experience possible. This article covers everything you need to get into your first straight razor shave, from supplies and setup to actually shaving for the first time.

Setup

The first step to getting a great straight shave is having the right tools. Quality pieces will deliver the best results and last a lifetime with proper care. We've already written about the myth of the 'beginner' razor. And, since you are on our blog, I hold no hesitation in injecting some self promotion here: every razor we offer on our site is of great quality!

blog_start shaving-2659.JPG

Hardware, the stuff that works forever:

  • Straight Razor - your razor should be clean, sharp, and free of rust before every shave.
  • Strop - maintenance tool used used to draw out your razor's edge so it stays shaving-sharp.
  • Shave Brush - a shave brush helps form a lather with your shave soap and provides exfoliation before the shave.
  • Shave Mug/Bowl/Scuttle (optional) - These help you fine-tune your shaving lather by allowing you to control the water-to-soap ratio, while also giving you a reservoir to keep extra lather during the shave. It also makes your bathroom look very fancy.
  • Clean, dry hand towel or washcloth.
blog_start shaving-2664.JPG

Software, the stuff you'll need to restock at some point:

  • Pre-Shave Conditioner (recommended) - Especially with course hair, conditioning will prove to be extremely effective for softening hair.
  • Shave Soap - Use a soap designed for shaving. Such a soap will make a protective barrier between your skin and the blade, soften hairs, and help the hairs stand up to be cut.
  • Alum Block or Styptic Matches (recommended) - Alum is an astringent and antiseptic in solid form. This can be used to make your skin tacky and easier to grip (more on this later). It is also helpful in treating minor nicks and cuts from shaving. It can also be used as an aftershave treatment. One alum block should last years! Styptic matches are a convenient, single-use alternative.
  • Aftershave (recommended) - Aftershave contains mild antiseptics and astringents which cool and tighten the skin, relieve irritation, and prevent minor skin infections that commonly cause razor burn and razor bumps.

Before the Shave:

  • Set up somewhere clean, well-lit, and free from distractions. Have a safe place to set your razor down.
  • Inspect the razor. Check that the scales are intact and get a sense for the tightness or looseness of the pin. Make sure the blade is free of rust and that the cutting edge looks smooth and not chipped.
  • Strop the razor. Start with the prep side, then move to the finishing side.
  • Give your hair plenty of time to hydrate and soften. A hot shower or soaking with several hot towels is a good way to do this. Use this time to feel your hair and take note of the direction or “grain” of their growth. For the most gentle shave, you want to start by shaving with the direction of hair growth. For a closer shave, you can shave across or even against the grain. It may be helpful to divide the shaving area into “zones” based on which direction the hair grows, shaving one zone at a time.
  • Lather Up. If using a shaving brush, load the tip with cream and slowly add water, agitating the bristles until a thick lather with tiny bubbles forms.
blog_start shaving-2674.JPG

Your First Straight Shave // the face

  • Apply Pre-Shave Conditioner. Dispense a dime-sized amount of conditioner onto your palm. Rub your hands together and massage into the skin and hair, removing any excess with a moist towel. Allow essential oil fragrance to bloom and cool the skin for a soothing, aromatic shaving experience.
  • Grip the razor. Two fingers in front, two in back, with the thumb underneath. Use a firm but gentle grip, like a handshake. At the end of the day, the grip that works is the right one, but this is a good place to start. When you put the blade to your skin, keep it moving and use an angle 15-30 degrees off your skin. This should go without saying, but: no slicing motions!
  • Gently pull the skin tight. This creates a firm surface for the razor to cut the hair against and will result in a smoother shave. You can also pull your skin in different direction to shave hard-to-reach areas like under the jaw or on either side of the throat. If your skin is too slippery to pull effectively, you can swipe your fingers on an alum block to make them stick to your skin better.
  • The First Pass. Start with the flat part of the cheeks, pulling the skin tight and bringing the razor downward in short, controlled strokes. If this goes well, proceed to the jaw, neck, upper lip, and then chin. Shave in the direction of hair growth, and only shave where there is lather! If some whiskers are left behind, don’t worry, you can get them on the next pass after you re-lather.
  • Rinse, Re-lather, Second Pass. Shaving only where there is lather will minimize irritation and give better results. Shave with the grain or across the grain for a closer second pass, catching any whiskers you may have missed.

Your First Straight Shave // the legs

  • Apply Pre-Shave Conditioner. Dispense a dime-sized amount of conditioner onto your palm. Rub your hands together and massage into the skin and hair, removing any excess with a moist towel. Allow essential oil fragrance to bloom and cool the skin for a soothing, aromatic shaving experience.
  • Grip the razor. Two fingers in front, two in back, with the thumb underneath. Use a firm but gentle grip, like a handshake. At the end of the day, the grip that works is the right one, but this is a good place to start. When you put the blade to your skin, keep it moving and use an angle 15-30 degrees off your skin. This should go without saying, but: no slicing motions!
  • Think back to your "zones". Maybe they are the front of the shin, back of the calf, sides of the knees, front of the knee, back of the knee, etc. Choose one "zone" and lather using swirling motions. Next, use a "painting" motion to smooth out the lather. Leave the rest of your zones without lather.
  • Gently pull the skin tight. This creates a firm surface for the razor to cut the hair against and will result in a smoother shave. You can also pull your skin in different direction to shave hard-to-reach areas like around the knee or ankle. If your skin is too slippery to pull effectively, you can swipe your fingers on an alum block to make them stick better.
  • The First Pass. Start with the flat areas, pulling the skin tight and shaving in the direction of hair growth in short, controlled strokes. If this goes well, proceed to the shin, around the ankle, and around the knees. Lather one zone at a time and work up to trickier spots. If some hairs are left behind, don’t worry, you can get them on the next pass after you re-lather.
  • Rinse, Re-lather, Second Pass. Shaving only where there is lather minimizes irritation and give better results. Shave with the grain or across the grain for a closer second pass, catching any hair you may have missed.
blog_start shaving-1.JPG

Clean Up

  • Damage Control (as needed). Stay calm. You can do this. Shaving nicks can bleed a lot and always look worse than they actually are. Straight razors are very sharp and make clean cuts, so this also means they tend to scar less than other razor nicks! Accidents do happen, so if you suddenly see crimson mixing with your shaving lather, take a moment to rinse the offending wound with cool water and apply alum or a styptic match to disinfect; apply pressure to stop the bleeding. Then, if you’re up to the task, shake it off and start the shave again with a fresh lather.
  • Apply Aftershave (recommended). Shaving removes the topmost layer of skin, exposing it to the elements and a higher risk of infection. Aftershave is an important last step to disinfect, close pores, cool and tighten your skin for a clean, refreshing finish. Aftershave can take many forms. They all work, so the choice is entirely personal.
  • Strop the Straight Razor. Completely drying the razor, stropping it a few times, and applying a drop of oil will assure that it is clean and ready for the next shave.

Nailed it!

You just completed your first straight shave! It may not be the closest shave of your life, but don’t worry. Take pride in the process and in your progress. Straight shaving takes time and practice to master, but enjoy it and learn to ditch the "let's-just-get-this-over-with" feeing a cartridge razor creates in the pit of your stomach! By having the right gear and practicing, you are already ahead of the curve and on your way to your best shave ever!

FAQ: "Help! I Chipped My Straight Razor! Can you fix it?"

If you’re reading this article, you probably have a damaged razor. Don’t panic! It’s really no biggie, even if it makes for an uncomfortable shave. A quality straight razor can be restored to shaving-sharp without much heartache. Minor damage like chips & dings can be resolved with a basic honing service, but even major damage like a bent or broken point can at least be made functional again.

Why do Straight Razors Chip?

Shown here is a straight razor with a classic case of “sink bite.” Though a pain to shave with, the edge can be easily restored with proper tools and techniques.

Shown here is a straight razor with a classic case of “sink bite.” Though a pain to shave with, the edge can be easily restored with proper tools and techniques.

Straight razors are highly specialized tools and differ from your average kitchen or utility knife in a few key ways. Harder steels, thin blades with deep hollow grinds, acute bevel angles, and polished edges excel at shaving hair. These characteristics produce finer edges, but they are also more brittle, meaning the blade is more likely to break than bend. You wouldn’t want to chop an onion or shuck oysters with a straight razor, for example (at least, not one you want to shave with later)!

The most common source of damage we see is from what we call “sink bite.” This occurs when the user rinses with the blade open and bumps the edge against the faucet. Other common sources of frustration are the lids on Barbicide jars, other items in your toiletry bag, countertops, fingernails, combs, and dry shaving (did you know that when dry, human facial hair has the same hardness as an equivalent thickness of copper wire?).

How to avoid chips and dings.

Fortunately, most damage can be avoided by adopting a few simple practices:

  • Don’t touch the edge.

  • Close the razor to set it down, rinse, or sanitize*

  • Test sharpness by shaving hair, not by touching, strumming, or finger-nailing the edge

  • Strop your razor properly. Click here to view our tutorial

  • Prep your hair for shaving. Dry hair is tough, wet hair is soft!

*Our Cascade Steel is stainless, so rust is not a concern when rinsing and sanitizing the razor. Vintage razors and modern blades made of carbon steel should be kept dry and oiled to prevent rust.

How to Fix Chips & Dings

Even straight razors with major damage, like the large chip pictured here, can be made safe to use again.

Even straight razors with major damage, like the large chip pictured here, can be made safe to use again.

While a chipped razor is a pain to shave with, it isn’t the end of the world. Quality straight razors are designed with maintenance in mind, and restoring the edge is fairly straightforward. The only way to remove a chip or ding from your razor’s edge is to hone it out on a stone. While similar to knife sharpening, honing razors is a nuanced skill that requires more specialized tools and techniques than your pocket knife does. Skilled DIY’ers are encouraged to check out our tutorials, take our honing class, pick up a quality hone and give it a shot. For everyone else, you can send us your razor for a honing service for restoration.

The Best (and Worst) Straight Razor Oils to Prevent Rust

A straight razor demands respect; take care of your tools, and they will take care of you! With proper maintenance, a quality straight razor can last several lifetimes. The more you use your razor, the more important routine maintenance becomes. Besides stropping and honing, oiling your razor is an important step to consider in protecting your razor’s longevity.

straight razor oil-5156.JPG

When developing our Cascade Steel straight razors, we reached for modern materials with superior edge retention and stainless properties, which means frequent oiling would be redundant. Unfortunately, for 200 years the best razors were made with high-carbon steels. High carbon steels get incredibly hard and sharp, but can rust if water even enters the room! Since wet shaving is inherently--well, wet, rust prevention is an important step for a majority of straight razor users. This includes those using vintage straight razors and razors by Portland Razor Co. made with O1 high-carbon tool steel. In this article, we review some of the best and worst oils for straight razor rust-prevention.

A good razor oil:

  • Displaces water effectively

  • Is skin safe

  • Is safe for common scales materials and finishes

  • Does not resinify

  • Won’t spoil or go rancid

recommended straight razor oils1.jpg

Recommended Straight Razor oils

Camellia Oil - Great

Refined camellia oil (also known as tea seed oil) is a fantastic all-around razor oil. It is a light, skin safe, colorless oil with low viscosity which does a good job of displacing water and is easy to apply. Provided it is well refined, it shouldn’t resinify or spoil.

Mineral Oil - Great

Mineral oil is a widely available and very effective razor oil. Low to medium viscosity, skin safe, safe for scales materials, does not resinify, won’t spoil, petroleum product.

Ballistol - GREAT

Ballistol is marketed as an eco-friendly alternative to petroleum products like mineral oil and WD-40. It is skin safe, biodegradable, low viscosity, aerosol. In general, Ballistol will not resinify, however we have encountered a few instances where it reacted negatively with other oils and became sticky.

not recommended for straight razor maintenance

We don’t recommend…

WD-40 - Not Recommended

WD-40 works, but keep it off your skin and scales. We like it because there’s a good chance you already have some at home! The “WD” literally stands for “Water Displacement,” and it does that job really well. It also contains solvents which help break up old grease and rust but can be harmful to scales. It is not listed as a known carcinogen but is irritating to some when in contact with the skin or if fumes are inhaled. For these reasons, we wouldn’t recommend it as your go-to razor oil, but it works in a pinch or if performing a restoration of a razor with lots of build-up on it.

Olive Oil - Not Recommended

Yes, you can prevent rust with olive oil! But, should you? It has medium viscosity, it displaces water, you probably have some in your kitchen, and it is obviously skin and food safe... It can also resinify fairly quickly and will go rancid over time. You should avoid any culinary misadventures in the bathroom by using olive oil (or any other cooking oil) to prevent rust only in emergencies.

Petroleum Jelly - Not recommended (Worst option)

You can do a lot of things with petroleum jelly. Sure, you can slather it all over your straight razor and successfully keep it from rusting… but please don’t. The goopy stuff sticks well to your straight razor to displace water, but it attracts and holds everything else it might come into contact with such as dirt or hair. It’s very much a bummer to clean off as well, requiring soapy water or solvents in all the razor’s nooks and crannies (which is exactly where you don’t want water and solvents!). Cleanup is an important consideration since removal of oils is a necessary step prior to honing to keep contaminants out of your expensive water stones.

We hope you found this review of razor oils helpful! Did you learn something new? Do you have a question about razor oils? Leave it in the comments below! If you are ready to take the next step in learning to care for your razor, consider signing up for an upcoming honing and maintenance class. There you will have the benefit of hands-on instruction with a Portland Razor Co razorsmith for more specific and nuanced guidance.

FAQ: Will it Hone? | Why Some Straight Razors Can Be Honed to Shaving Sharp and Some Cannot

"Can you hone this razor? I found it in xyz and I don’t know if it’s worth the trouble…” We’ve honed thousands of razors and want to offer up some guidance on the subject. You might be surprised to learn just how far-gone a straight razor can appear on the outside while still being a good candidate for use as a daily shaver! Often a straight razor just needs a little TLC - one of many reasons why straight razors are the ultimate shaving solution! In this post we explain what we look for in evaluating the quality and condition of a straight razor prior to honing and provide some photo samples of what can or cannot be honed.

What we look for in a straight razor

The primary considerations we assess when determining “honeability” are the maker/manufacturer of the razor, materials used, and wear and tear. Other factors which affect the quality of the razor include the workmanship, how it was heat treated, and how it was handled after heat treatment during finish grinding.

Maker/Manufacturer

If the maker or manufacturer is known and the razor isn’t rusted through or burned away by a grinder, it can likely be honed to shaving sharp. Cheap, re-branded razors made in China & Pakistan are an exception. These are widely available online and marketed as “shaving sharp” when few actually keep an edge. We call these things “razor shaped objects” and are easily identifiable by their… shall we say ‘inconsistent’(?) workmanship, mystery metals, and luxury materials (Damascus steel, buffalo horn, brass-lined scales, etc) at insanely low prices. One such manufacturer even stole our process photos in an effort to appear more legitimate! This is a classic instance of “you get what you pay for” and while some of these razors retain a pretty good edge, just know that it’s a gamble as to whether or not a razor matching this description is honeable. If the price seems too good to be true, it probably is.

By contrast, a vintage razor which is not rusted through is practically a sure bet (we aspire to have the same said of our straight razors in 100 years!). By virtue of its survival, we can tell that it was made by skilled workers using quality materials. In the case of a vintage razor, the main thing to look for is rust. Light surface rust or patina (discoloration of the steel over time) isn’t much of a problem, but if rust--usually red--has penetrated from one side of the blade to the other, it is unlikely to produce a perfect edge.

IMG_1147.JPG

Diagnosis: it will not hone!

This modern razor is of unknown make and clearly white labeled/re-branded with a laser on the blade’s face. It has a few telltale signs of poor quality:
- uneven grind
- a cheap flathead screw at the pivot instead of pins and washers or a countersunk high quality screw
- chunky box-like scales
- a mirror polish which is very difficult to achieve on a properly heat treated razor with high hardness. The low cost of this razor was disclosed to us and it was a red flag that this razor was most likely not heat-treated properly as a way to save costs on the labor a mirror-finish requires.

IMG_4873.JPG

Diagnosis: it will hone…?

This vintage Sheffield blade shows some signs of neglect. The red rust needs careful polishing/removal before we can determine how deep it goes, but the edge looks relatively clear of rust! Because the edge is rust free, we’ll have this razor sent in so we may determine if the rust does not penetrate through the blade. If the rust has compromised the blade, we will refund the honing service fee.

Materials

Vintage razors are almost universally made with high-carbon steels. Some will have brand names like “blue steel” or “silver steel,” but all are of relatively high quality if they have survived a few decades or twenty. High carbon steel is relatively easy to work and heat treat, resulting in harder, sharper blades. The heat treatment is, in reality, the most important invisible step in making any blade. It’s also the easiest corner to cut during manufacturing, since softer metals are easier to grind and errors only become apparent during sharpening. Steel which is improperly heat treated will be softer, more flexible, and unstable in the microscopic dimensions required for a razor’s edge.

There are many stainless blade steels available, many of which can make a fine razor steel. We are very proud of our stainless razors and take great care in owning our heat treating process. Even 440C stainless does the job well… if heat treated properly. To retain their stainless properties, they must be heated in an anoxic (oxygen-free) environment. This adds time and complexity to the process, something large manufacturers prefer to avoid. Then, as in any bladesmithing process, they must be ground slowly to final thickness to avoid overheating the blade after heat treatment. Heating the paper-thin blade beyond the tempering heat of the blade ruins the steel by making it soft and unable to take an edge. This is why razors should never be sharpened on grinders: the heat from that much friction is enough to render it useless.

IMG_0896.JPG

Diagnosis: It will hone!

This vintage cutthroat by J.A. Henckels has an especially dark patina and some pitting, but no red rust which penetrates through the blade. We’ll maintain the gentle blade curve so that very little metal is removed in the honing process. Our belief is “the less material removed the better” as it extends the life of the razor and we are all about waste reduction around here!

IMG_0850.JPG

Diagnosis: it will hone!

This vintage straight razor shows signs of wear near the toe. This can easily be resolved in a normal honing session.

Wear & Tear

In most cases, a quality straight razor can be restored after minor damage or neglect. On the other hand: grinders, salt water, and improper honing can wreak havoc on otherwise perfectly good razors.

As mentioned above, grinders can easily create enough heat from friction to affect the heat treatment of a razor, effectively ruining it. Grinders remove material in a heartbeat, shortening the razor’s lifespan and causing irregularities in the razor’s edge geometry. At best, this will complicate any attempts at restoration. At worst: bye bye razor.

Salt water is especially problematic for carbon steels. Tap water is bad enough, but salt spray will cause rust at an accelerated rate. If you plan on taking your razor with you for an island getaway, don’t forget to keep your razor dried and oiled between uses!

Improper honing isn’t always catastrophic, though it’s much harder to put material back on than to remove it. Hone wear induced over years and years may produce wide bevels and irregular geometries, but these are more a nuisance than a fatal flaw. Most times, material was simply removed unevenly, affecting the final edge geometry. This can be compensated for by removing material in the right places or by adding it artificially, i.e. with tape on the spine to make it thicker during honing.

One thing that is often forgotten is the condition of the razor’s scales. The scales are an important safety feature, protecting you from the razor and the razor from you when not in use. For this reason, broken or missing scales need to be addressed before sharpening the razor.

scales crack.jpg

Diagnosis: needs scales, but It will Hone!

Cracks at the pivot are common, especially in vintage razors like this one. It seems to be holding, but the scales should be replaced if this is to become a daily shaver. Scales are an important safety feature, keeping you and the blade safe when not in use. We can take care of re-scaling and honing this razor will be ready to shave on!

Our honing service

Ultimately, a honemeister can only decide once the razor is in-hand and on the hones for sharpening, as some flaws and damage are invisible until sharpening begins. It isn’t terribly common, but it has happened on occasion that invisible flaws and cracks emerge or propagate once the razor has pressure applied to it on the hones. In these situations, it is our policy to refund the honing service fee and return the razor to you.

Do you have a razor that needs honing? In doubt as to whether it is worth saving? If you still have questions or think you might have a unique issue, we invite you to shoot us an email to info(at)portlandrazorco.com with photos of your razor in question and we will assess it for honeability!